Install GitLab on Creodias Kubernetes
Source control is essential for building professional software. Git has become synonym of a modern source control system and GitLab is one of most popular tools based on Git.
GitLab can be deployed as your local instance to ensure privacy of the stored artifacts. It is also the tool of choice for its rich automation capabilities.
In this article, we will install GitLab on a Kubernetes cluster in Creodias cloud.
What We Are Going To Cover
Create a Floating IP and associate the A record in DNS
Apply preliminary configuration
Install GitLab Helm chart
Verify the installation
Prerequisites
No. 1 Account
You need a Creodias hosting account with access to the Horizon interface: https://horizon.cloudferro.com/auth/login/?next=/.
No. 2 Understand Helm deployments
To install GitLab on Kubernetes cluster, we will use the appropriate Helm chart. The following article explains the procedure:
Deploying Helm Charts on Magnum Kubernetes Clusters on Creodias
No. 3 Kubernetes cluster without ingress controller already installed
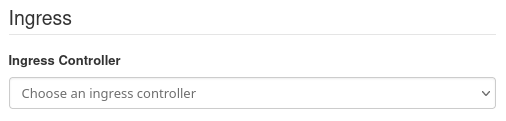
The Helm chart for installation of GitHub client will install its own ingress controller, so for the sake of following this article, you should
either use a cluster that does not have one such ingress controller already installed, or
create a new cluster without activating option Ingress Controller in window Network. That option should remain like this:
General explanation of how to create a Kubernetes cluster is here:
How to Create a Kubernetes Cluster Using Creodias OpenStack Magnum
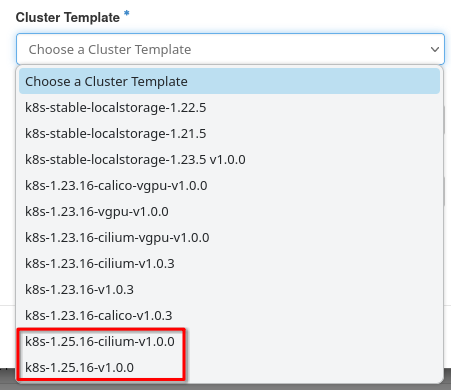
Be sure to use cluster template for at least version 1.25, like this:
No. 4 Have your own domain and be able to manage it
You will be able to manage the records of a domain associated with your gitlab instance at your domain registrar. Alternatively OpenStack on Creodias hosting lets you manage DNS as a service:
DNS as a Service on Creodias Hosting
No. 5 Proof of concept vs. production ready version of GitLab client
In Step 3 below, you will create file my-values-gitlab.yaml to define the default configuration of the GitLab client. The values chosen there will provide for a solid quick-start, perhaps in the “proof of concept” phase of development. To customize for production, this reference will come handy: https://gitlab.com/gitlab-org/charts/gitlab/-/blob/v7.11.1/values.yaml?ref_type=tags
Step 1 Create a Floating IP and associate the A record in DNS
Our GitLab client will run web application (GUI) exposed as a Kubernetes service. We will use GitLab’s Helm chart, which will, as part of GitLab’s installation,
deploy an ingress (controller and resource) to establish service routing and
enable its HTTPS encryption (using CertManager).
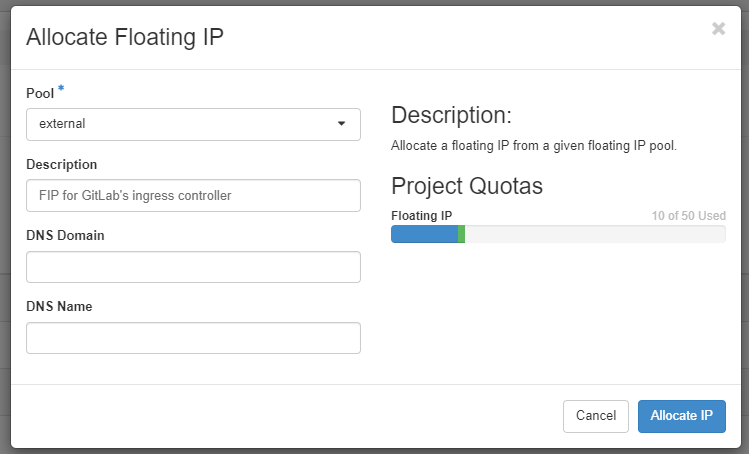
We will first create a Floating IP (FIP) using Horizon GUI. This FIP will be later associated with the ingress controller. To proceed go to Network tab, then Floating IPs and click on Allocate IP to project button. Fill in a brief description and click Allocate IP.
After closing the form, your new floating IP will appear on the list and let us say that for the sake of this article, its value is 64.225.134.173. The next step is to create an A record that will associate the subdomain gitlab.<yourdomain> with this IP address. In our case, it might look like this if you are using DNS as a Service under OpenStack Horizon UI on your Creodias cloud:

Step 2 Apply preliminary configuration
A condition to ensure compatibility with Kubernetes setup on Creodias clouds is to enable the Service Accounts provisioned by GitLab Helm chart to have sufficient access to reading scaling metrics. This can be done by creating an appropriate rolebinding.
First, create a namespace gitlab where we will deploy the Helm chart:
kubectl create ns gitlab
Then, create a file gitlab-rolebinding.yaml with the following contents:
apiVersion: rbac.authorization.k8s.io/v1
kind: RoleBinding
metadata:
  name: gitlab-rolebinding
  namespace: gitlab
subjects:
- apiGroup: rbac.authorization.k8s.io
  kind: Group
  name: system:serviceaccounts
roleRef:
  apiGroup: rbac.authorization.k8s.io
  kind: ClusterRole
  name: system:metrics-server-aggregated-reader
This adds the rolebinding of the namespace with the appropriate metrics reading cluster role. Apply with:
kubectl apply -f gitlab-rolebinding.yaml
Step 3 Install GitLab Helm chart
Now let’s download GitLab’s Helm repository with the following two commands:
helm repo add gitlab https://charts.gitlab.io/
helm repo update
Next, let’s prepare a configuration file my-values-gitlab.yaml to contain our specific configuration settings. They will override the default values.yaml configuration.
my-values-gitlab.yaml
global:
  edition: ce
  hosts:
    domain: mysampledomain.info
    externalIP: 64.225.134.173
certmanager-issuer:
  email: XYZ@XXYYZZ.com
Here is a brief explanation of the concrete settings in this piece of code:
- global.edition
ce – we are using the free, community edition of GitLab.
- global.hosts.domain
Use your own domain instead of mysampledomain.info.
- global.hosts.externalIP
Instead of 64.225.134.173 place the floating IP of the ingress controller that was created in Step 1.
- global.certmanager-issuer.email
Instead of XYZ@XXYYZZ.com, provide your real email address. It will be stated on our GitLab client’s HTTPS certificates.
Once all the above conditions are met, we can install a chart to the gitlab namespace, with the following command:
helm install gitlab gitlab/gitlab --values my-values-gitlab.yaml --namespace gitlab --version 7.11.1
Here is what the output of a successful installation may look like:
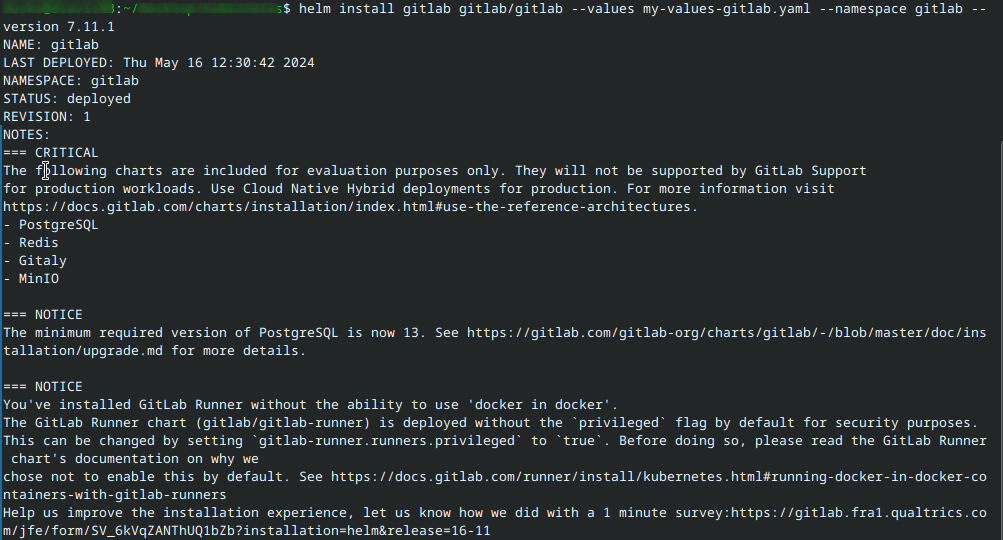
After this step, there will be several Kubernetes resources created.

Step 4 Verify the installation
After a short while, when all the pods are up, we can access Gitlab’s service entering the address: gitlab.<yourdomain>:
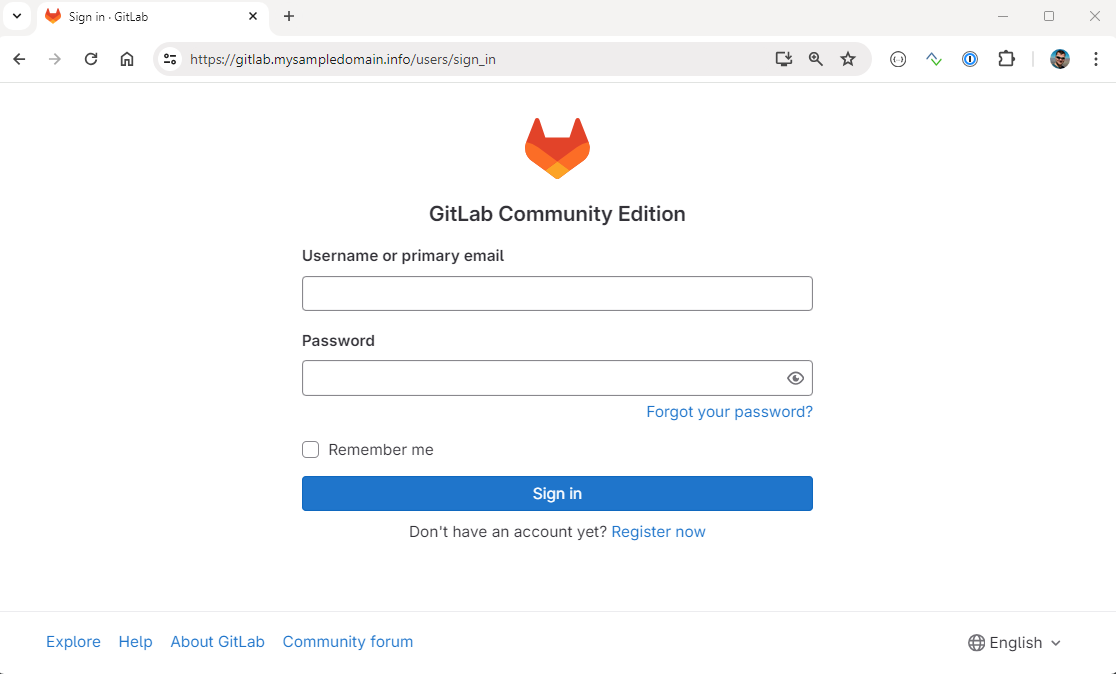
In order to log in to GitLab with your initial user, use root as username and extract the password with the following command:
kubectl get secret gitlab-gitlab-initial-root-password -n gitlab -ojsonpath='{.data.password}' | base64 --decode ; echo
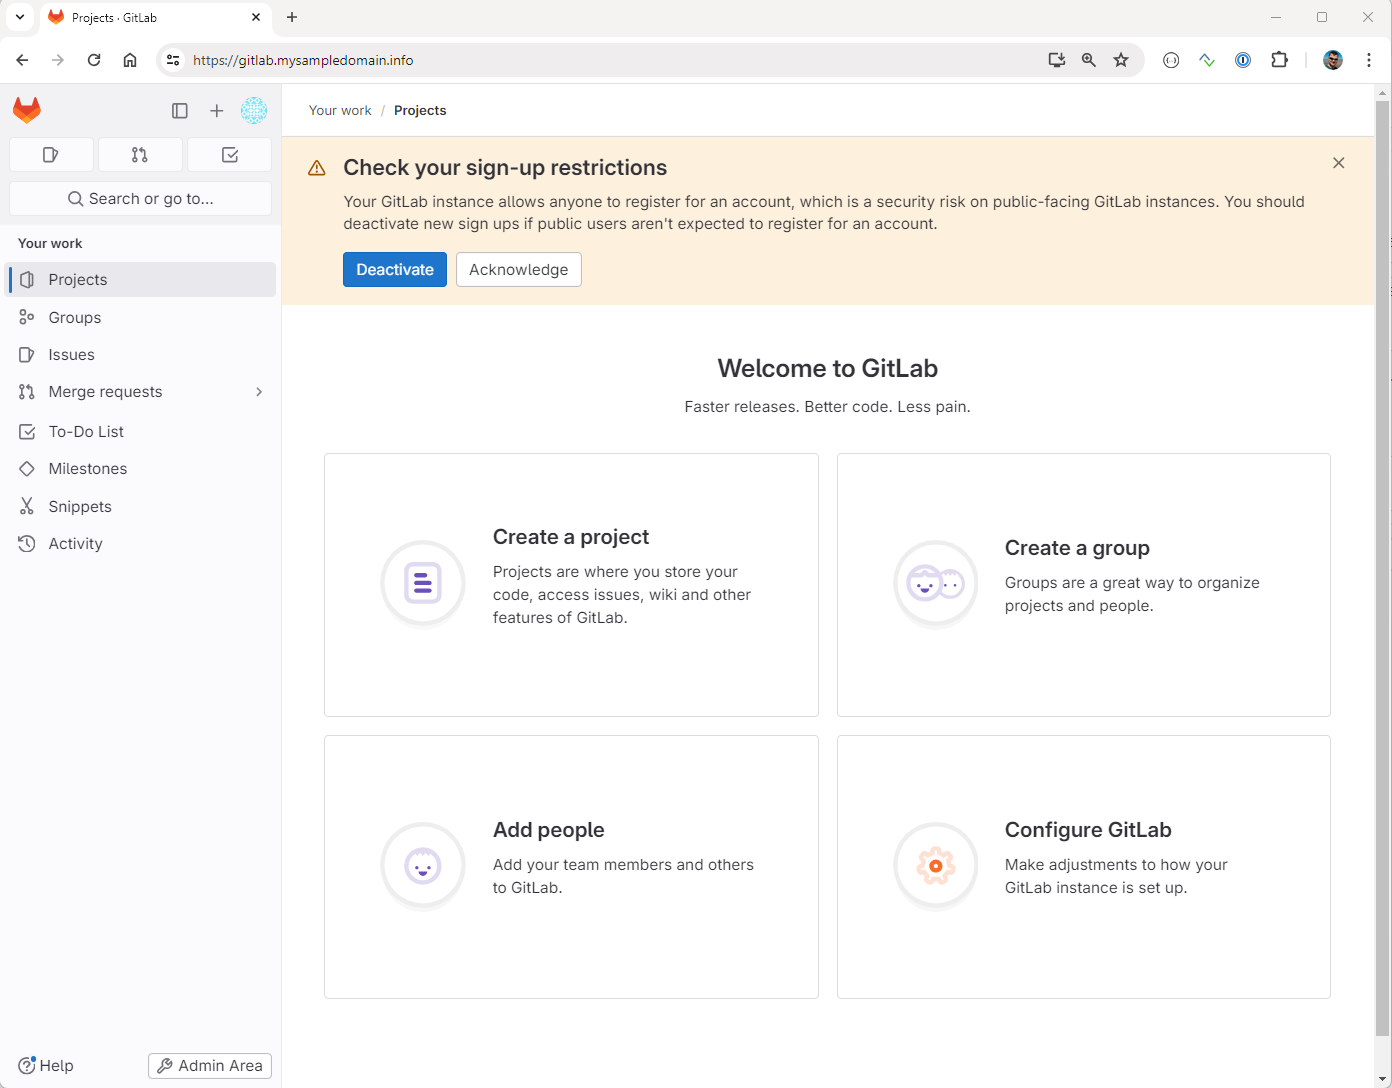
This takes us to the following screen. From there we can utilize various features of GitLab:
Errors during the installation
In case you encounter errors during installation, which you cannot recover, it might be worth to start with fresh installation. Here is the command to delete the chart:
helm uninstall gitlab -n gitlab
After that, you can restart the procedure from Step 2.
What To Do Next
You now have a local instance of GitLab at your disposal. As next steps you could:
Make the installation more robust and secure e.g. by setting up GitLab’s storage outside of the cluster
Configure custom runners
Set up additional users, or federate authentication to external identity provider
These steps are not in scope of this article, refer to GitLab’s documentation for further guidelines.