How to register in myESRI get a trial license for ArcGIS Pro and connect it with EOData on Creodias
What We Are Going To Cover
Create an account in the myESRI portal
Sign up for ArcGIS Pro
Create a virtual machine in Horizon portal Windows 2019 + ArcGIS
Connect EODATA repository to your VM
Prerequisites
No. 1 Account
You need a Creodias hosting account with access to the Horizon interface: https://horizon.cloudferro.com/auth/login/?next=/.
No. 2 Create special virtual machine for ArcGIS
Create a virtual machine in the usual manner but as its image, select Windows 2019 + ArcGIS. It is a special image, filled in with software to communicate with ArcGIS.
If you need help, follow these two articles as general guides to creation of a VM on Creodias cloud:
Using Horizon: How to create a Linux VM and access it from Windows desktop on Creodias
Using the CLI: How to create a VM using the OpenStack CLI client on Creodias cloud
Create an account in myESRI portal
In order to use the ArcGIS mapping platform, you have to create an account in the myESRI portal.
To do so, just go to https://my.esri.com/ and click on Create an ArcGIS public account.
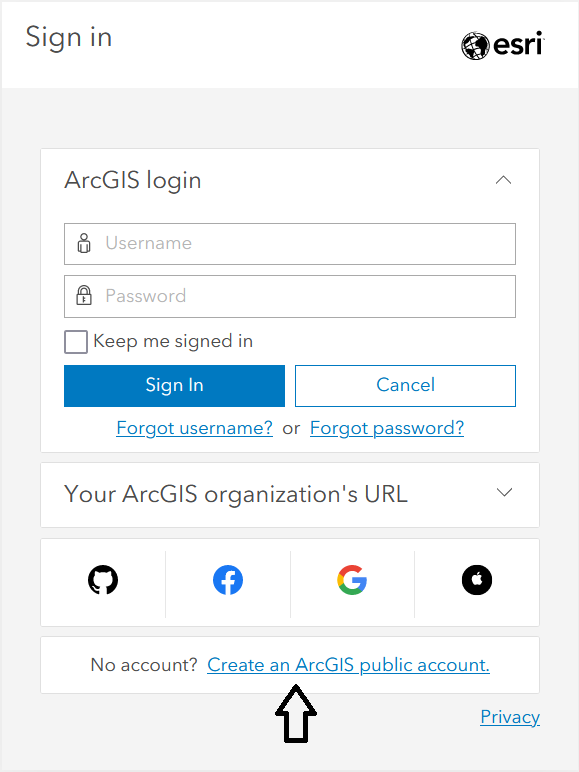
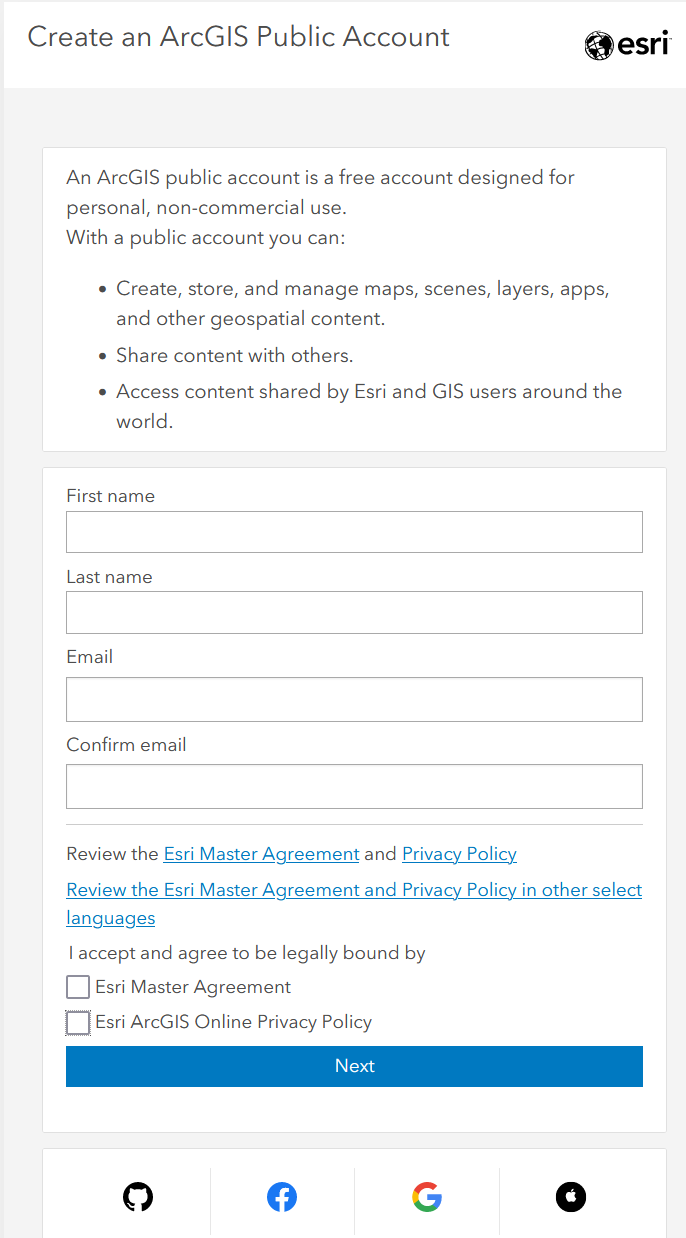
You will be asked for your first and last name and email address. After entering your personal information choose Next (you can also log in using your GitHub, Facebook, Google or Apple accounts).
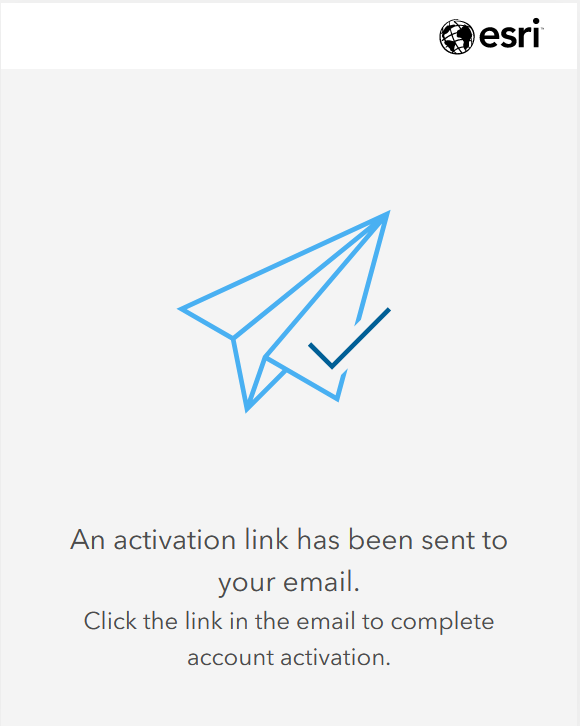
The activation e-mail will be sent into your mailbox.
This is the content of the email message:
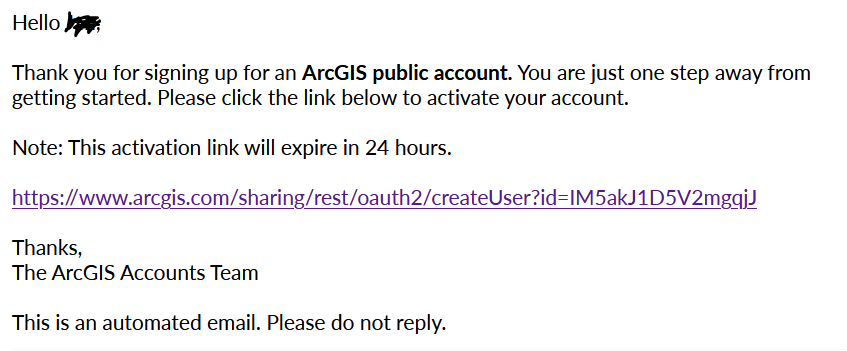
After clicking the activation link, you will be redirected to ESRI website, where you will have to complete the form with your
new username (please choose a unique name),
password,
personal information and
security question in case of retrieving password.
When finished, choose Create Account and you will be allowed to log in using your new username and password.
Once you have your own profile in myESRI, the next step will be signing up for the 21-Day Trial version of ArcGIS Pro.
Sign up for ArcGIS Pro
Go to the website https://www.esri.com/en-us/arcgis/products/arcgis-pro/trial and click the Sign up for the trial box.
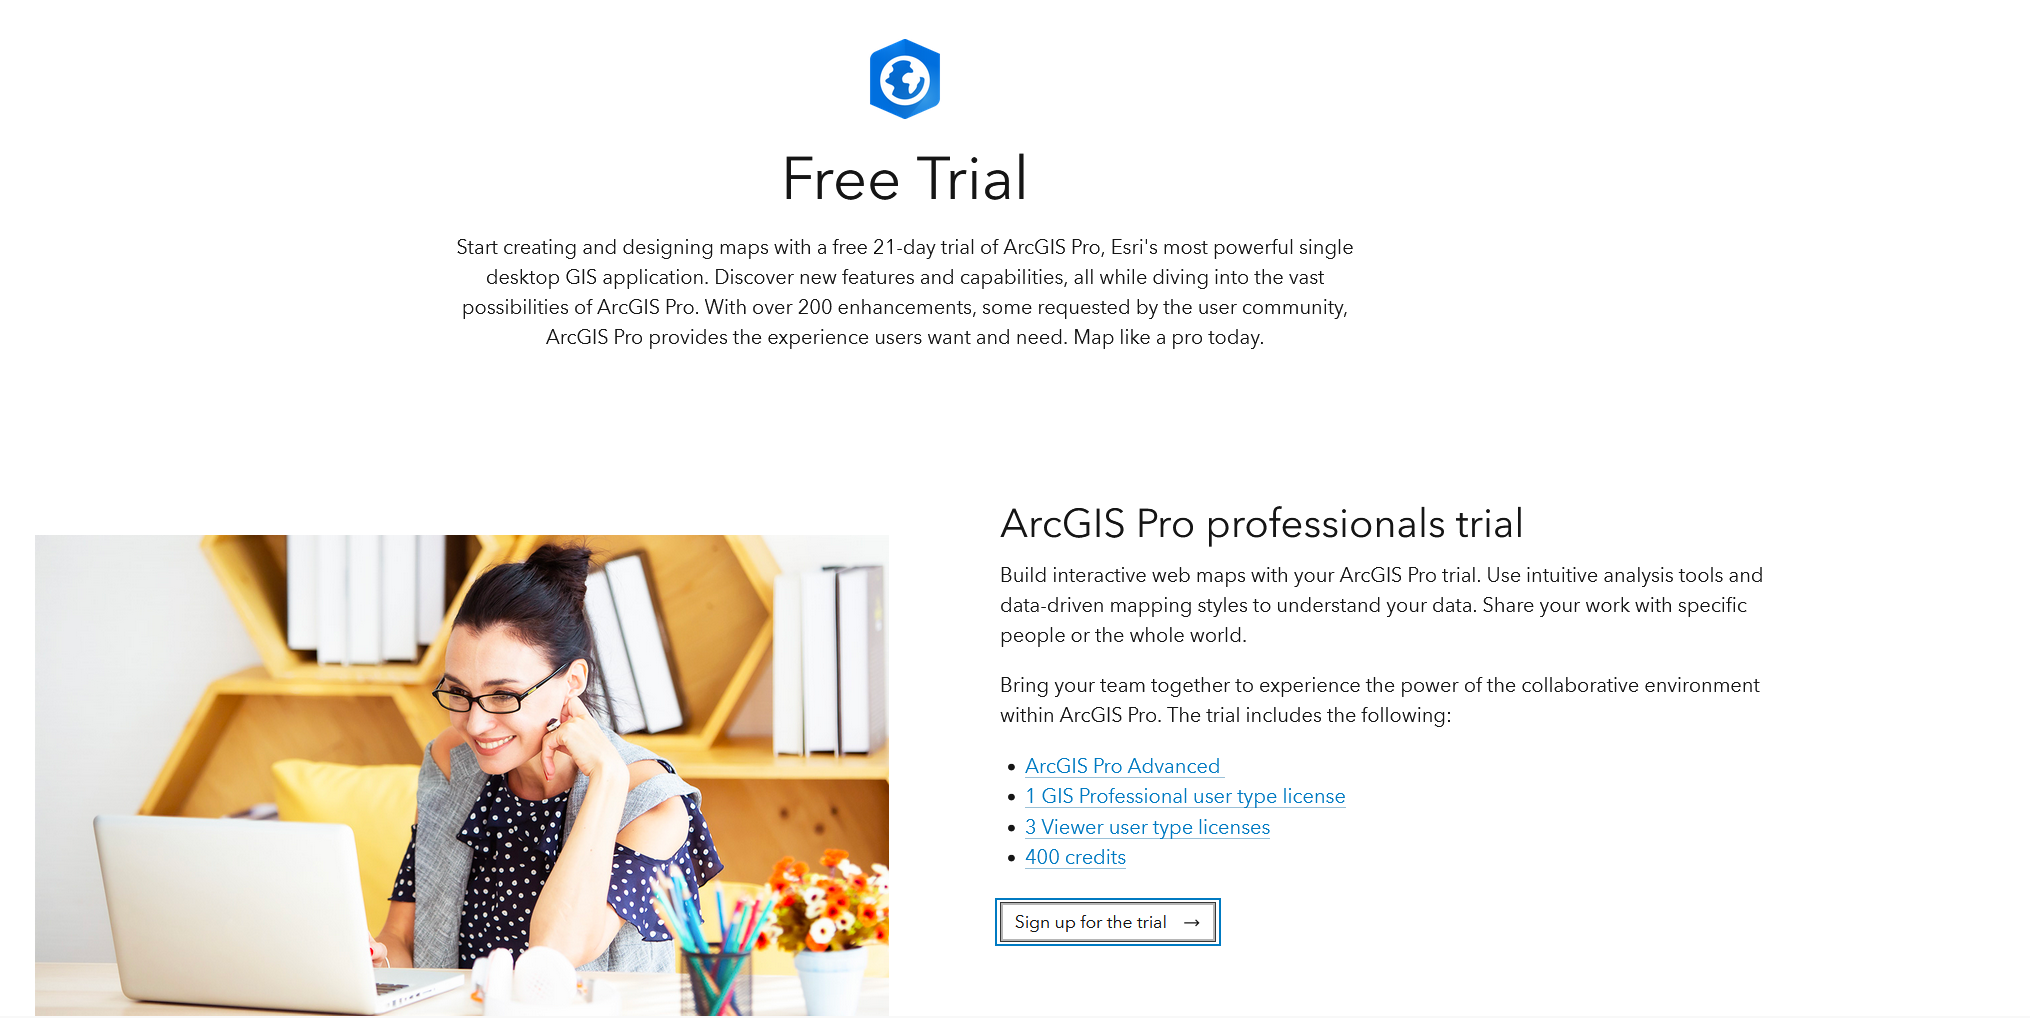
After clicking it you will have to fill out the form.
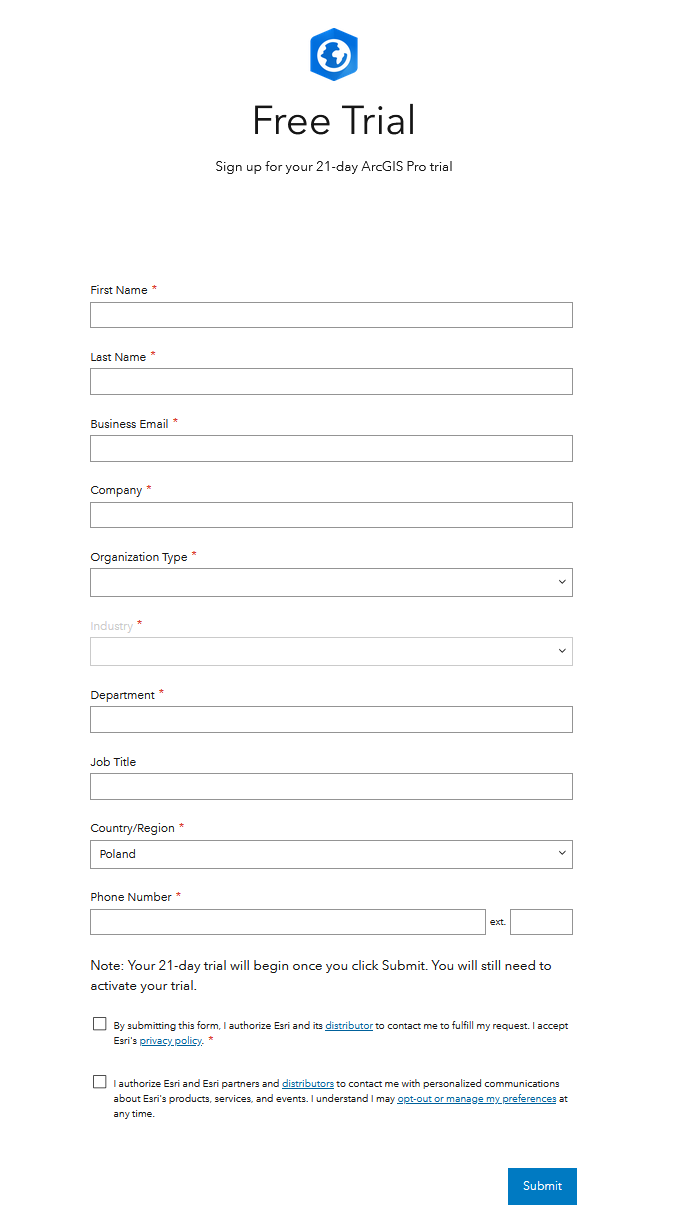
After clicking Submit you will receive a verification email:
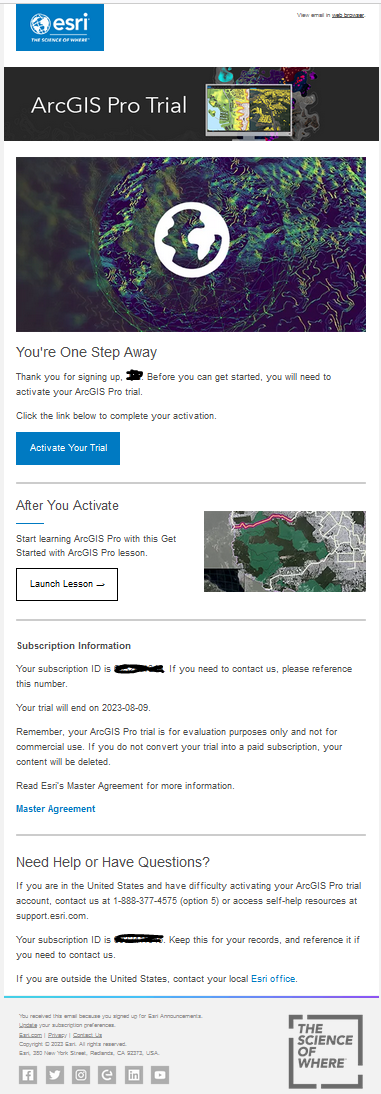
Click the Activate Your Trial box and you will be redirected to a site, where you will have to complete the form with:
new unique username,
password,
security question and an
agreement for the Terms of Use.
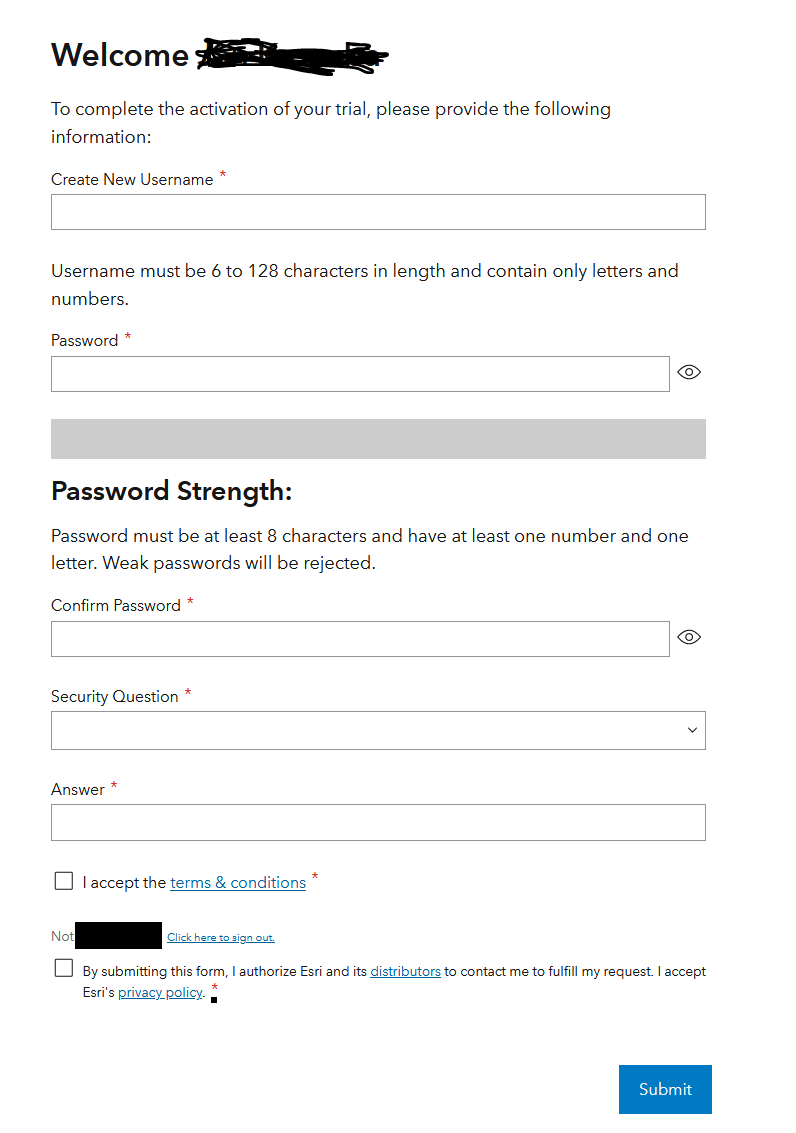
Click Submit box and that concludes the free trial registration.
Create a virtual machine in Horizon portal
Follow Prerequisite No. 2 to create a Windows based VM with ArcGIS in the cloud.
Be patient as the process of initializing this image can take a while (up to 1h).
After launching and logging in to the instance, choose ArcGIS -> ArcGIS Pro from Start Menu.
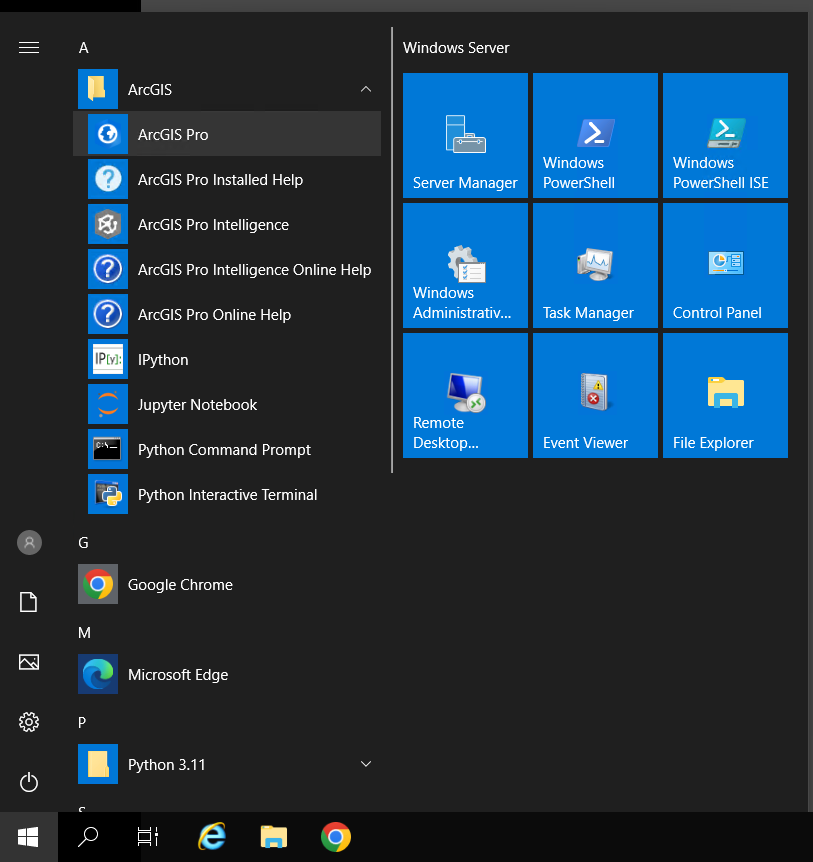
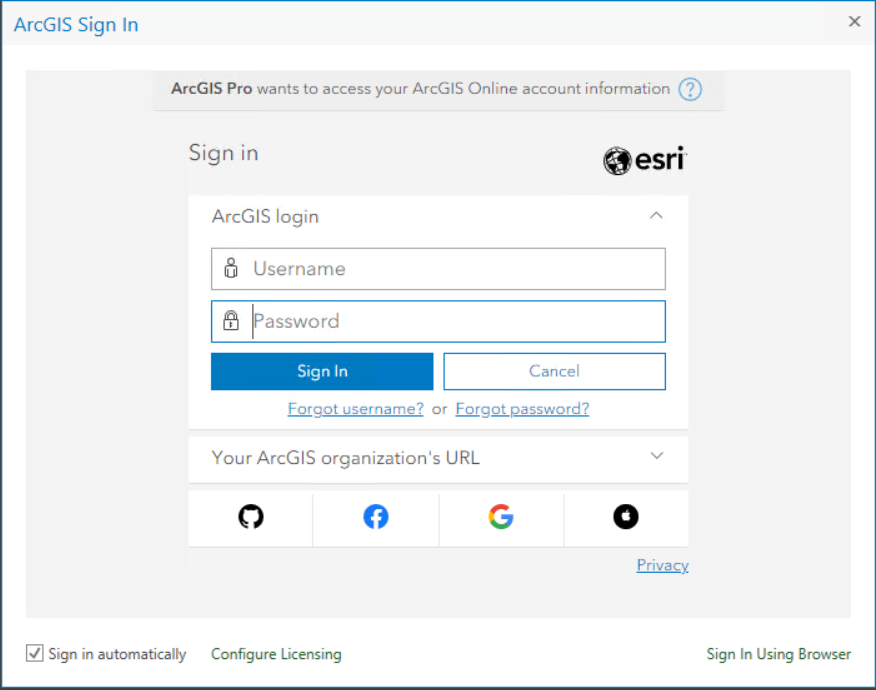
Enter the credentials (username and password) of your account used in free trial registration.
The ArcGIS Pro cockpit will appear.
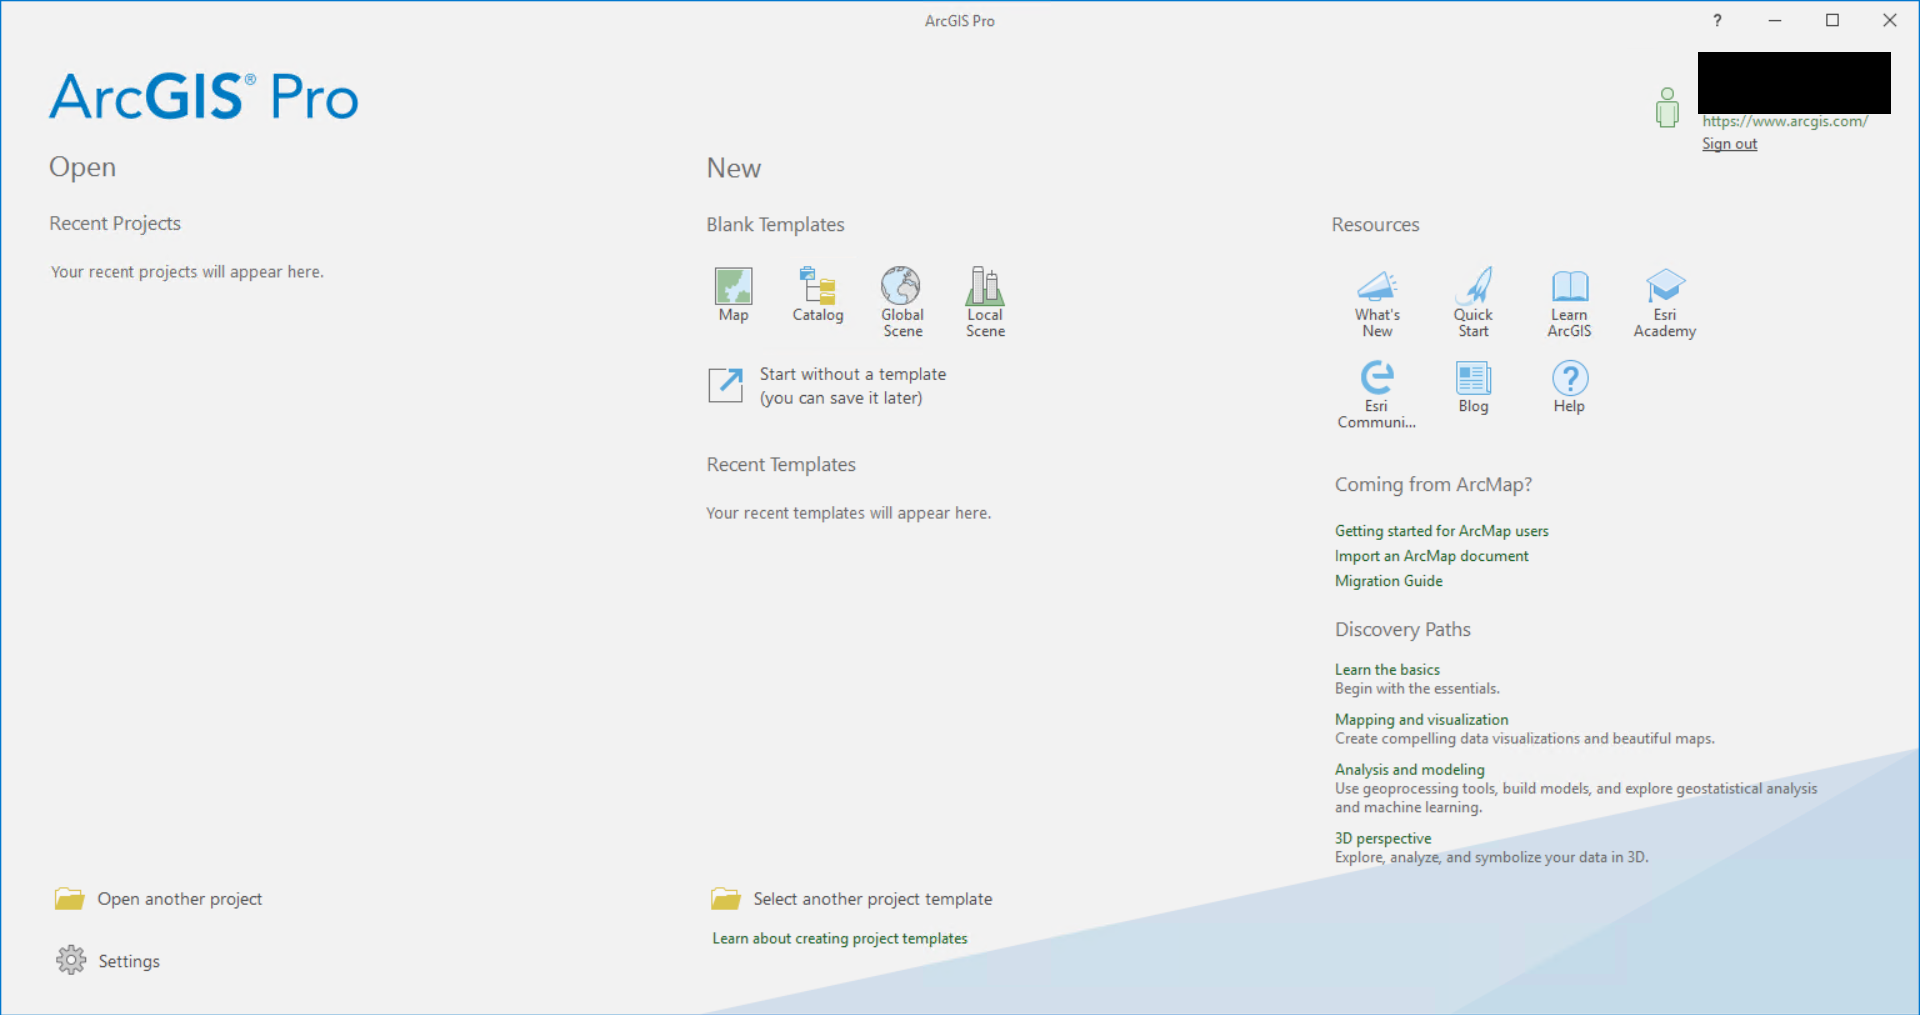
Next step will be connecting EOData repository with existing ArcGIS Pro installation.
Connect EODATA repository to your VM
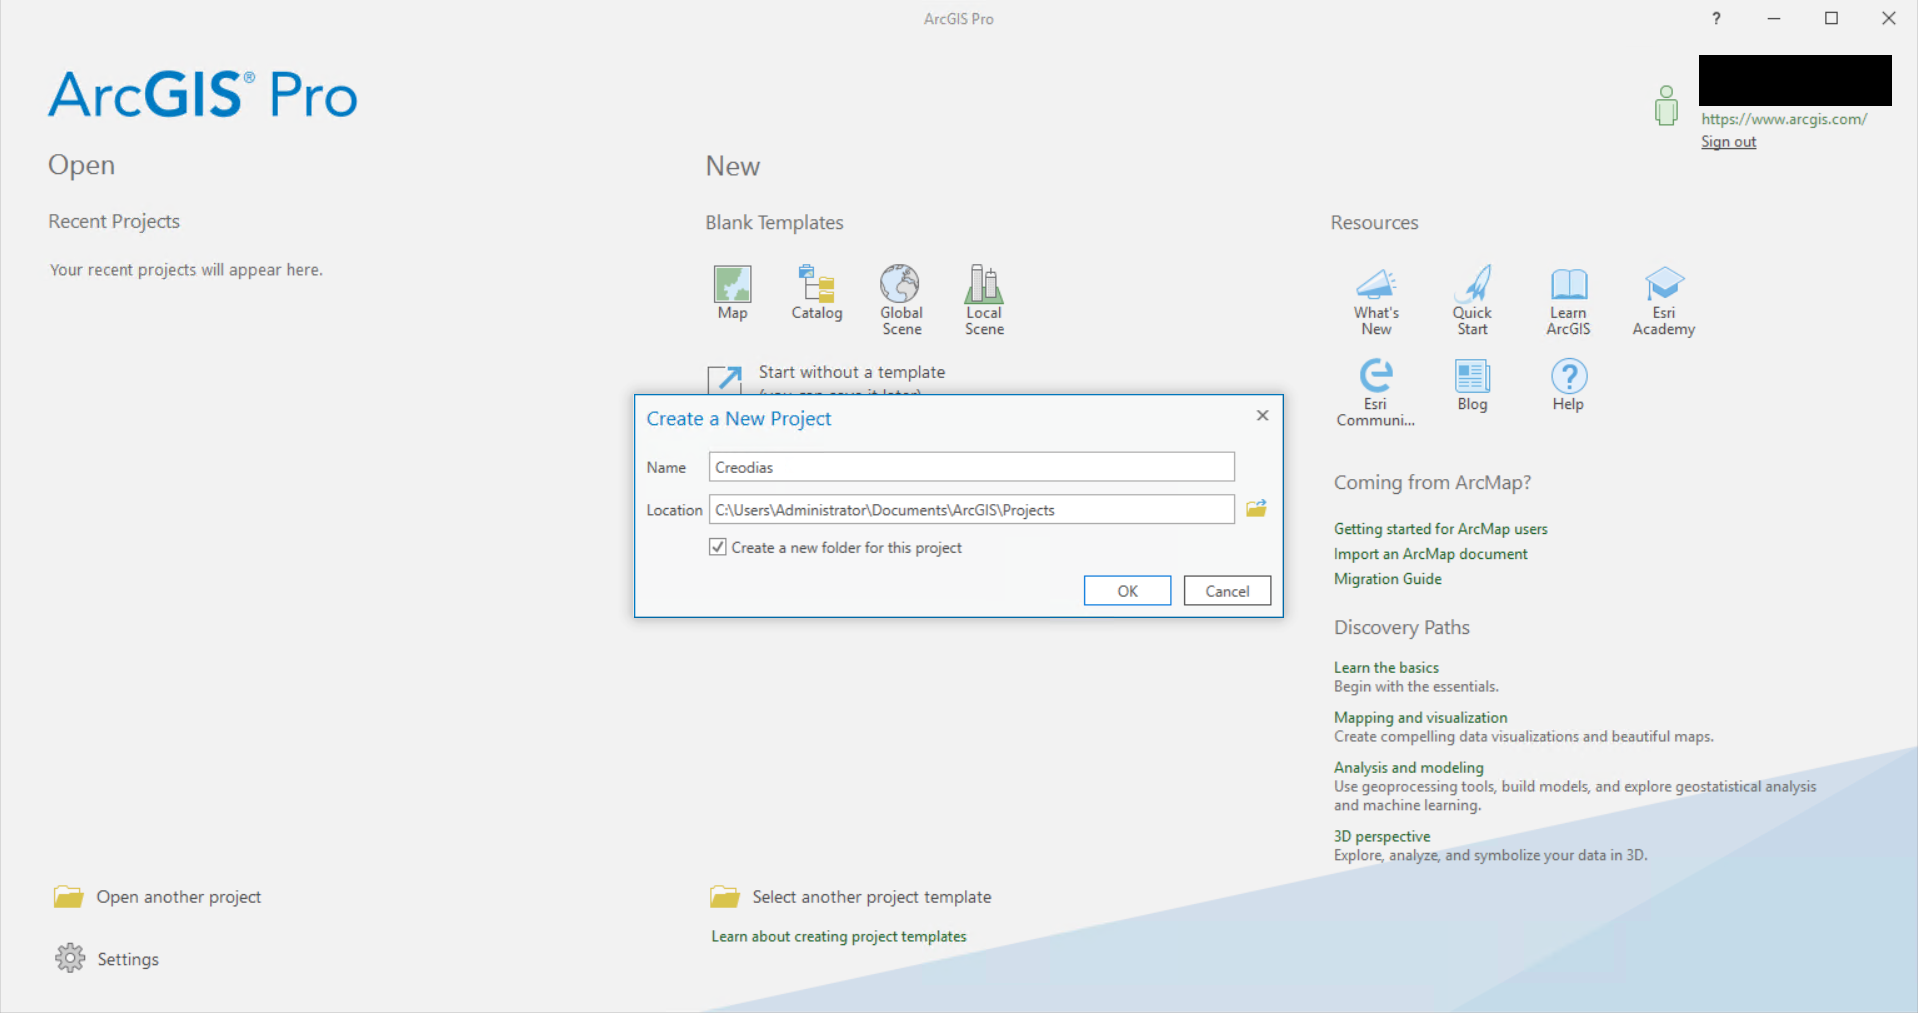
First, click Catalog:
You will be asked for name and path for the newly created project.
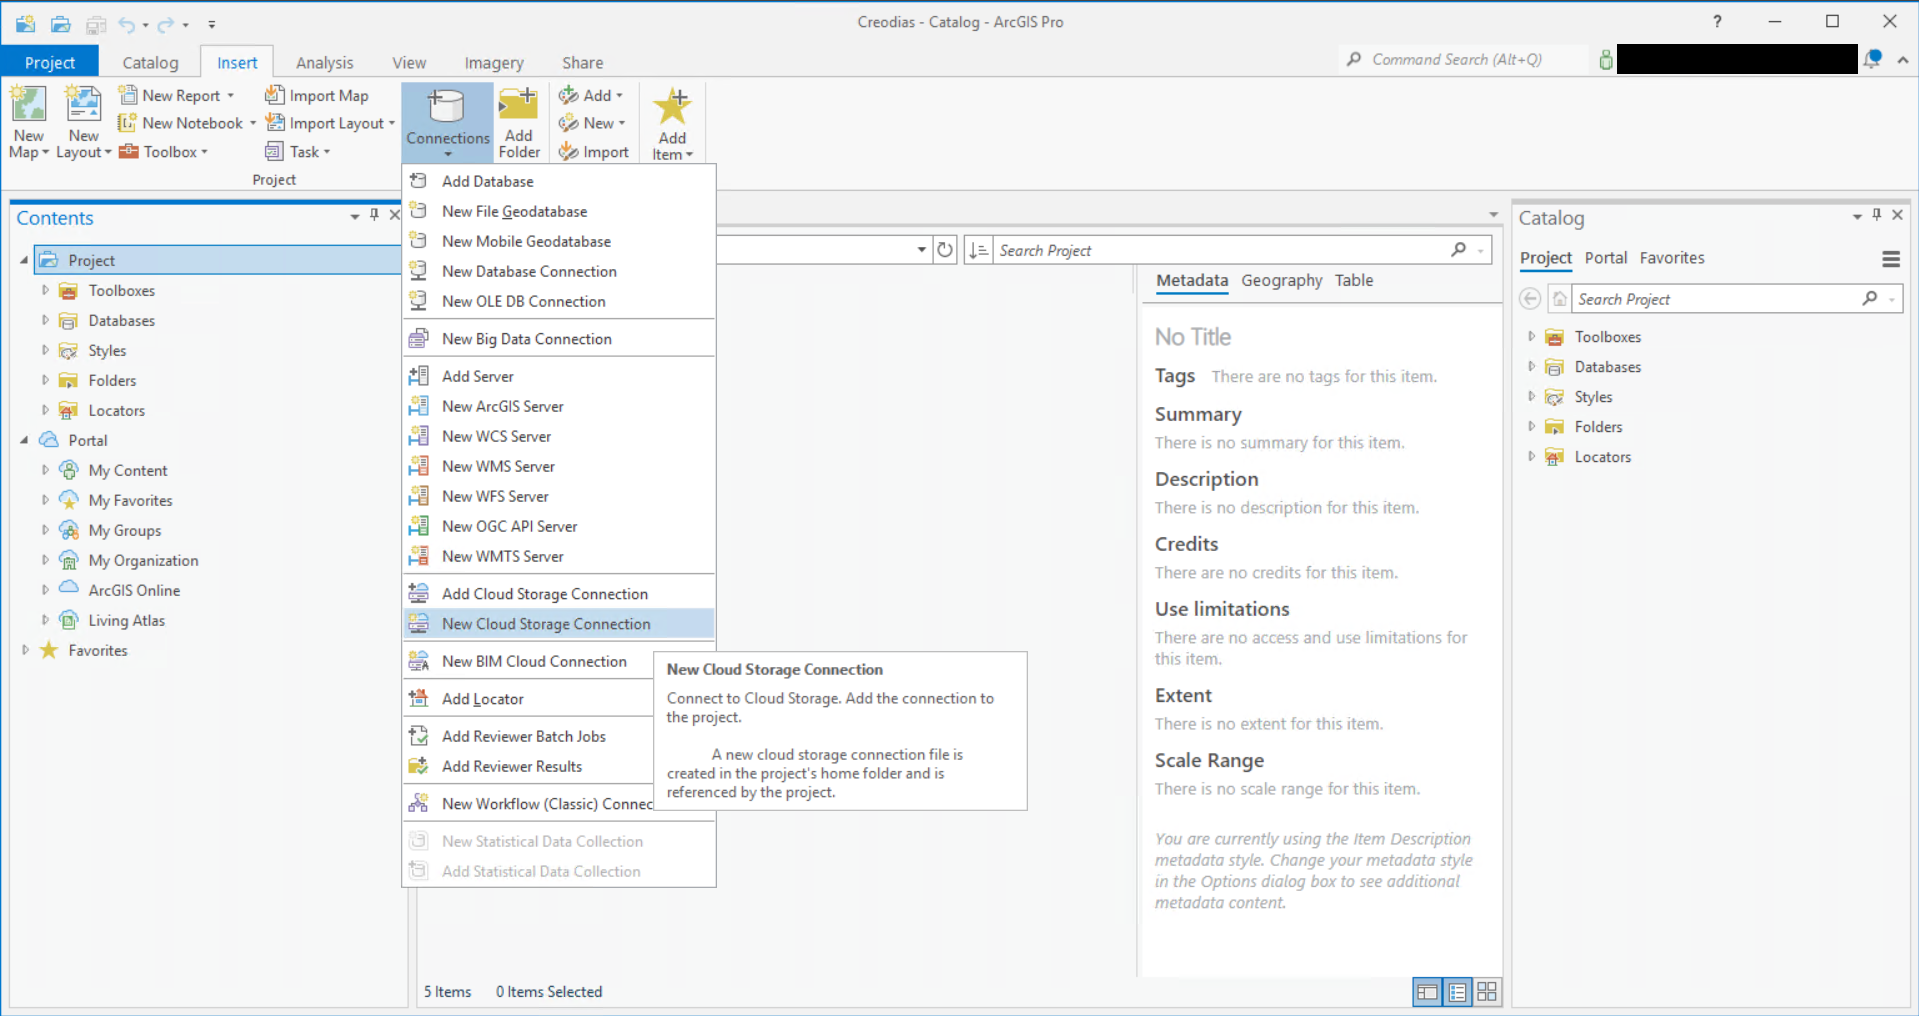
In Catalog menu, choose Insert tab, select Connections and New Cloud Storage Connection.
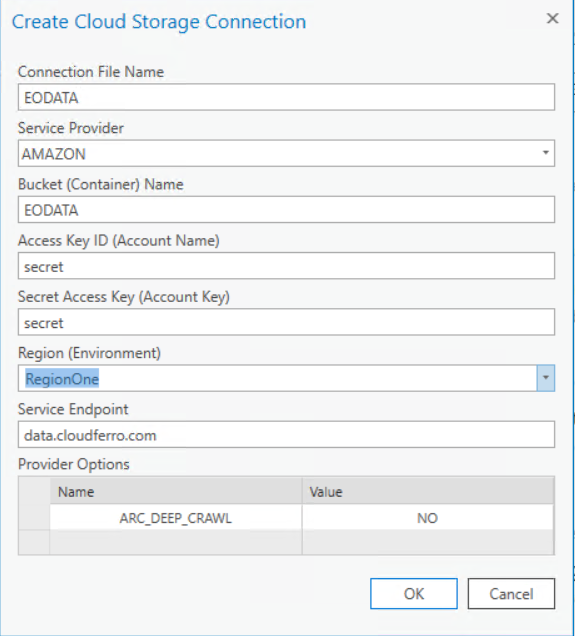
You will have to set up connection using the following values:
Service Provider : AMAZON
Bucket (Container) Name: EODATA
Access Key ID (Account Name): access
Secret Access Key (Account Key): access
Region (Environment): RegionOne
Service Endpoint: data. cloudferro.com
After accepting configuration, enter the folder of your project, and click on the file with name of your project and .acs extension.
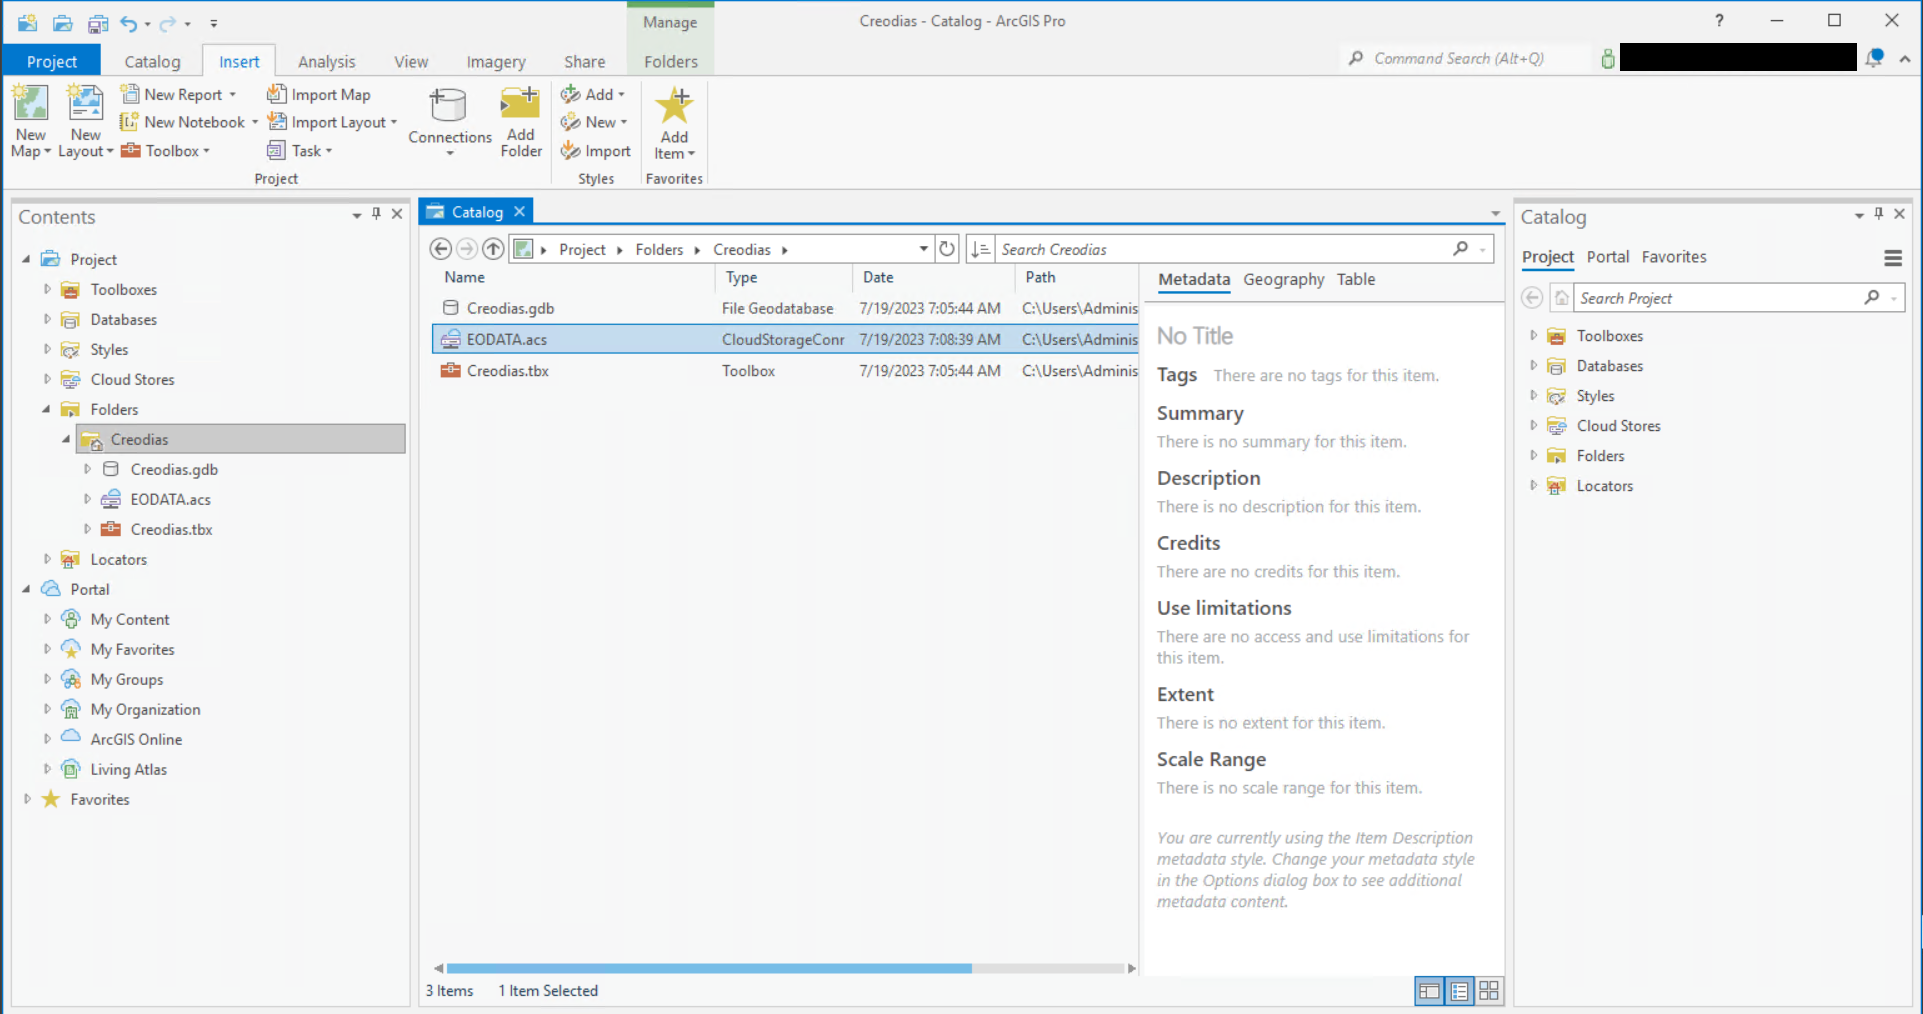
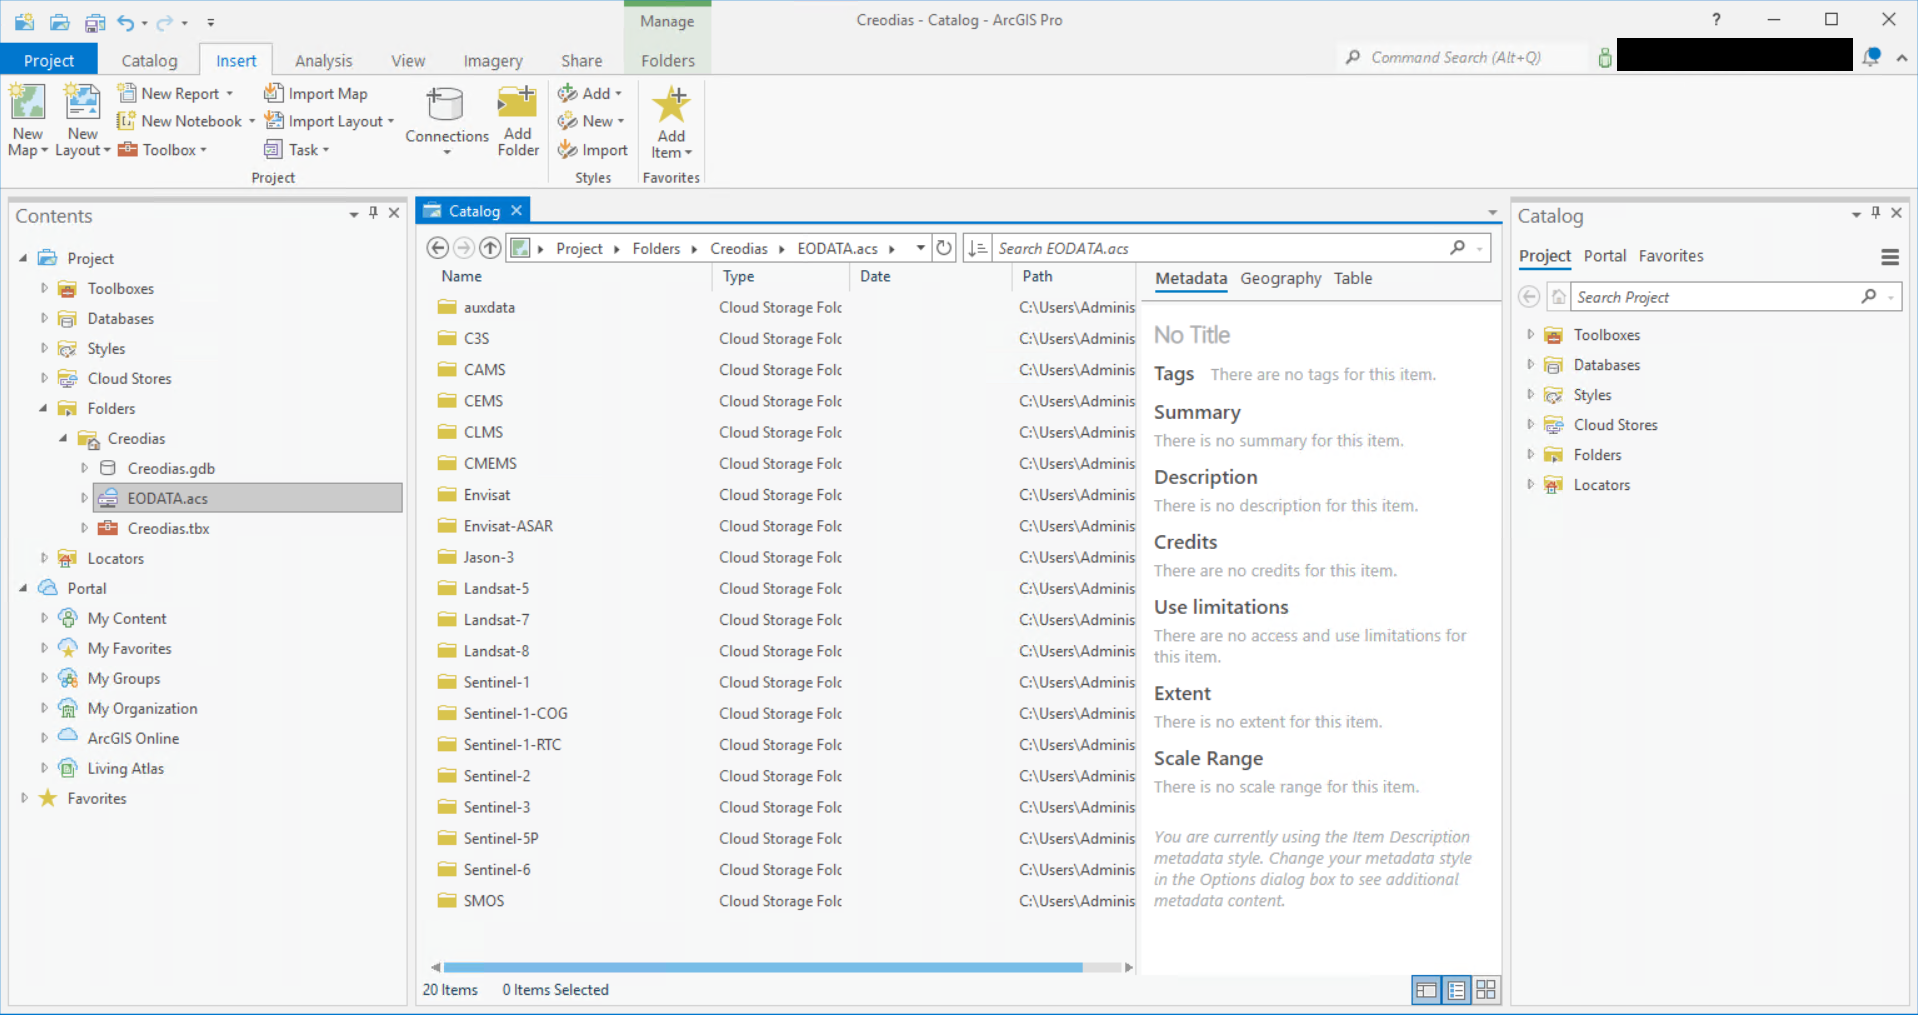
You will be able to browse EOData repository now.
