How to access Sen4CAP
Prerequisites
No. 1 Register or select your account
If you want to use Sen4CAP and you do not have Creodias account yet, first see article Registration and Setting up an Account and create the account. Once you log in, under Management Interfaces select and click on the Management Panel you want to work with.
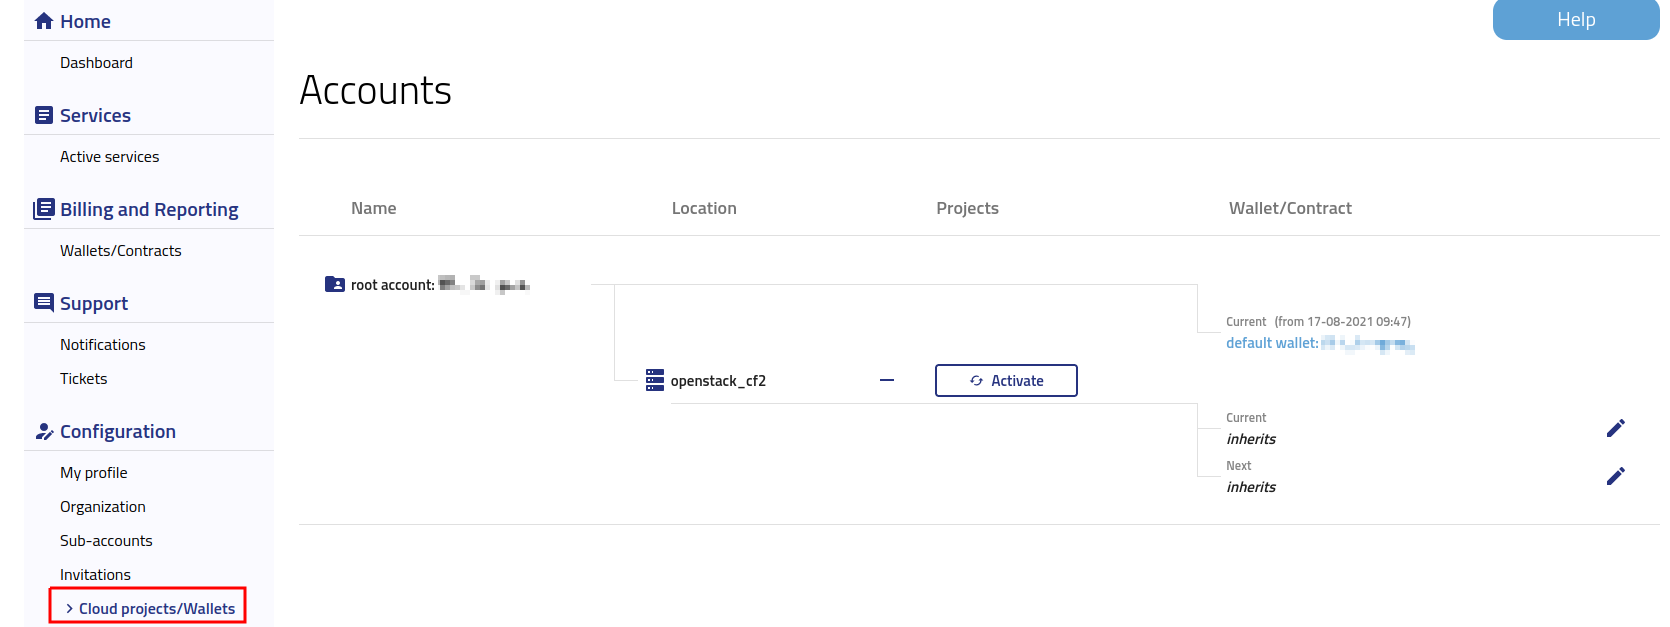
Log into your hosting account with Horizon interface https://horizon.cloudferro.com/auth/login/?next=/.
No. 2 Prepare key pair for SSH access
You will need to have a key pair for SSH access when creating a VM to access Sen4CAP with. You can create one following by this manual: How to create key pair in OpenStack Dashboard on Creodias.
No. 3 Add security group with ports 443 and 8080 open
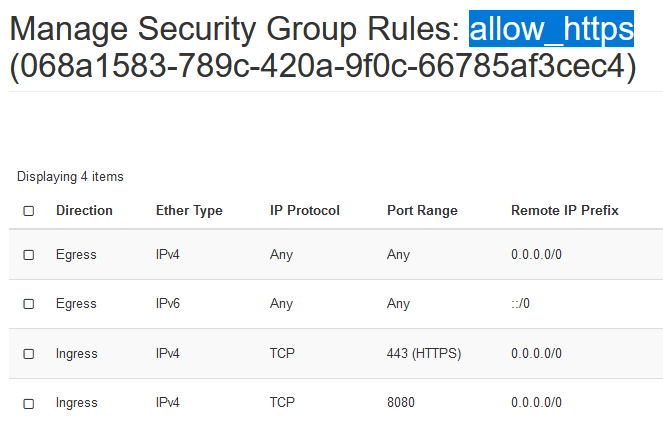
To make these ports available, create a new security group called allow_https and use it while creating a VM for Sen4CAP. That guide is How to use Security Groups in Horizon on Creodias. The rules you should have are:
2. Instance creation
To access Sen4CAP you must first create an instance that supports Sen4CAP in project with access to EOData.
To do this, go to Project → Compute → Instances and press the Launch Instance button.

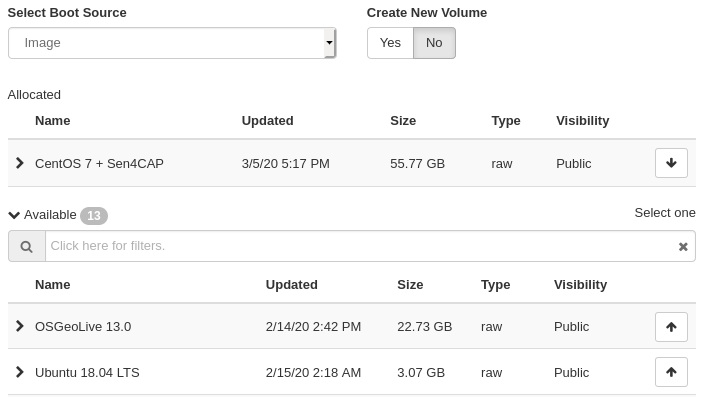
In the window for creating a new instance in the “Source” tab, select image CentOS 7 + Sen4CAP by pressing the arrow button.
We recommend select the “No” option when choosing Create New Volume.
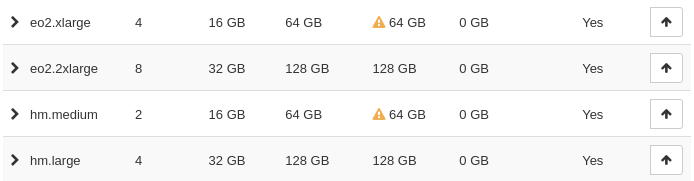
Due to the large image size, the minimum available flavor to run the machine is eo2.2xlarge. Choose this flavor or higher in the Flavor tab by pressing the arrow button.
Triangular warning signs mean that the flavor is too small to start the machine with the selected image.
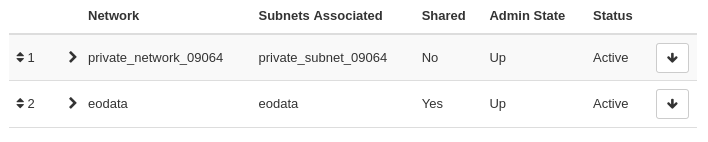
In the Networks tab, select your private network and a network to connect with EODATA. Examples of private networks names are private_network_29401 and cloud_00341_ while networks with access to EODATA usually contain word eodata.
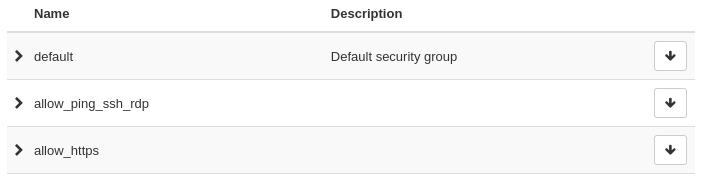
In the Security Groups tab, select allow_ping_ssh_rdp and the group that will allow ingress traffic on port 443 (HTTPS) e.g. allow_https.
You can use several networks, like this:
After entering the necessary data, press the Launch Instance button.
The newly created instance should be visible in Project → Compute → Instances.

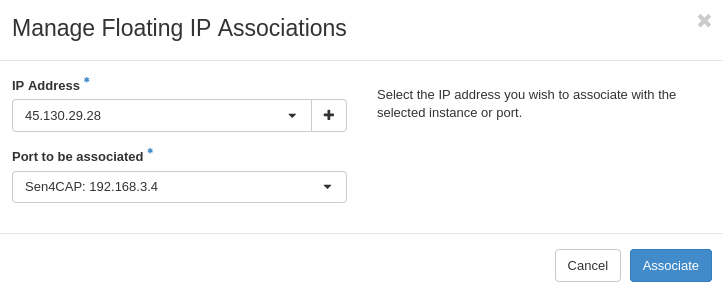
Select the Associate Floating IP option from the Action column. A window with the option of adding a floating IP should be visible.
Select the already assigned floating IP or add a new one from the pool by pressing the plus button. Remember to assign the floating IP address to your private network address.
Finally press the Associate button
You can check the attached floating IP address in Project → Compute → Instances. A floating IP address is required to access Sen4CAP.

3. Access to Sen4CAP
Sen4CAP is available from the browser level.
Open your browser and enter the address below. You can copy your machine address (Floating IP) from Project → Compute → Instances (in the example above it would be 45.130.29.28).
https://<Floating IP>
In case of CentOS 7 + Sen4CAP 3.1 SRTM image based instance, type the following address instead:
http://<Floating IP>:8080

Note
If you’re using Chrome browser, you’ll need to install the appropriate certificate.
4. First login
After loading the page, you should see the Sen4CAP page.

If you can’t see the Sen4CAP page, you might try logging to your VM trough SSH (see How to connect to your virtual machine via SSH in Linux on Creodias) and entering the following command:
sudo systemctl start sen2agri-services
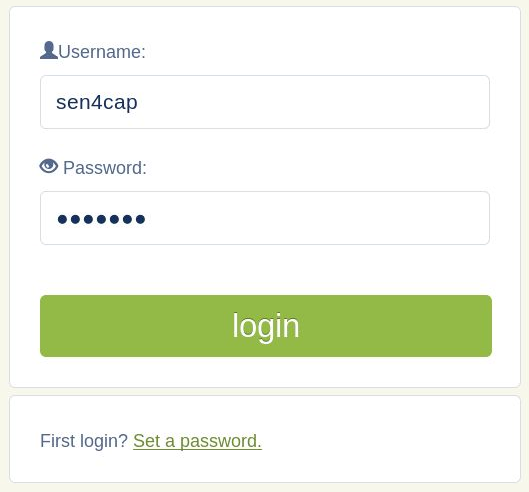
You will be redirected to the login page. The default user is:
Username: sen4cap
Password: sen4cap
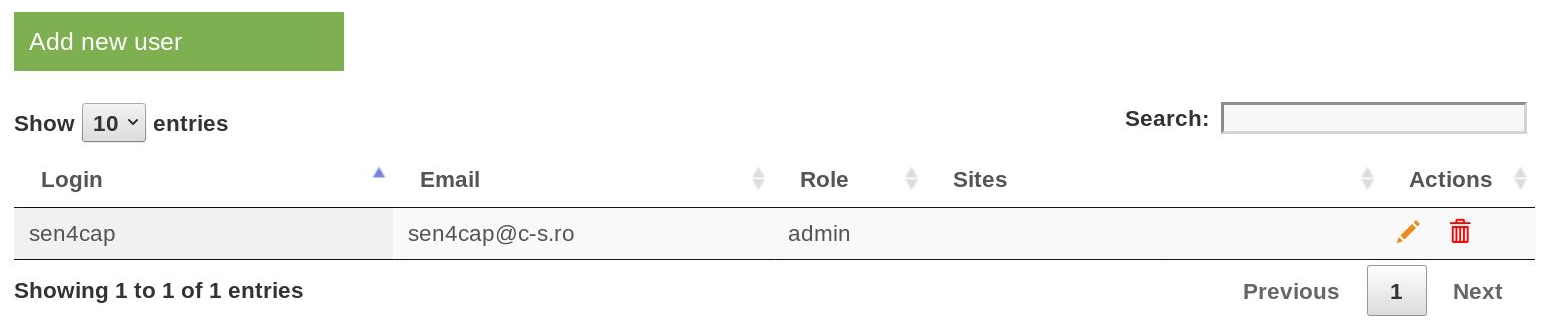
After logging in to the default users “sen4cap”, go to the user tab.

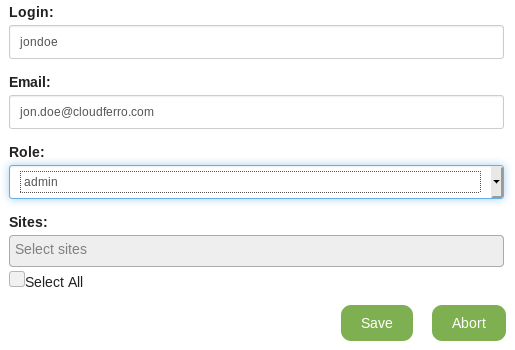
Press the Add new user button to create a new user.
Create a new user with administrator rights, and press Save button.
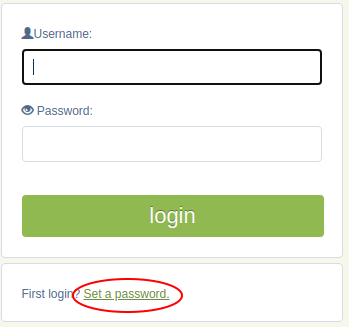
After creating a new user, press the logout button on the bar. You will be redirected back to the login window, but now click on the Set a password link.
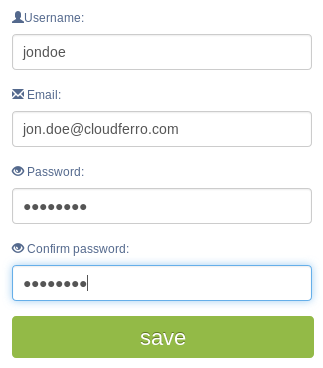
If you want to create a password for a newly created user, enter a new password and press save.
After successfully logging in, go to the users tab and remove the user sen4cap by pressing the trash can button next to that user.

From now on you can use Sen4CAP freely.
If you need information and support how to use Sen4CAP, please contact with Helpdesk and Support.