How to correctly delete all project resources via Horizon Dashboard on Creodias
The billing system on Creodias hosting will charge you for all the resources present in the system, regardless of you using them or not. You should delete the resources you are not going to use any more. Deleting the project before deleting its resources makes them orphaned. You will not be able to delete orphaned resources on your own but will continue paying for them.
Warning
To correctly delete the resources and the project, delete the resources first and only then the project itself.
This article describes how to delete resources via OpenStack Horizon. To delete them through OpenStack CLI commands, see How to correctly delete all project resources using OpenStack command line clients on Creodias.
Choose the right project first
To start, enter the cloud environment as usual, via the link https://horizon.cloudferro.com/auth/login/?next=/.
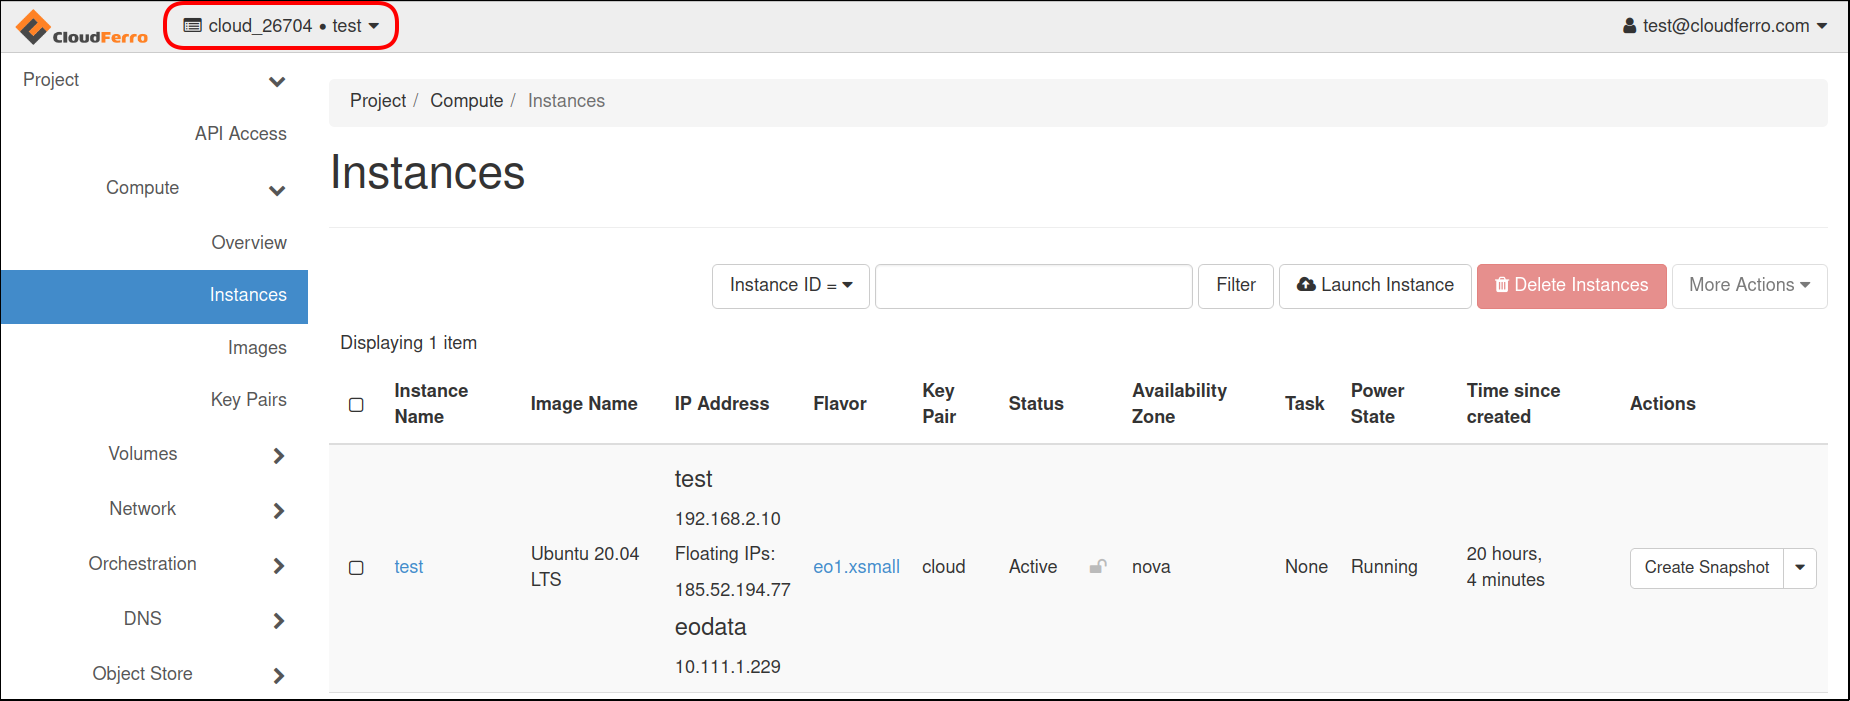
Note the name of the project in the left upper corner and switch to the right project, if needed.
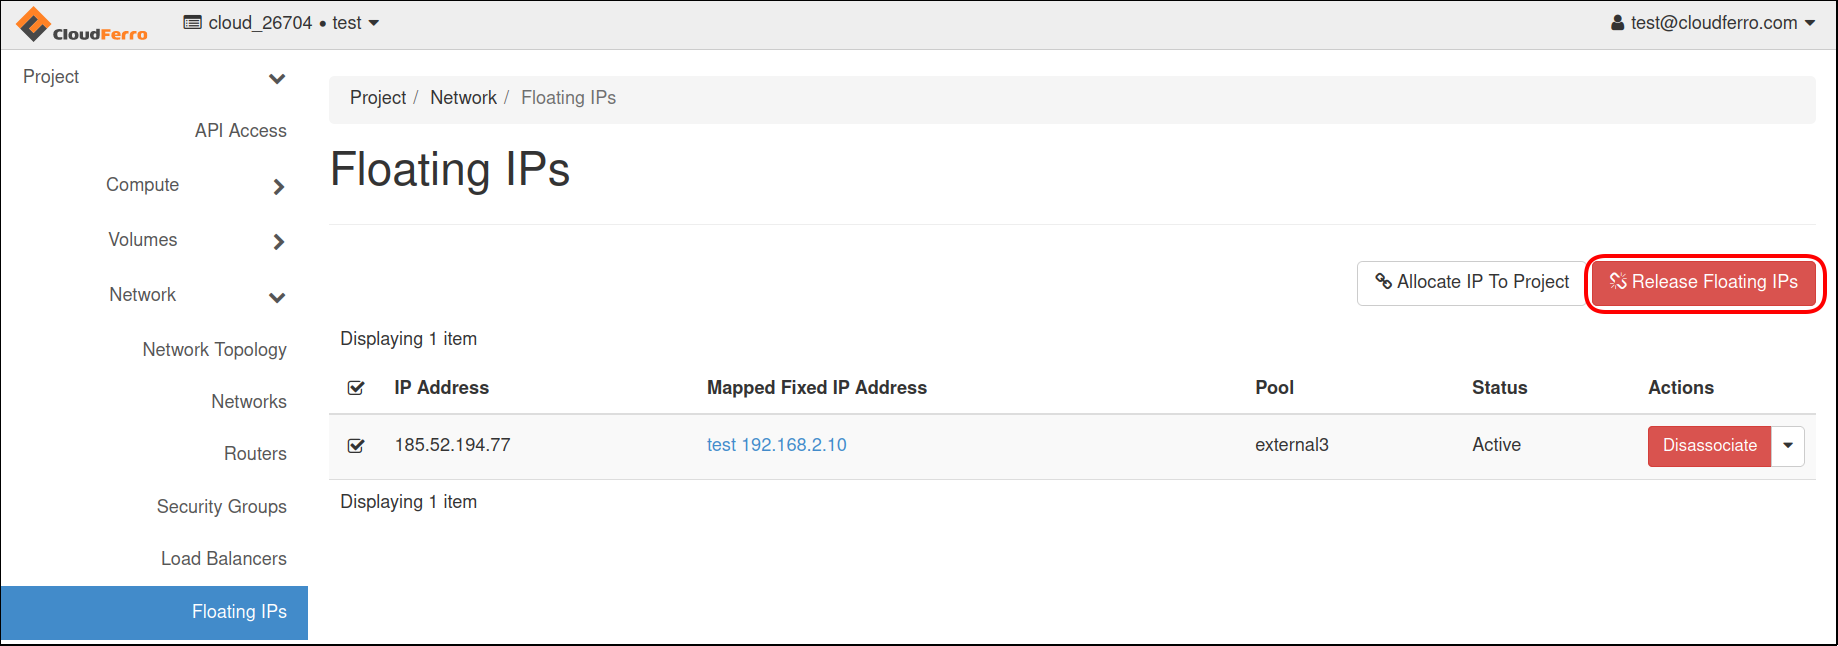
1.Select Network → Floating IPs → mark Floating IP and press Release Floating IPs.
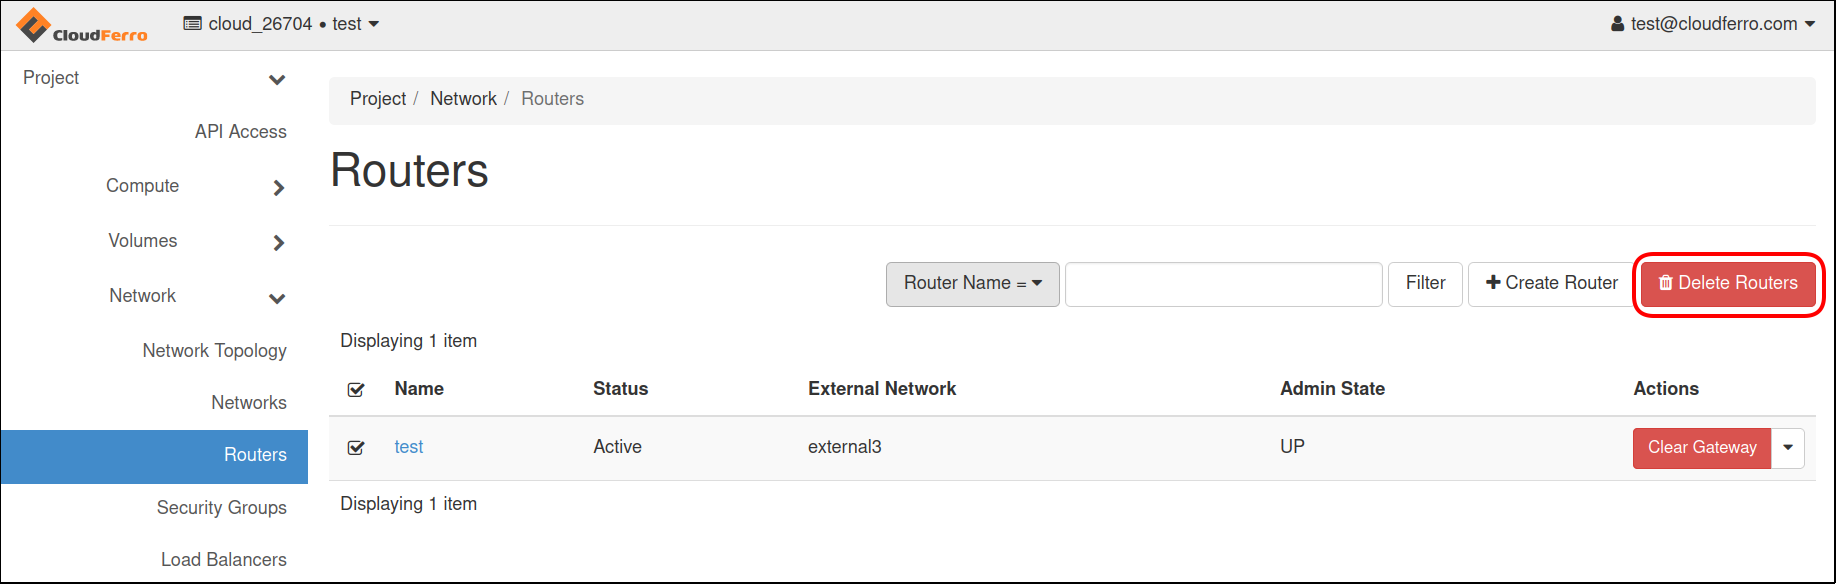
Go to Network → Router → mark Router and press Delete Routers.
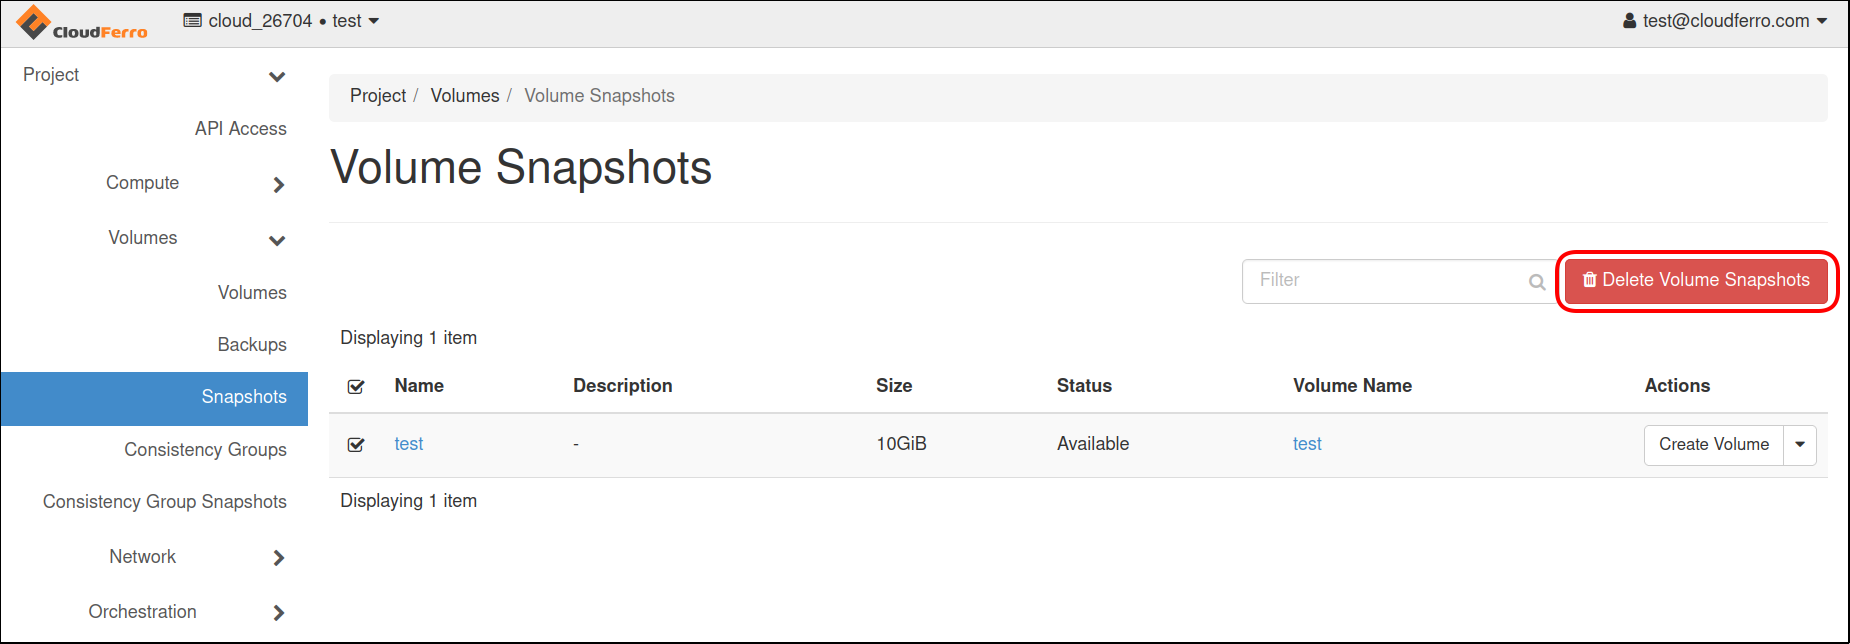
On the Project tab, open Volumes → Snapshots and delete all snapshots by marking and pressing Delete Volumes Snapshots.
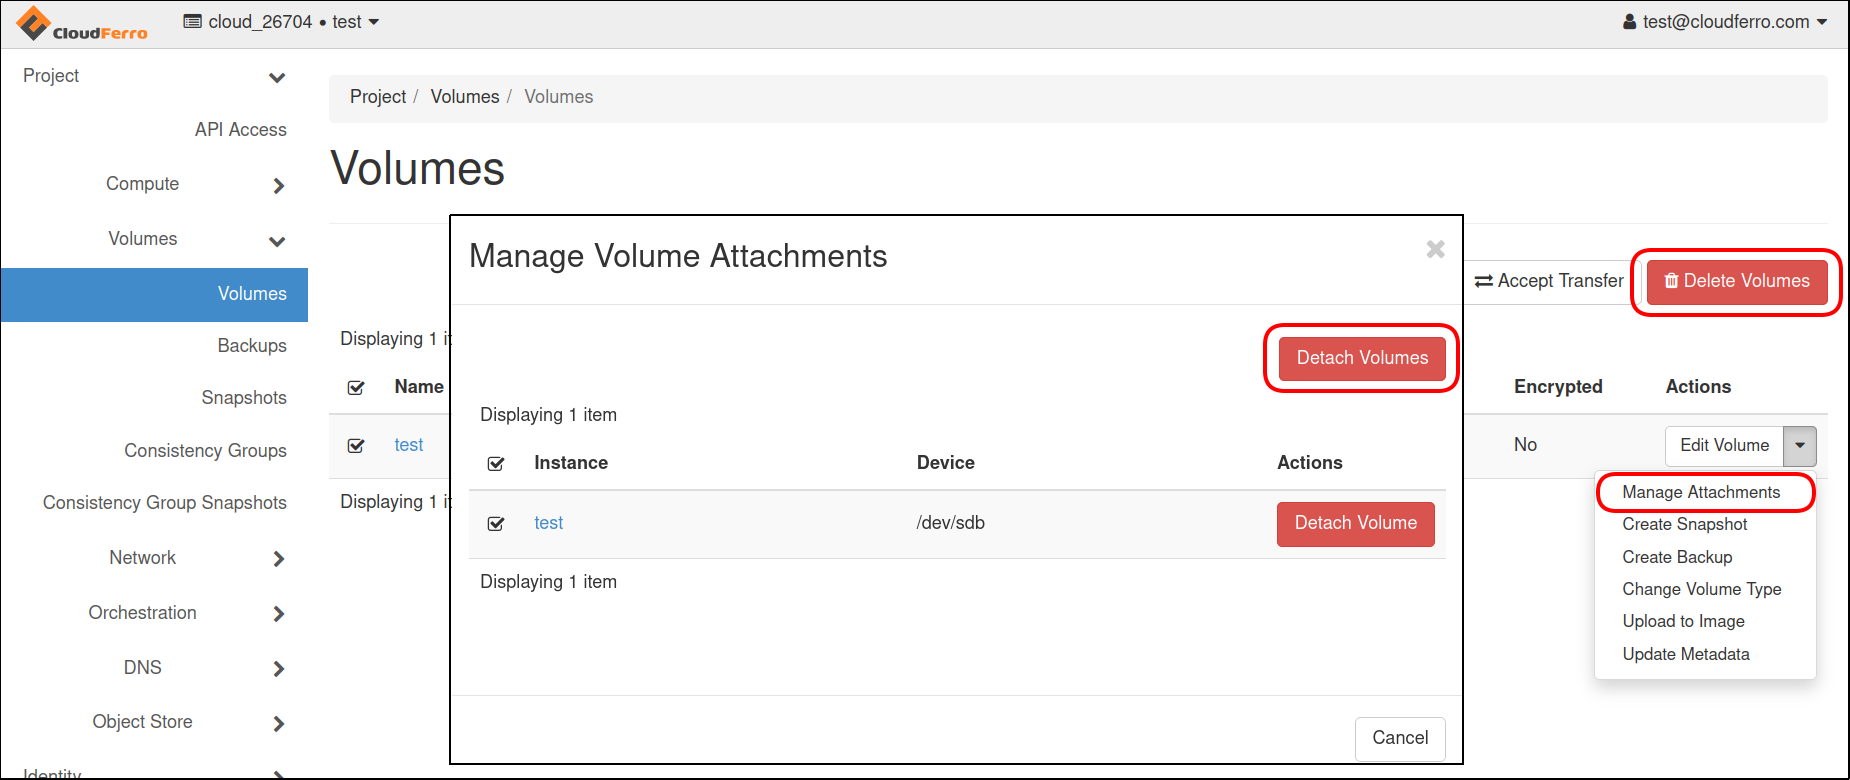
Switch to Volumes and from drop-down list select Manage Attachments. Then press Detach Volume. Finally mark volumes and delete by pressing Delete Volumes at the right side.
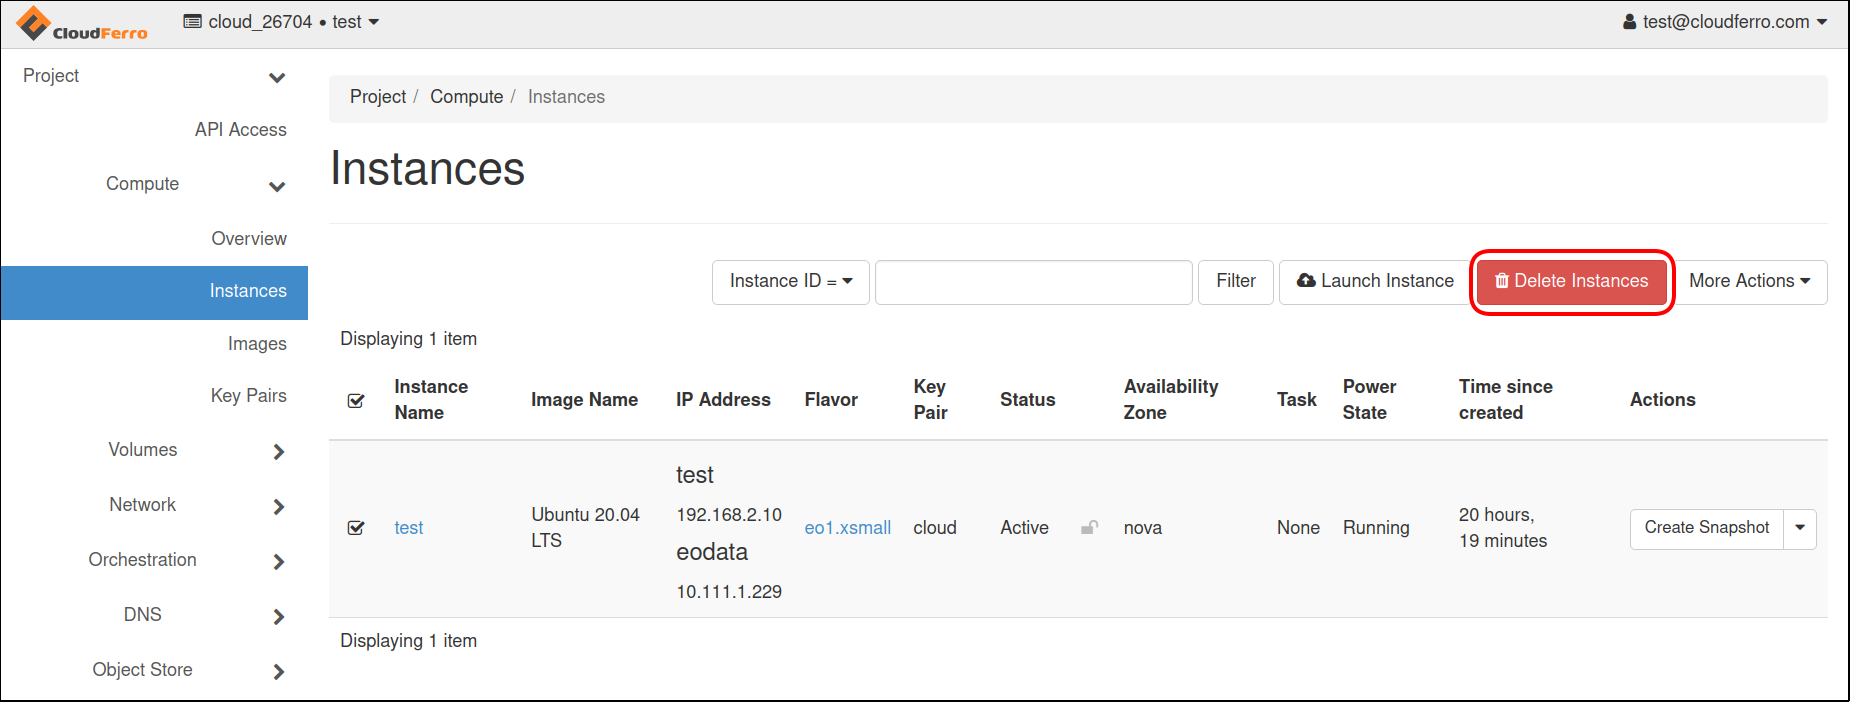
Go to Compute → Instances. Select all instances and click Delete Instances.
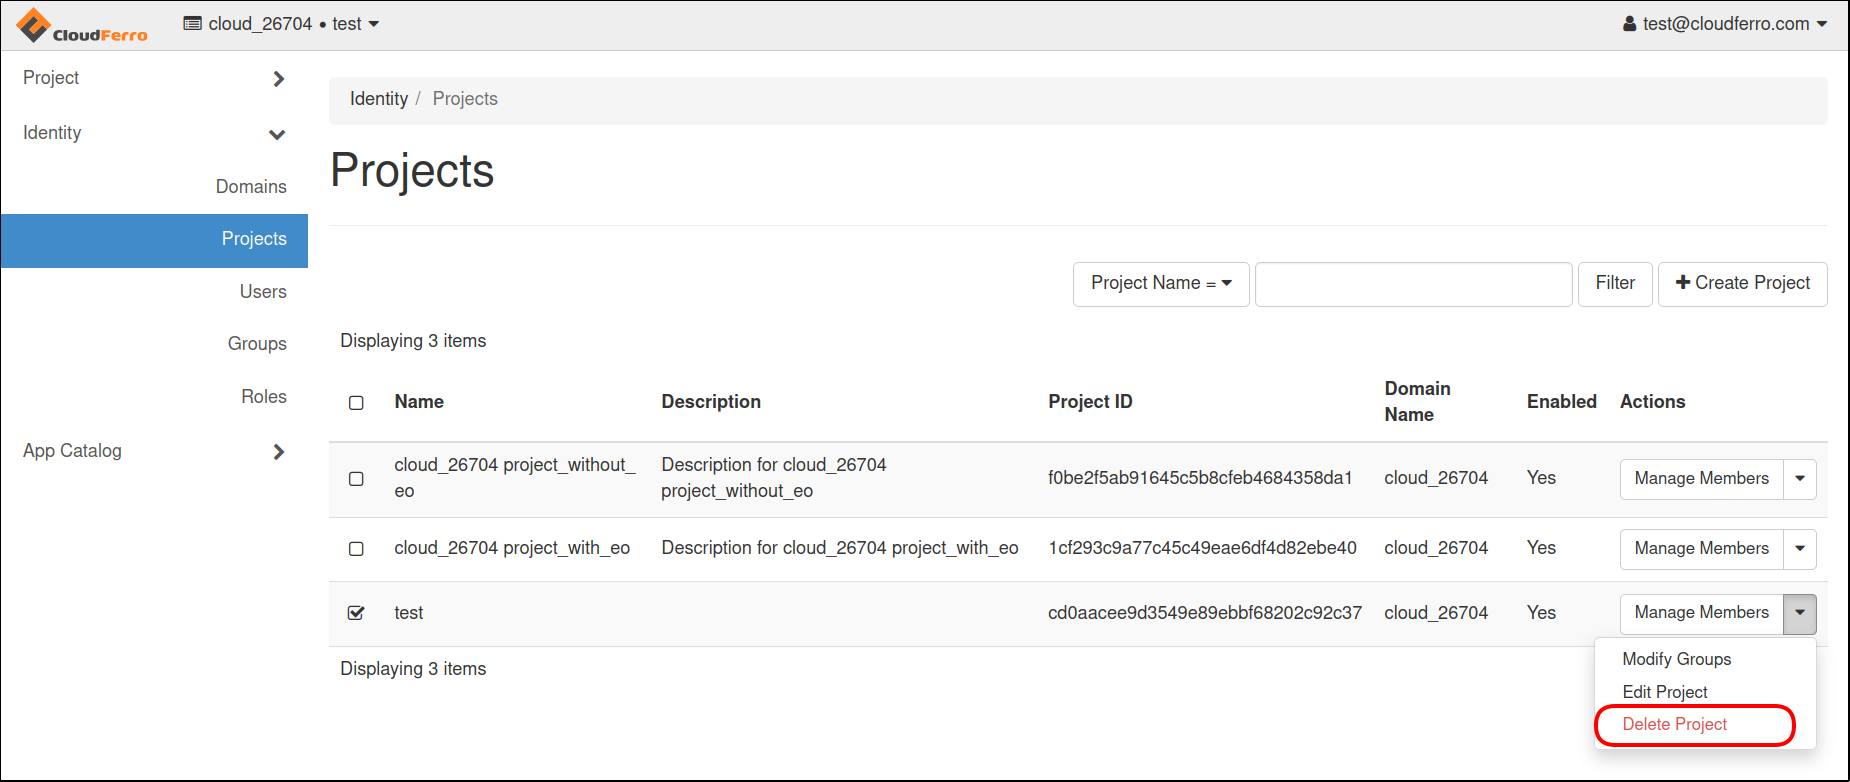
At the end, select Identity → Projects and from the drop-down list select Delete Project.