How to get access to the GUI of a OSGeoLive VM using X2go on Creodias
What is OsGeoLive?
OSGeoLive is an easy-to-use and self-contained Linux distribution that is focused on showcasing and providing access to a wide range of open-source geospatial software applications and tools.
The main purpose of OSGeoLive is to provide a pre-configured and ready-to-use environment for users who are interested in geospatial data processing, analysis, and visualization. It includes a variety of geospatial software, libraries, and datasets, covering areas such as GIS (Geographic Information Systems), remote sensing, spatial databases, web mapping, and more.
What is X2go and why should you use it for connecting to OsGeoLive?
X2go is an open-source remote desktop software that enables users to access and control graphical desktop environments of remote computers over a network connection. It provides a seamless and responsive remote desktop experience, allowing users to run applications, manage files, and perform tasks on a remote system as if they were physically sitting in front of it.
- X2go offers ease of use
X2go makes OSGeoLive easy to use, especially when you need to perform interactive geospatial analysis using graphical applications available on OSGeoLive.
- Resource-intensive geospatial applications
Some geospatial tasks might be resource-intensive and require more processing power than your local machine can provide. By connecting remotely to OSGeoLive using X2Go, you can leverage the resources of a more powerful remote server.
Prerequisites
No 1. Hosting
You need a Creodias hosting account with Horizon interface https://new.cloudferro.com/.
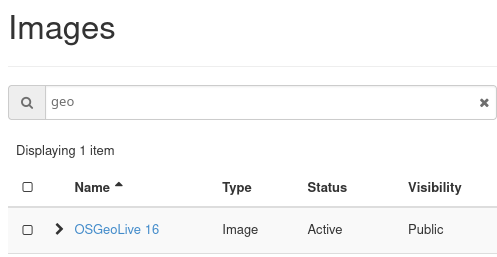
No. 2 A VM created with OSGeoLive image
OSGeoLive version 16 is supported.

No. 3 Operating system to install X2go on
That will usually be a local computer with Linux, Windows or macOS.
After following all the steps, you will gain remote access to your OSGeoLive VM with graphical interface.
Installing X2go for remote control (instance)
To access the GUI you can use a remote access program such as x2go. It can be installed in Linux, Windows and macOS. Download it from official website: https://wiki.x2go.org/doku.php
To install x2go on your instance, connect to your VM via ssh:
ssh -i /path/to/private/key.pem eouser@194.152.XXX.XXX
Perform the following operations on the VM:
sudo add-apt-repository ppa:x2go/stable
sudo apt-get update
sudo apt-get install x2goserver x2goserver-xsession
sudo apt-get install x2golxdebindings
Installing X2go for remote control (client-side)
Operations that need to be performed on the client-side on Linux (Instructions for Windows and macOS can be found on the official website. In most cases it is simple downloading and running the installer):
sudo apt-get install x2goclient
Run x2go by command:
x2goclient
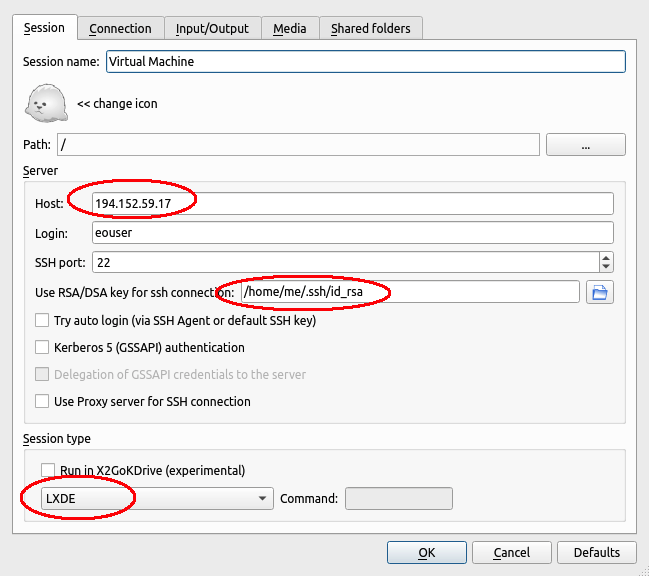
In the top menu select “Session”→ “New session … “ and complete the fields:
- Host
Floating IP of the VM
- Login
Use eouser as it is an already existing user account that allows for SSH connections.
- SSH port
22 (by default)
- Use RSA/DSA key for ssh connection
The path to your SSH private key file
- Session type
We recommend “LXQt” or “LXDE”
Additionally, if you want to change the resolution, you can do that in the Input/Output tab, in Display settings.

Click on button OK. If all fields have been filled out correctly, you should see a tile with information about the newly created session.
Once you start the session, you will be asked to set up a new password for eouser by entering it in the pop-up window.
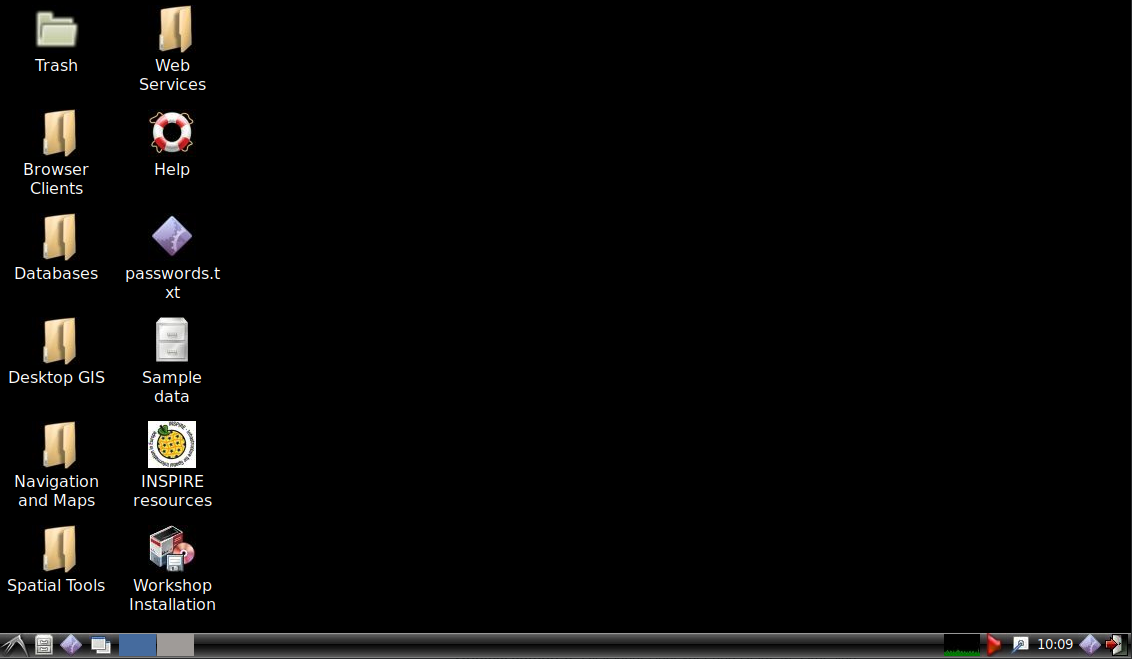
After starting the session, you will gain access to your virtual machine:
