How to access EODATA using boto3 on Creodias
In this article, you will learn how to access the EODATA repository using the Python library boto3 on a Linux or Windows virtual machine running on Creodias cloud.
What Are We Going To Cover
Installing boto3
How to execute scripts found in this article
Browsing EODATA
Downloading a single file from the EODATA repository
Prerequisites
No. 1 Account
You need a Creodias hosting account with access to the Horizon interface: https://horizon.cloudferro.com/auth/login/?next=/.
No. 2 A virtual machine
You need a virtual machine running on Creodias cloud. This article is written for the following operating systems:
Ubuntu 22.04
Windows Server 2022 on other clouds
Other operating systems might also work, but they are outside the scope of this article and might require adjusting the commands provided here.
Either way, your virtual machine needs to have access to the network which gives access to the EODATA repository. This network is either called eodata or has a name which starts with eodata_.
Linux VM
You can create a Linux virtual machine by following one of these articles:
How to create a Linux VM and access it from Windows desktop on Creodias
How to create a Linux VM and access it from Linux command line on Creodias
Make sure you have a text editor installed so that you can create Python files. For example, to install nano, execute:
sudo apt install nano
Windows VM
To learn how to create a Windows virtual machine, see this article: How to create Windows VM on OpenStack Horizon and access it via web console on Creodias
If you are using the web console to access your Windows virtual machine, you can open the article you are currently reading in a web browser installed on that virtual machine and copy the Python code to your chosen text editor.
No. 3 Python
You need Python installed on your virtual machine. Execute this command to check whether Python is already installed:
python3 --version
If the output contains a version number, Python is installed and ready to use:
Python 3.12.3
To install Python on Linux, see How to install Python virtualenv or virtualenvwrapper on Creodias
On Windows, you can follow this article: How to install Python in Windows on Creodias
No. 4 Obtained access and secret key
To access EODATA, you need to obtain your access and secret key. You can do it by following this article: How to get credentials used for accessing EODATA on a cloud VM on Creodias
No. 5 Basic knowledge about Python
boto3 is a Python library, so basic knowledge of Python is required.
Installing boto3
Follow the appropriate procedure for installing boto3.
Installing boto3 on Linux
Warning
To avoid package conflicts, we recommend using virtualenv when installing Python packages. For instructions on creating and activating a virtual environment, see How to install Python virtualenv or virtualenvwrapper on Creodias.
Install boto3 with the command that matches your setup:
If you are using an activated virtual environment:
(myvenv) eouser@vm01:~$ python -m pip install boto3
If you want to install boto3 system-wide:
eouser@vm01:~$ sudo apt install python3-boto3
Installing boto3 on Windows
Follow this article to install boto3 on Windows: How to Install Boto3 in Windows on Creodias
How to execute scripts found in this article
The method of executing the scripts depends on the operating system you are using.
How to execute scripts using Linux command line
Open a text editor of your choice, such as nano or vim. Paste the script into it. Perform the required modifications to the code as instructed, such as assigning values to variables. Save the file.
After exiting the text editor, execute the python3 command followed by the name of your script from the directory in which it is stored. For example:
python3 browse.py
The script should then be executed.
How to execute scripts using Windows command prompt
Open a plain text editor such as Notepad. Paste the script into it. Perform the required modifications to the code as instructed, such as assigning values to variables. Save the file with the .py extension. Make sure that Windows does not add the .txt extension on top of it.
Open the command prompt (cmd.exe). Navigate to the directory in which the script is located using the cd command, for example:
cd C:\Users\John\scripts
Execute the script using the python command followed by its name, for example:
python browse.py
Browsing EODATA
You can use boto3 to browse the EODATA repository. The Python code below lists subpaths under a selected prefix.
import boto3

access_key = 'YOUR_ACCESS_KEY'
secret_key = 'YOUR_SECRET_KEY'
directory = 'Envisat-ASAR/ASAR/ASA_WSS_1P/2012/04/08/'

host = 'https://eodata.cloudferro.com'
container = 'eodata'

s3 = boto3.client(
    's3',
    aws_access_key_id=access_key,
    aws_secret_access_key=secret_key,
    endpoint_url=host
)

response = s3.list_objects(
    Delimiter='/',
    Bucket=container,
    Prefix=directory,
    MaxKeys=30000
)

for i in response.get('CommonPrefixes', []):
    print(i['Prefix'])
import boto3

access_key = 'CLOUDFERRO'
secret_key = 'PUBLIC'
directory = 'Envisat-ASAR/ASAR/ASA_WSS_1P/2012/04/08/'

host = 'http://data.cloudferro.com'
container = 'eodata'

s3 = boto3.client(
    's3',
    aws_access_key_id=access_key,
    aws_secret_access_key=secret_key,
    endpoint_url=host
)

response = s3.list_objects(
    Delimiter='/',
    Bucket=container,
    Prefix=directory,
    MaxKeys=30000
)

for i in response.get('CommonPrefixes', []):
    print(i['Prefix'])
import boto3

access_key = 'YOUR_ACCESS_KEY'
secret_key = 'YOUR_SECRET_KEY'
directory = 'Envisat-ASAR/ASAR/ASA_WSS_1P/2012/04/08/'

host = 'http://eodata.cloudferro.com'
container = 'eodata'

s3 = boto3.client(
    's3',
    aws_access_key_id=access_key,
    aws_secret_access_key=secret_key,
    endpoint_url=host
)

response = s3.list_objects(
    Delimiter='/',
    Bucket=container,
    Prefix=directory,
    MaxKeys=30000
)

for i in response.get('CommonPrefixes', []):
    print(i['Prefix'])
The variables are:
Variable name |
What should be assigned to it |
access_key |
Your access key. Obtain it by following Prerequisite No. 4. |
secret_key |
Your secret key. Obtain it by following Prerequisite No. 4. |
directory |
The path within the EODATA repository which you want to explore. |
When filling in the variable directory, make sure to follow these rules:
Use slashes / as separators between elements of the path, such as folders and files
Do not start the path with a slash /
Since the element you are exploring is treated as a directory-like path, finish it with a slash /
Start the path with the name of a folder found within the root directory of the EODATA repository, for example Sentinel-2 or Sentinel-5P
In this context, directory represents the prefix within the EODATA bucket that you want to browse.
If you want to explore the root directory of the EODATA repository, assign an empty string to the variable directory:
directory = ''
If you do not have a specific directory that you want to explore and only want to test this method, you can leave the value assigned to directory in the example code above.
The variables host and container contain the EODATA endpoint and the name of the container used, respectively. You do not need to modify them.
If you provide your access and secret keys but do not modify the variable directory, the code above will list products found in the Envisat-ASAR/ASAR/ASA_WSS_1P/2012/04/08/ path of the EODATA repository.
The output should look similar to this:
Envisat-ASAR/ASAR/ASA_WSS_1P/2012/04/08/ASA_WSS_1PNESA20120408_110329_000000603113_00267_52867_0000.N1/
Envisat-ASAR/ASAR/ASA_WSS_1P/2012/04/08/ASA_WSS_1PNESA20120408_110428_000000603113_00267_52867_0000.N1/
Envisat-ASAR/ASAR/ASA_WSS_1P/2012/04/08/ASA_WSS_1PNESA20120408_110446_000000603113_00267_52867_0000.N1/
If the selected path does not contain subdirectories, the output may be empty. In that case, choose a different value for directory and execute the script again.
Downloading a single file from EODATA repository
This section covers how to download a file from the EODATA repository.
Before downloading a file, it is a good idea to first browse the relevant path and confirm that the file key you want to use is currently available.
You will need EODATA access key and secret key to execute the code below. Obtain them by following this article: How to get credentials used for accessing EODATA on a cloud VM on Creodias. In the code below, replace the contents of the access_key variable with your access key and the contents of the secret_key variable with your secret key, respectively.
Remember that you cannot change the output file extension. If you do so, the file content would be empty.
The code is:
import boto3
access_key='YOUR ACCESS KEY'
secret_key='YOUR SECRET KEY'
key='Landsat-5/TM/L1T/2011/11/16/LS05_RMPS_TM__GTC_1P_20111116T100042_20111116T100111_147386_0194_0035_4BF1/LS05_RMPS_TM__GTC_1P_20111116T100042_20111116T100111_147386_0194_0035_4BF1.BP.PNG'
host='https://eodata.cloudferro.com'
s3=boto3.resource('s3',aws_access_key_id=access_key,
aws_secret_access_key=secret_key, endpoint_url=host,)

bucket=s3.Bucket('eodata')

bucket.download_file(key, '/home/eouser/image.png')
import boto3
access_key = 'CLOUDFERRO'
secret_key = 'PUBLIC'
key='Landsat-5/TM/L1T/2011/11/16/LS05_RMPS_TM__GTC_1P_20111116T100042_20111116T100111_147386_0194_0035_4BF1/LS05_RMPS_TM__GTC_1P_20111116T100042_20111116T100111_147386_0194_0035_4BF1.BP.PNG'
host='http://data.cloudferro.com'
s3=boto3.resource('s3',aws_access_key_id=access_key,
aws_secret_access_key=secret_key, endpoint_url=host,)

bucket=s3.Bucket('eodata')

bucket.download_file(key, '/home/eouser/image.png')
import boto3
access_key='YOUR ACCESS KEY'
secret_key='YOUR SECRET KEY'
key='Landsat-5/TM/L1T/2011/11/16/LS05_RMPS_TM__GTC_1P_20111116T100042_20111116T100111_147386_0194_0035_4BF1/LS05_RMPS_TM__GTC_1P_20111116T100042_20111116T100111_147386_0194_0035_4BF1.BP.PNG'
host='http://eodata.cloudferro.com'
s3=boto3.resource('s3',aws_access_key_id=access_key,
aws_secret_access_key=secret_key, endpoint_url=host,)

bucket=s3.Bucket('eodata')

bucket.download_file(key, '/home/eouser/image.png')
The variables are:
Variable name |
What should be assigned to it |
access_key |
Your access key. Obtain it by following Prerequisite No. 4. |
secret_key |
Your secret key. Obtain it by following Prerequisite No. 4. |
key |
Full path, including folders, to the file you want to download from the EODATA repository. |
When filling in the variable key, make sure to follow these rules:
Use slashes / as separators between elements of the path, such as folders and files
Do not start or finish the path with a slash /
Start the path with the name of a folder found within the root directory of the EODATA repository, for example Sentinel-2 or Sentinel-5P
If you do not have a specific file that you want to download and only want to test this method, you can leave the value assigned to the variable key in the example code above.
The host value contains the EODATA endpoint. You do not need to modify it.
Save your file with .py extension and run it with the python3 <filename.py> command in your terminal. For example:
(boto3) eouser@vm01:~$ python3 eodownload.py
And here is the result:
(boto3) eouser@vm01:~$ python3 eodownload.py
(boto3) eouser@vm01:~$ ls
eodownload.py  image.png
The image is downloaded to the remote VM; if you now want to download it from that VM to your local computer, use scp command on Linux, for example, like this:
scp -i /path/to/your/file.pem eouser@IP_address:~/image.png .
where you will supply the concrete IP_address of your VM, also assuming that the image.png file was in the root folder of the remote VM.
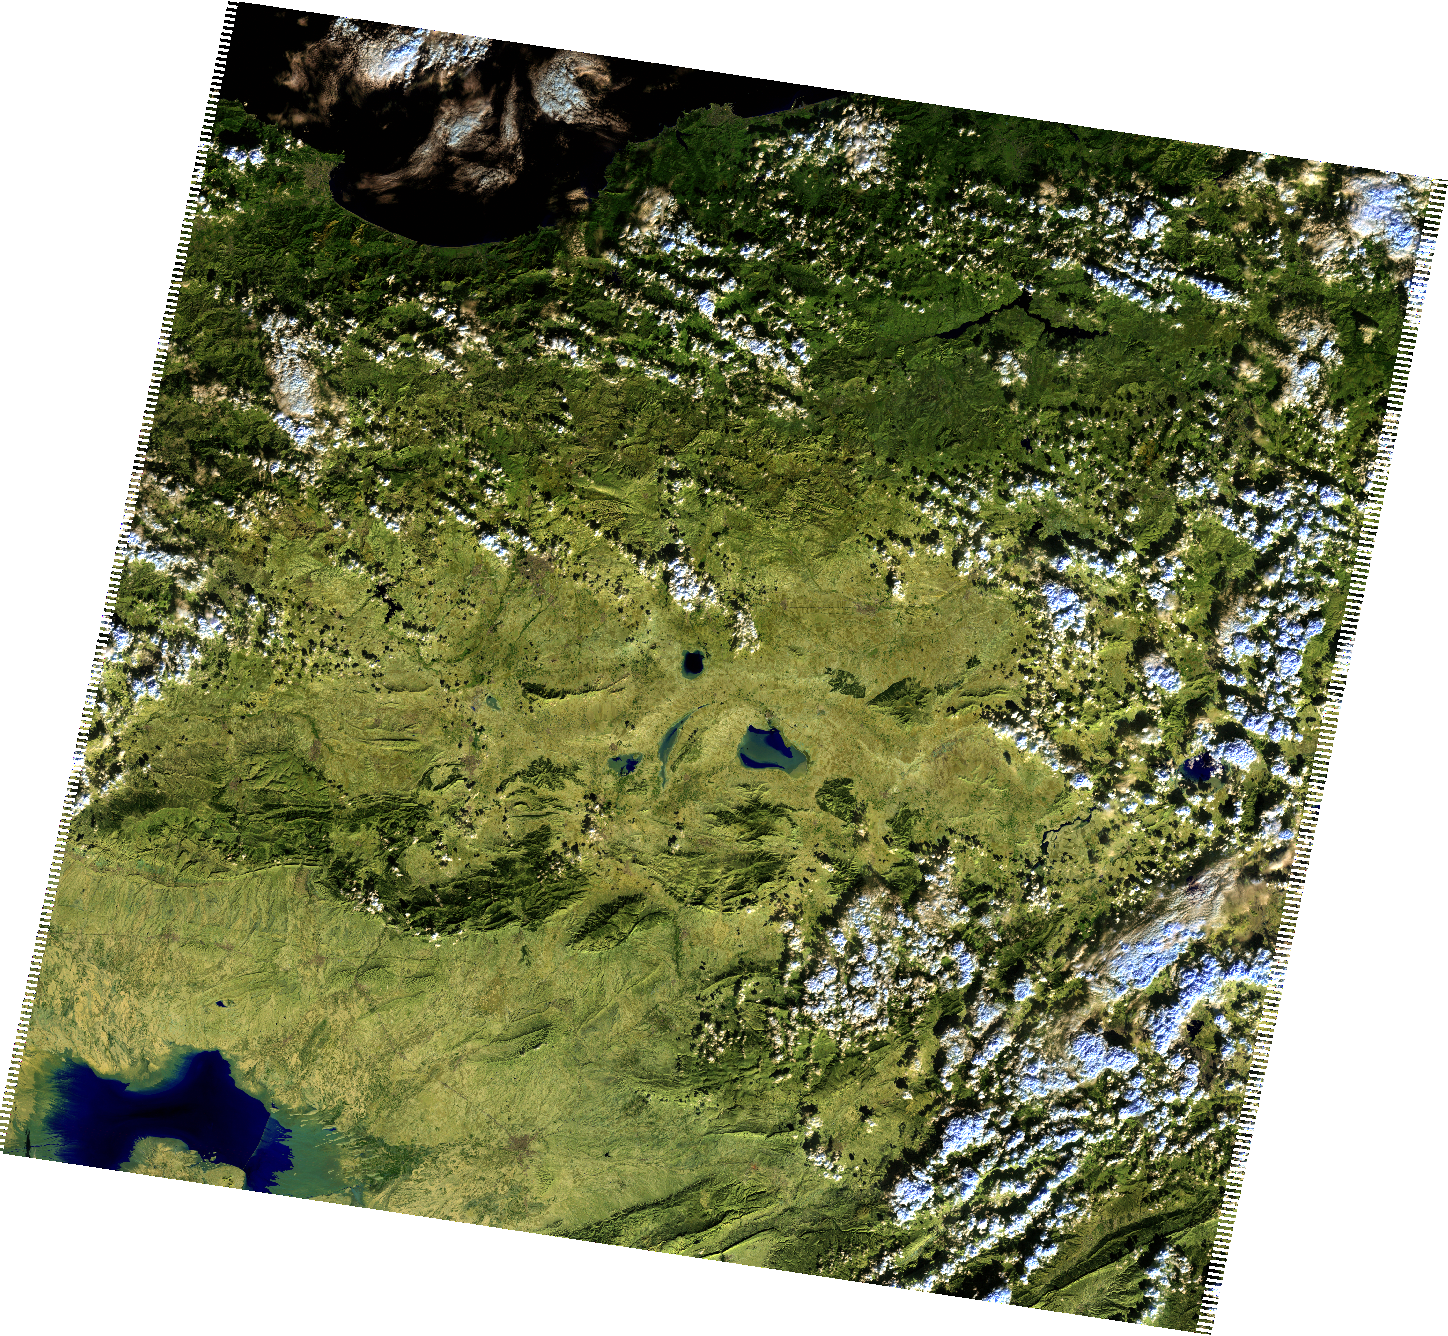
Downloaded image
What To Do Next
You can further modify these scripts so that they better suit your needs or integrate them with your own applications. These scripts might also work in other development environments, but that is outside the scope of this article.
boto3 can also be used to access object storage containers from Creodias cloud: How to access object storage from Creodias using boto3