How to install boto3 in Windows on Creodias
Introduction
The boto3 library for Python can be used to list and download items from a specified S3 bucket or from the EODATA repository. In this article, you will install boto3 on a Windows system.
Step 1: Ensure that Python 3 is preinstalled
On a desktop Windows system
To run boto3, you need to have Python installed.
If you are running Windows on a desktop computer, the first step of this article shows how to install Python: How to install OpenStackClient GitBash for Windows on Creodias.
On a virtual machine running in Creodias cloud
Virtual machines created in the Creodias cloud usually have Python 3 already preinstalled.
If you want to create your own Windows VM, two steps are involved:
Log in to your Creodias hosting account with access to the Horizon interface: https://horizon.cloudferro.com/auth/login/?next=/.
Use an existing Windows instance or create a new one.
For more information, see Connecting to a Windows VM via RDP through a Linux Bastion Host port forwarding on Creodias.
Step 2: Install boto3 on Windows
To install boto3 on Windows:
Log in as administrator.
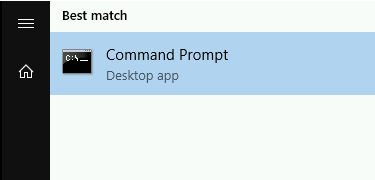
Click the Windows icon in the bottom-left corner of your desktop.
Find Command Prompt by entering cmd.
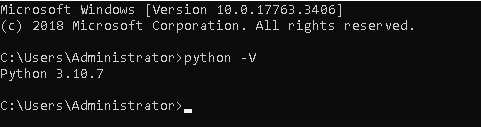
Verify that you have an up-to-date Python installation:
python -V
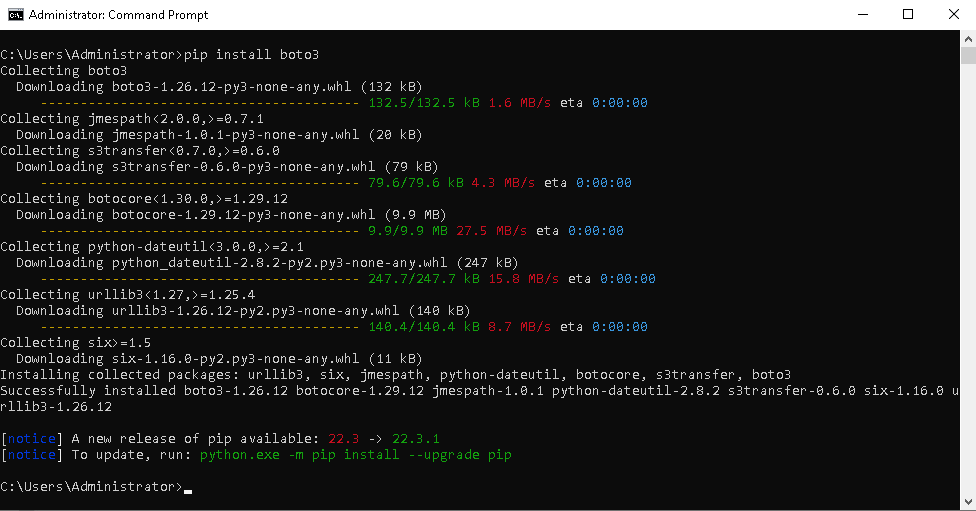
Install boto3 with the following command:
pip install boto3
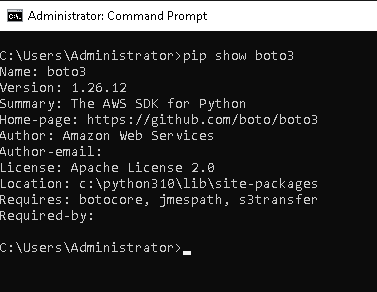
Verify the installation:
pip show boto3
What to do next
With the boto3 library, you can download and list satellite images from buckets or from the EODATA repository.
How to access EODATA using boto3 on Creodias
Sample Workflow: Running EO Processing MPI Jobs on a SLURM Cluster on Creodias Cloud