How to use Object Storage on Creodias
Object storage on Creodias cloud can be used to store your files in containers. In this article, you will create a basic container and perform basic operations on it, using a web browser.
What We Are Going To Cover
Create a new object storage container
Viewing the container
Creating a new folder
Navigating through folders
Uploading a file
Deleting files and folders from a container
Enabling or disabling public access to object storage containers
Using a public link
Prerequisites
No. 1 Account
You need a Creodias hosting account with access to the Horizon interface: https://horizon.cloudferro.com/auth/login/?next=/.
Creating a new object storage container
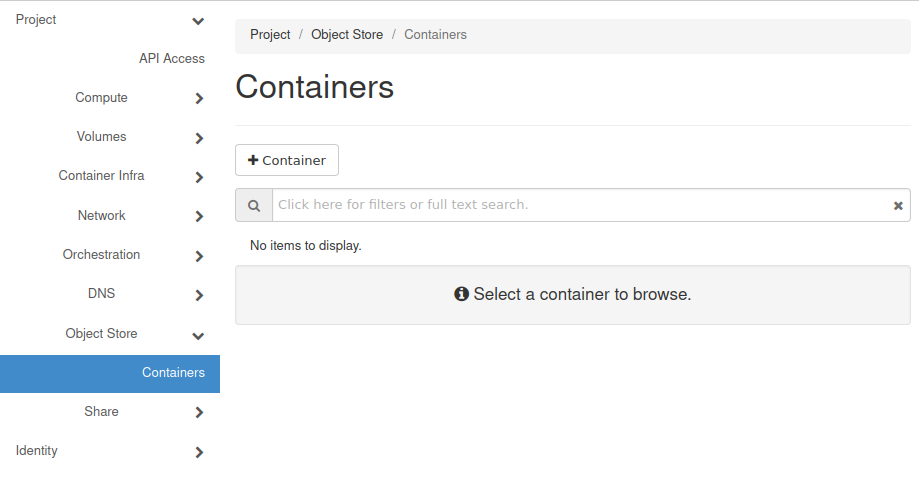
Login to the Horizon dashboard. Navigate to the following section: Object Store > Containers.
You should see a list of object storage containers. By default, it will be empty:
To create a new object storage container, click the  button. You should get the following form:
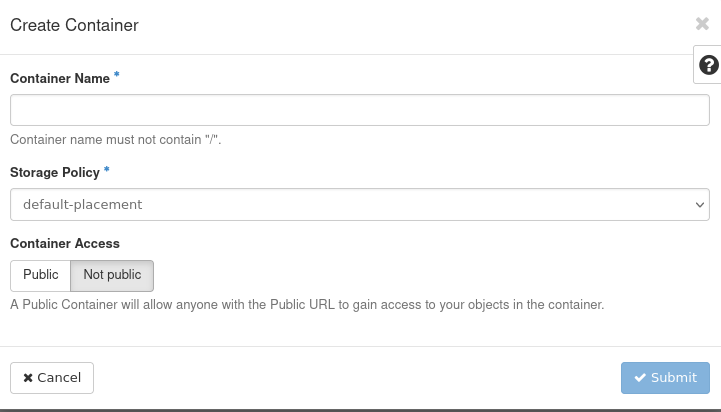
Enter the name of your choice for that container in the Container Name text field.
In general, bucket names should follow domain name constraints:
Warning
Bucket names must be unique.
Bucket names cannot be formatted as IP address.
Bucket names can be between 3 and 63 characters long.
Bucket names must not contain uppercase characters or underscores.
Bucket names must start with a lowercase letter or number.
Bucket names must be a series of one or more labels. Adjacent labels are separated by a single period (.). Bucket names can contain lowercase letters, numbers, and hyphens. Each label must start and end with a lowercase letter or a number.
Bucket name cannot contain forward slashes (/).
Note
Single-tenancy vs. multi-tenancy
On Creodias WAW3-1, WAW3-2 and FRA1-2 clouds, single tenancy is enabled. This means that two object storage containers on it cannot have an identical name. Avoid using common names such as storage or files.
In this example, we will use the name file-container for our object storage container. Of course, your name should be different.
Section Container Access has two options:
- Public
It will generate a link. Anyone who has it will be able to access files stored on that object storage container, even if not being a member of the cloud.
- Not Public
This will not generate a link explained above. The container will only be available from within your project unless you set a bucket sharing policy (not covered in this article).
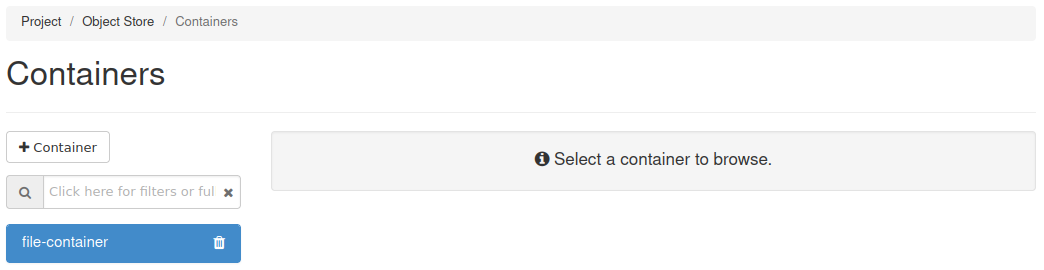
Click on Submit and see new container in the list:
You may encounter the following error:

The reason for it might be that you are trying to create an object storage container which has the same name as another container. Try using a different name.
Viewing the container
To view the content of the container, click its name on the list:
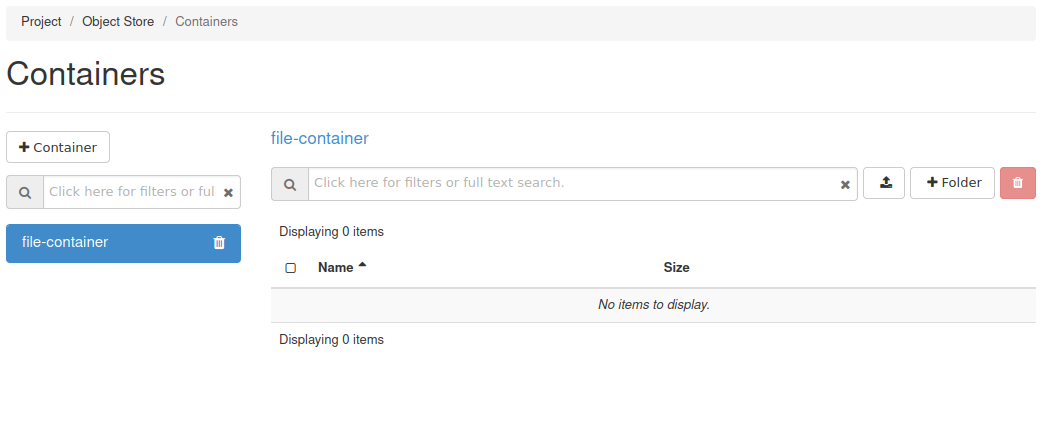
You should see files in the container. Initially, it should be empty. You can now create folders and upload files to this container.
Creating a new folder
To create a new folder, click button:  . You should get the following form:
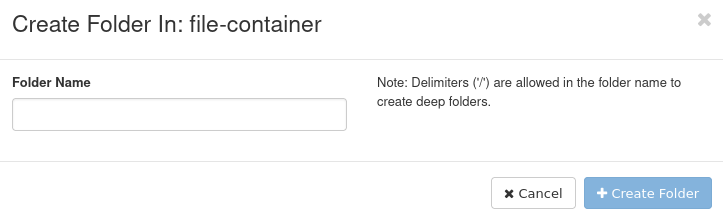
Enter the name for your folder in Folder Name text field. If you use a forward slash, it will create a tree of folders. For example, if you wish to create a folder called place1 and inside that folder another folder called place2, enter the following:
place1/place2
Adding forward slash in the beginning of such directory structure is optional. The folders will be created relative to the directory you are currently in and not to the root directory of your object storage container.
Click Create Folder to confirm.
Navigating through folders
To navigate to another folder on your object storage container, click its name. Folder names will be written in blue and in the Size column, the word Folder will be shown.
Section above text field Click here for filters or full text search shows the folder you are currently in. It could, for example, look like this:
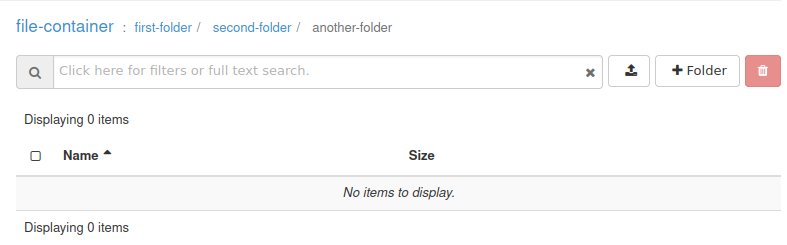
That would be directory another-folder, inside the second-folder directory, which, in turn, is inside the first-folder directory.
Click the name of the folder you want to go to.
Uploading a file
To upload a file to your object storage container, click the  button. You should get the following window:
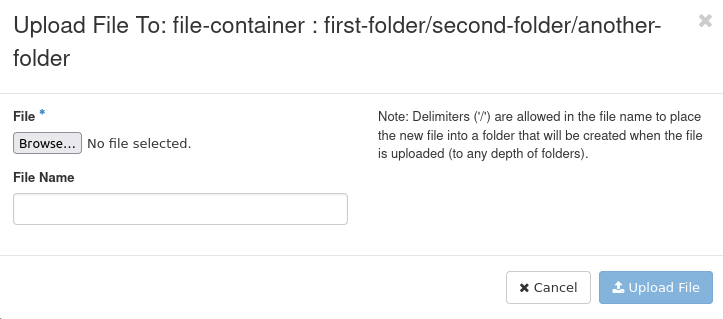
Click Browse… to open the file browser which can be used to choose a file which you wish to upload. Its look will vary depending on the operating system you are using and other factors.
Once you have chosen the file, its name should be written in the File section, for example:
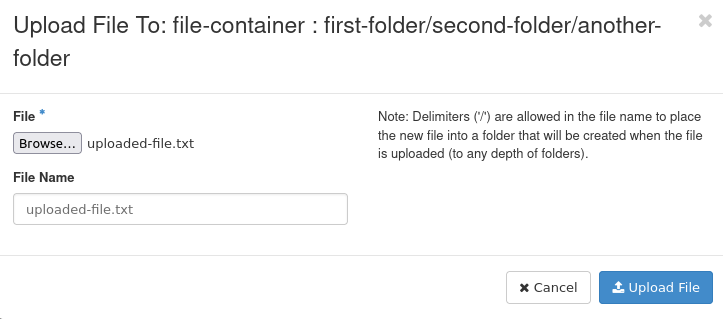
You can enter the name and location of the file in your object storage container in the File Name text field. This allows you to rename the file which you are uploading and to put it into a different folder. Forward slashes are used to specify the location of your object storage container in folder hierarchy relative to the folder you are currently in. If you enter a name of a folder which does not exist yet, it will be created.
If you do not enter anything into File Name text field, the file will be uploaded to the folder you are currently in and it will not be renamed.
Once you’re ready, click Upload File. If the upload was successful, you should receive this confirmation:

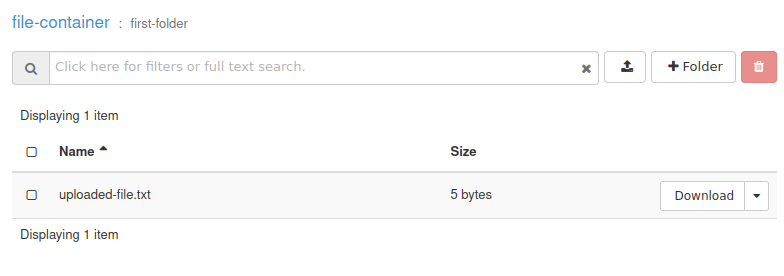
For example, let’s assume that you are in the root directory of your object storage container and you want to upload a file called uploaded-file.txt to the directory called first-folder located there. If that is the case, you should enter the following in the File Name text field:
first-folder/uploaded-file.txt
Your file should then be uploaded to that directory:
Warning
Having two files or two folders of the same name in the same directory is impossible. Having a file and folder under the same name in the same directory (extension is considered part of the name here) may lead to problems so it is best to avoid it.
Deleting files and folders from a container
Deleting one file
To delete a file from container, open the drop-down menu next to the Download button.
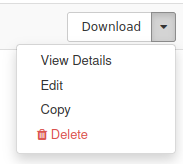
Click Delete.
You should get the following request for confirmation:
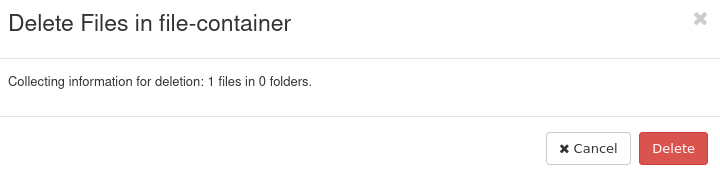
Click Delete to confirm. Your file should be deleted.
Deleting one folder
If you want to delete a folder and its contents, click the  button next to it. You should get the similar request for confirmation as previously. Like before, click Delete to confirm.
Deleting multiple files and/or folders
If you want to delete multiple files and/or folders at the same time, use checkboxes on the left of the list to select the ones you want to remove, for example:
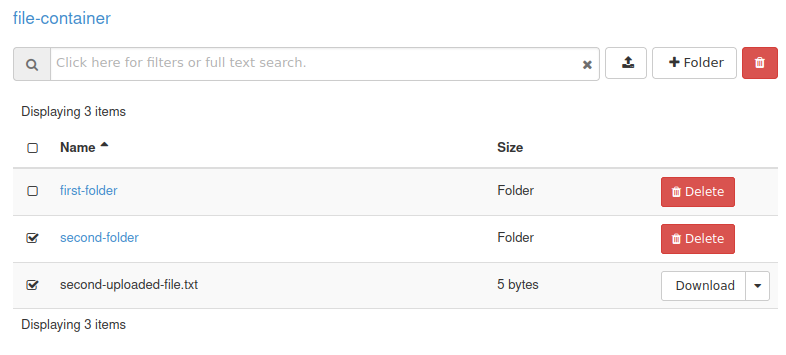
You can also select all files and folders on a page by clicking the checkbox above the folders:

To delete selected items, click the  button to the right of the button used to create new folders. In this case you should also get the similar request for confirmation. Click Delete to confirm.
Recommended number of files in your object storage containers
It is recommended that you do not have more than 1 000 000 (one million) files and folders in one object storage container since it will make listing them inefficient. If you want to store a large number of files, use multiple object storage containers for that purpose.
Working with public object storage containers
Enabling or disabling public access to object storage containers
During the creation of your object storage container you had an option to set whether it should be accessible by the public or not. If you wish to change that setting later, first find the name of the container you wish to modify in the container list.
The details about that object storage container should appear like on the screenshot below – if not, click on its name to make it appear:
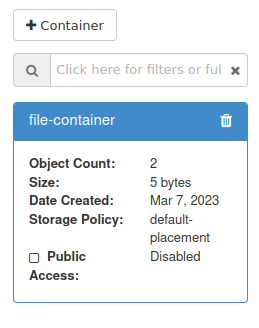
Check or uncheck the Public Access checkbox depending on whether you wish to enable or disable such access.
If you enabled Public Access, a link to your object storage container will be provided.
Using a public link
Once you have created a public link, enter it into the browser. You should see a list of all files and folders in your container, for example:

Forward slashes are being used as separators between files and folders in the directory paths.
If you want to download a file from the root directory of your container, add its name to the link:

In this example, Firefox was used to access the file called second-upload-file.txt in the file-container object storage container.
If you end a link for downloading a file with forward slash, it will download an empty file instead.
To share a link used to download a particular file in another folder, add full location and name of the file within folder structure:

In this example, a file called another-uploaded-file.txt in the directory called second-folder from the file-container object storage container was accessed.
Note that this method cannot be used to download folders.
Warning
If you share a link to one file from an object storage container, the recipient will be able to create download links for all other files on that object storage container. Obviously, this could be a security risk.
What To Do Next
Now that you have created your object storage container you can mount it on the platform of your choice for easier access. There are many ways to do that, for instance: