Create an S3 bucket and use it in Sentinel Hub requests
Using object storage is a prerequisite for many advanced Sentinel Hub workflows on CREODIAS. An S3 bucket allows you to persist processing results, exchange data between services, and integrate Sentinel Hub with external tools and automated pipelines.
By completing this guide, you will obtain a fully functional S3 bucket that can be securely accessed by Sentinel Hub APIs. You would typically use that S3 bucket for:
Batch Processing – writing large-scale processing outputs
Batch Statistical API – storing aggregated statistics results
BYOC (Bring Your Own COG) – hosting user-managed COG datasets
Intermediate and archival storage for EO workflows – for example, staging data between Sentinel Hub jobs, notebooks, or external processing tools
All of this can be achieved without relying on temporary or local storage.
What we are going to cover
Prerequisites
CDSE account prerequisite
No. 1 Copernicus Data Space Ecosystem (CDSE) account
You must have a registered account in the Copernicus Data Space Ecosystem:
https://documentation.dataspace.copernicus.eu/Registration.html
In addition to a CDSE account, you must be familiar with the basic CREODIAS account setup and operations. The following prerequisites distinguish between requirements that must be completed before starting and reference materials that may be useful during the process.
Required before starting
No. 1 CREODIAS account
You must have a registered CREODIAS account. See: Registration and Setting up an Account
No. 2 Activated account
Your account must be activated before cloud resources can be provisioned. The activation process is described in:
How to start using dashboard services on Creodias
No. 3 Active wallet (funded account)
A funded wallet is required to provision projects and cloud resources.
You can fund your wallet by:
Applying for free credits (new users): https://creodias.eu/pricing/free-trial-terms/
Adding funds manually via the e-commerce portal: https://ecommerce.creodias.eu/ See also: How to buy credits using Pay Per Use wallet on Creodias
Contacting the Sales Department for a commercial offer: Wallets and Contracts Management
No. 4 Provisioned project in WAW3-1 region
Your account must be provisioned with at least one project in WAW3-1 region using Tenant Manager:
https://new.cloudferro.com/panel/accounts
Provisioning instructions are available here:
Accounts and Projects Management on Creodias
No. 5 Access to OpenStack Horizon
You must be able to log in to OpenStack Horizon for the WAW3-1 region:
Helpful references
CREODIAS Helpdesk and Support
If you encounter issues at any stage, you can contact CREODIAS Support. This guide explains available support channels and how to submit requests:
For general enquiries, see:
Step 1: Create CREODIAS account using CDSE login
To create S3 buckets on a CREODIAS account that can be connected to CDSE data, you must create a new CREODIAS account using CDSE login.
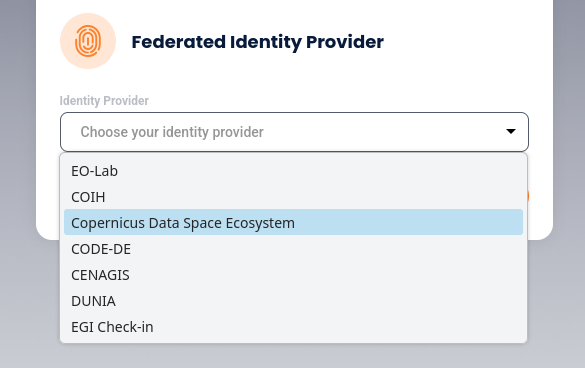
Open Tenant Manager: https://new.cloudferro.com/panel/accounts
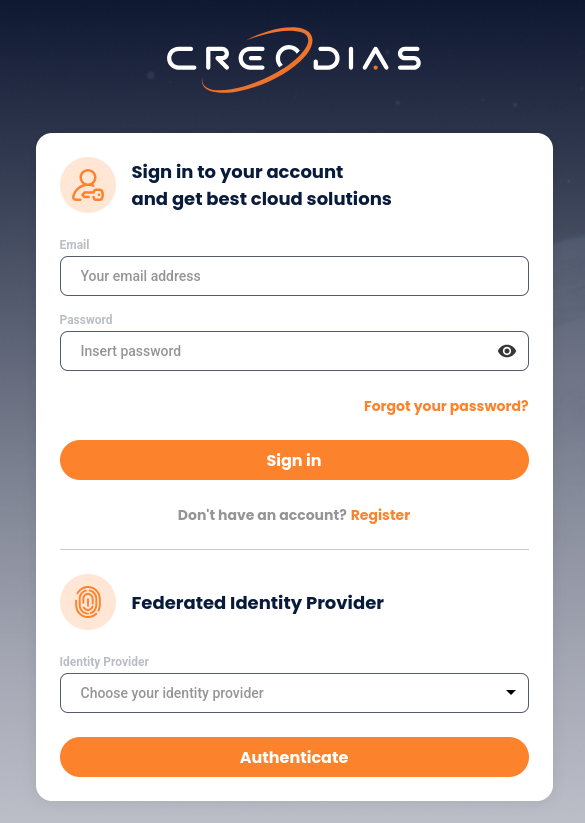
From the Identity Provider field, select Copernicus Data Space Ecosystem, then click Authenticate to log in using your CDSE account.
Step 2: Complete the account
Next, log in to the CDSE site using your existing credentials:
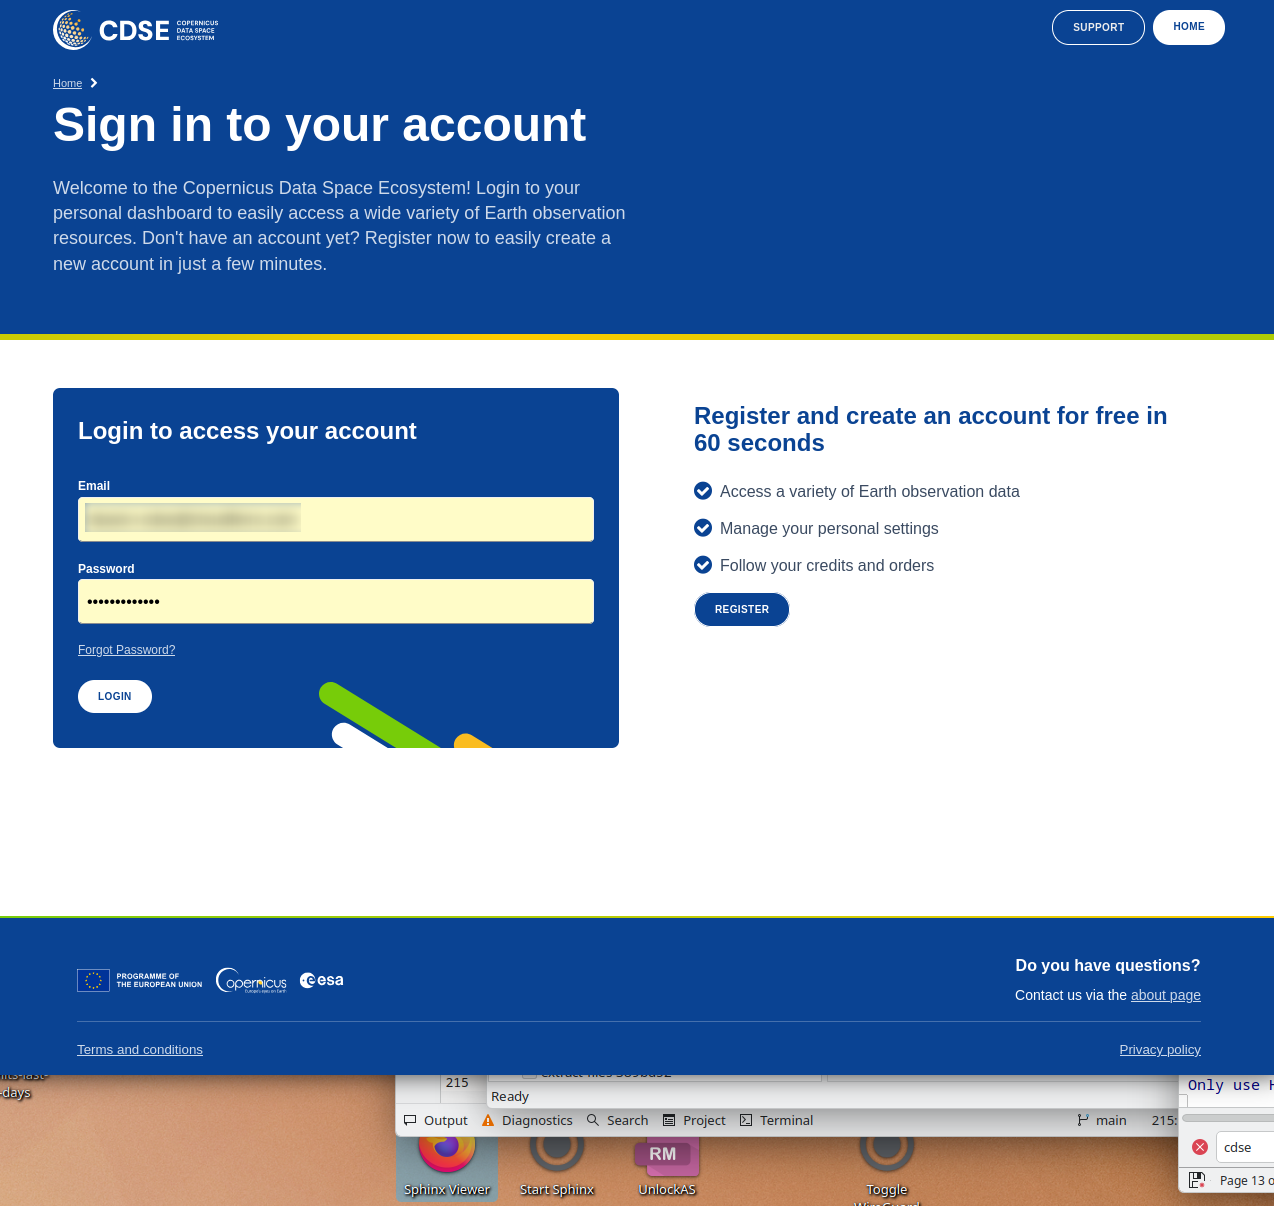
After authentication, you will enter Tenant Manager, where onboarding instructions are displayed.
Follow the account activation steps described in:
How to start using dashboard services on Creodias
You will also receive an email notification confirming that your account has been created:
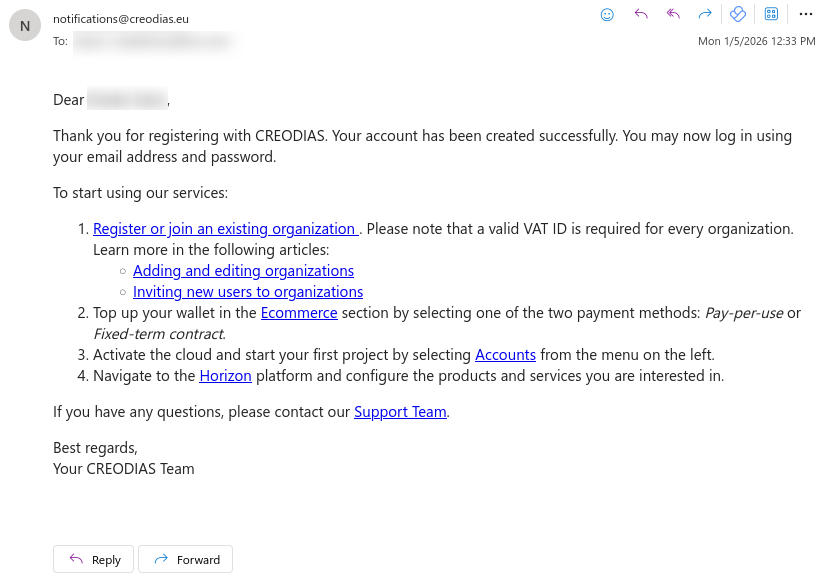
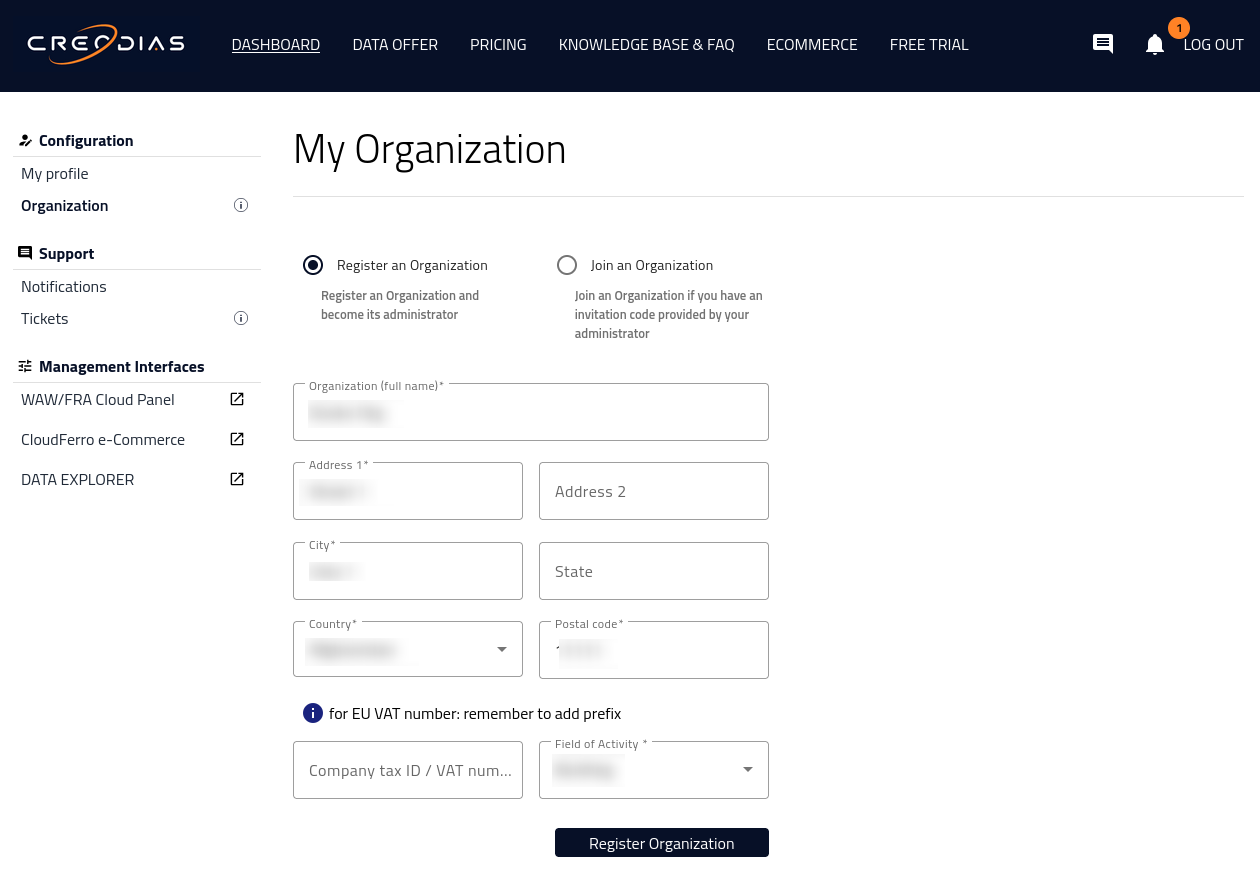
Step 3: Define an organization
Follow the link from the email message and set up the organization:
https://new.cloudferro.com/panel/profile/organization
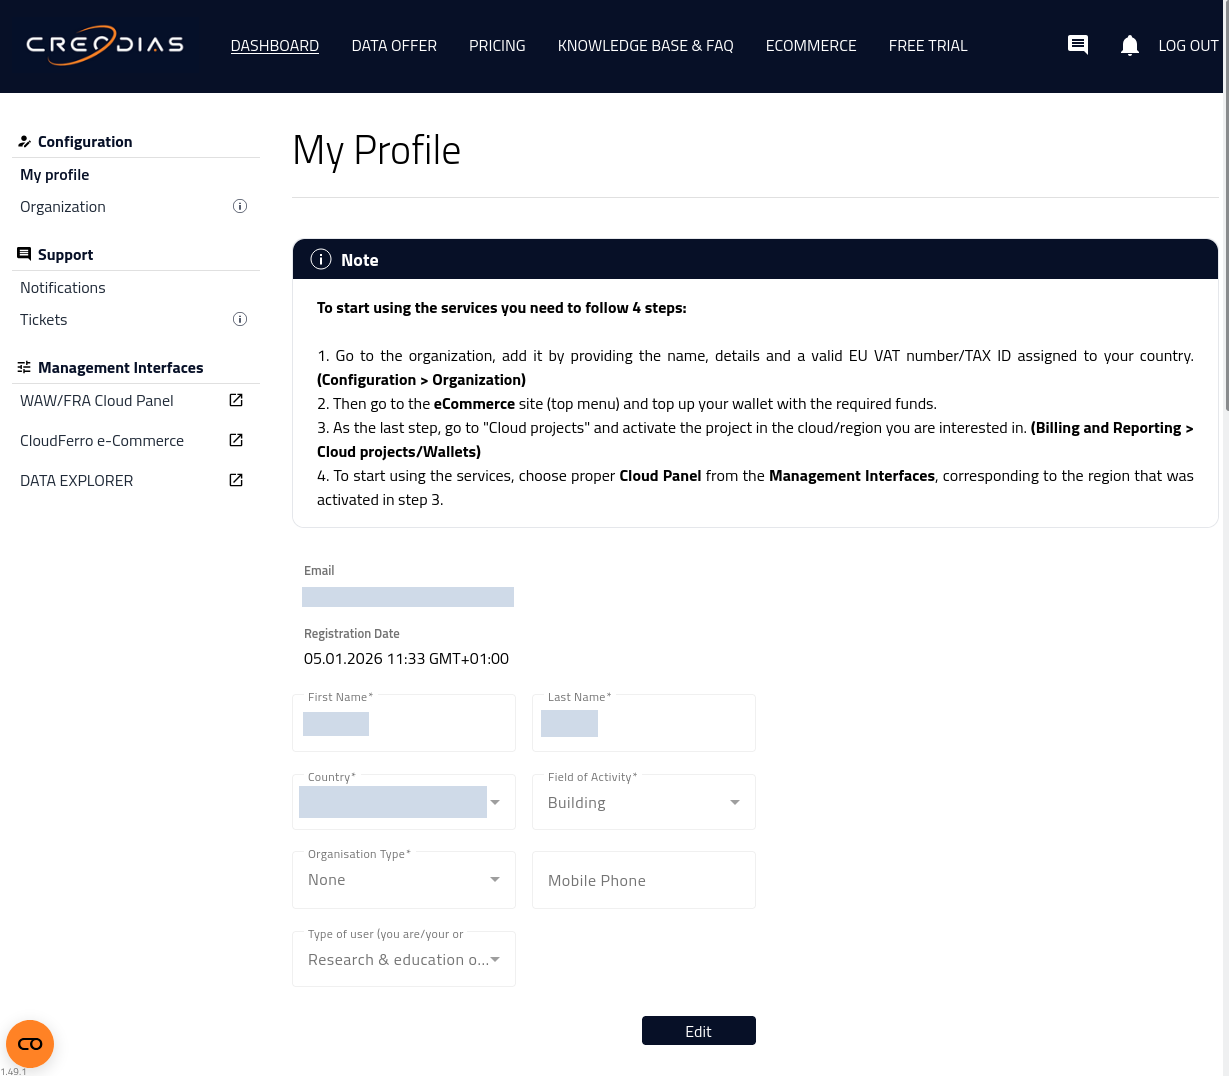
After completing this step, the dashboard is fully active:
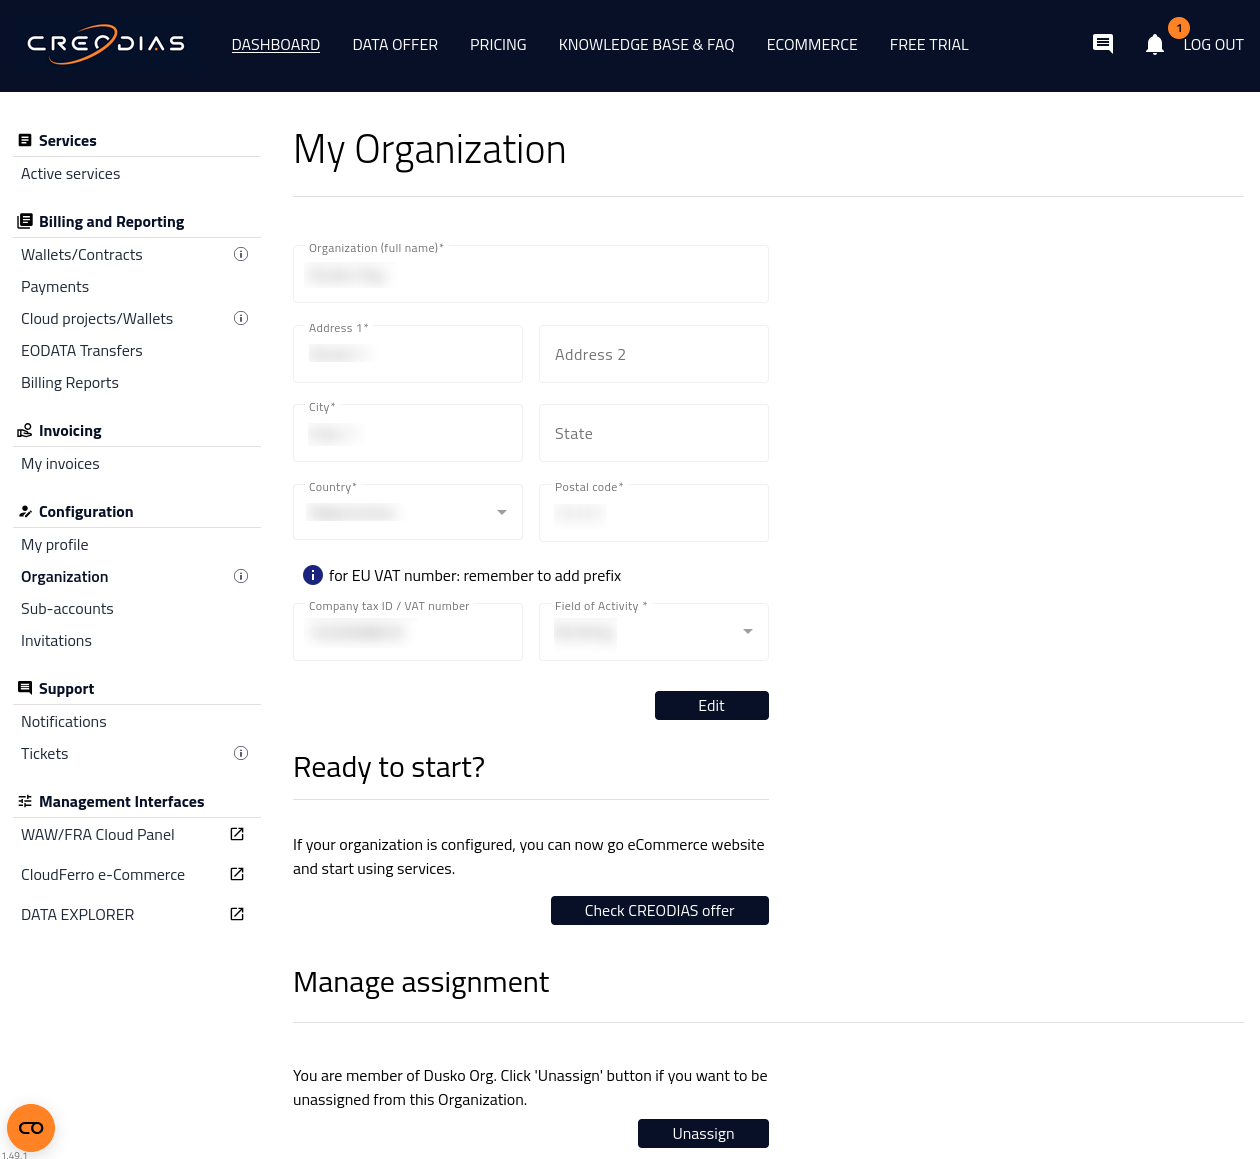
As the founder of the account, you will automatically be assigned the role of group “admin” in that organization.
After you fund the wallet and assign it to a project, you can start using CREODIAS cloud services.
Important
To proceed to the next step, you must fund your wallet and provision a project in the WAW3-1 region. CDSE access from CREODIAS is supported only in WAW3-1.
Step 4: Create a new project in the WAW3-1 region
To use OpenStack Horizon and Object Storage with CDSE-related workflows, you must have at least one project created in the WAW3-1 region.
Create a project by following the provisioning instructions: Accounts and Projects Management on Creodias
It can take a minute until the provisioning process starts:

Wait until the project is shown as activated:

Step 5: Access the OpenStack environment
From the Dashboard, click on WAW/FRA Cloud Panel (direct link https://horizon.cloudferro.com/).
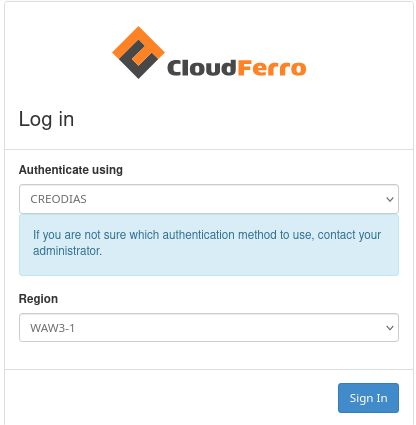
From Authenticate using, select CREODIAS. From Region, select WAW3-1.
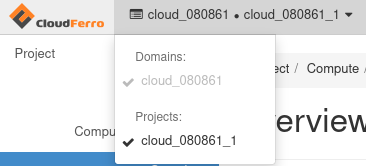
After logging in, use the menu in the upper-left corner to ensure the WAW3-1 cloud is active.
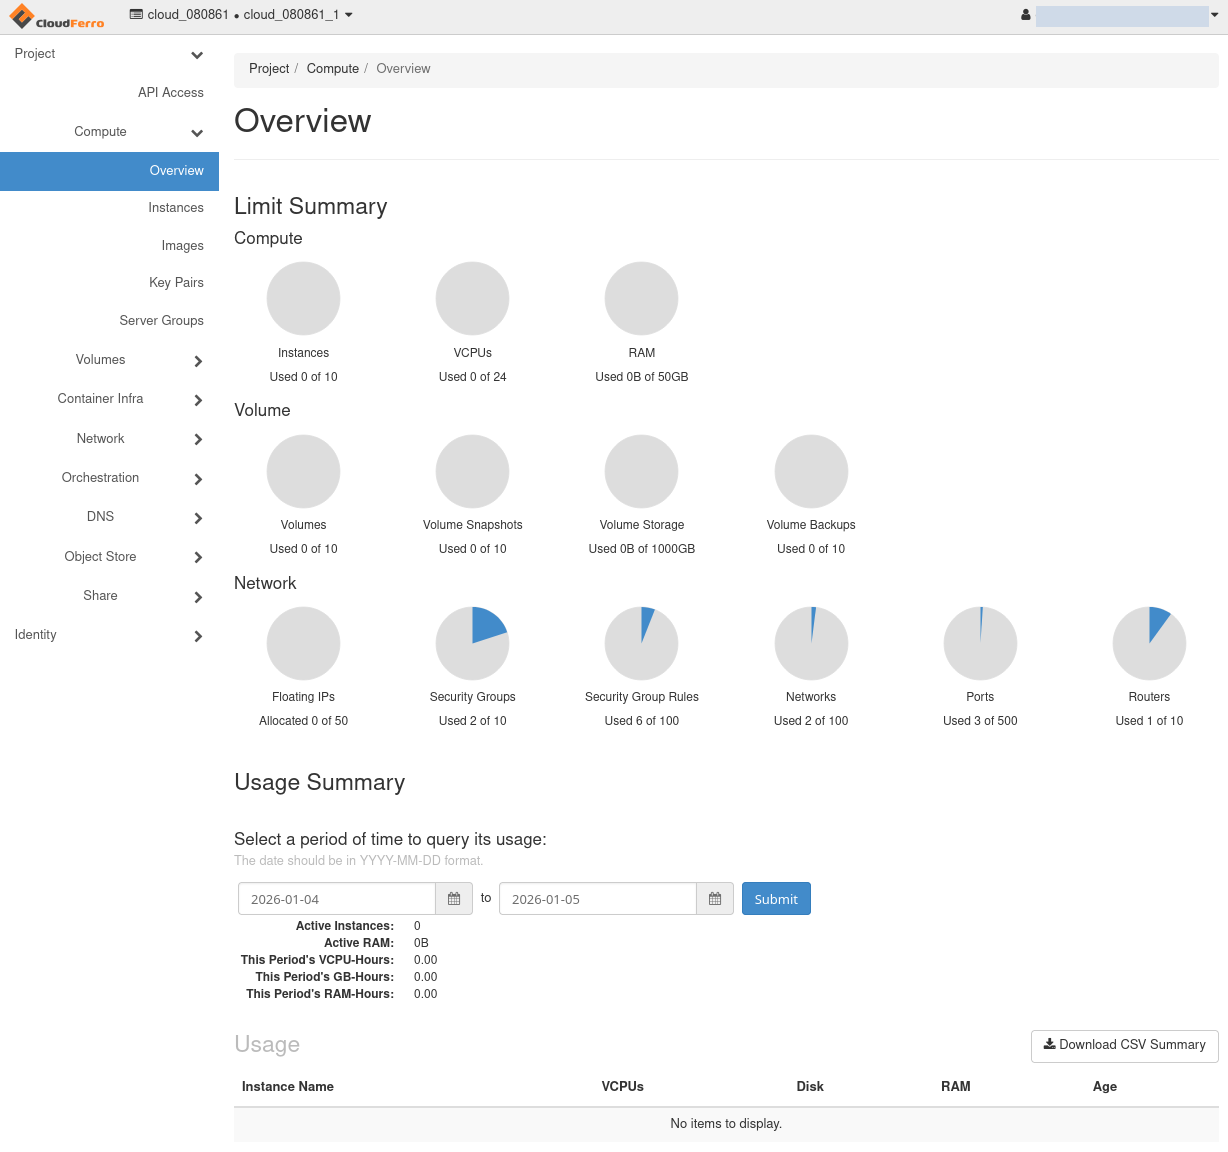
The entire Horizon interface looks like this:
Step 6: Create an S3 bucket in WAW3-1
Create your S3 bucket in the WAW3-1 region using the CREODIAS interface.
Follow this guide: How to use Object Storage on Creodias
Step 7: Generate EC2 credentials for WAW3-1
You can generate permanent EC2 (object storage) credentials in two ways.
Option 1: Request Support to generate credentials (recommended)
As a refresher, see the CREODIAS Helpdesk and Support section in the prerequisites.
Submit a support ticket in Tenant Manager with the following information:
A request for object storage (EC2) credentials
Region: WAW3-1
Project name (visible in Tenant Manager under Accounts)
The support team will generate the credentials for you and send them back via email.
Option 2: Generate credentials on your own
Follow this guide:
How to generate and manage EC2 credentials on Creodias
Permanent credentials do not expire unless explicitly revoked.
Step 8: Configure s3cmd for WAW3-1
Use the following settings to access Object Storage in the WAW3-1 region.
[default]
Access Key: access_key
Secret Key: secret_key
Default Region: waw3-1
S3 Endpoint: s3.waw3-1.cloudferro.com
DNS-style bucket+hostname:port template for accessing a bucket: s3.waw3-1.cloudferro.com
Encryption password: your_password
Path to GPG program: /usr/bin/gpg
Use HTTPS protocol: Yes
HTTP Proxy server name:
HTTP Proxy server port: 0
Verify access to the bucket
Use the s3cmd command ls to display buckets and bucket contents:
s3cmd ls
s3cmd ls s3://bucket-name
Additional references:
How to install s3cmd on Linux on Creodias
Step 9: Set bucket policy
Configure the bucket policy according to your security and access requirements. See: Bucket sharing using s3 bucket policy on Creodias
The following Sentinel Hub features require specific bucket settings:
Batch Processing https://documentation.dataspace.copernicus.eu/APIs/SentinelHub/BatchV2.html#mandatory-bucket-settings
Batch Statistical API https://documentation.dataspace.copernicus.eu/APIs/SentinelHub/BatchStatistical.html#bucket-settings
BYOC APIs https://documentation.dataspace.copernicus.eu/APIs/SentinelHub/Byoc.html#bucket-settings
At this point, the setup is complete:
An S3 bucket is created and accessible in the WAW3-1 region.
Object storage (EC2) credentials are available for programmatic access.
The bucket policy is configured and ready for use with Sentinel Hub services.
You can now use this bucket as a target for Sentinel Hub Batch Processing and Batch Statistical APIs, or as storage for BYOC datasets.