How to install OpenStackClient GitBash for Windows on Creodias
In this tutorial, you start with a standard Windows installation, then install the OpenStack CLI client and end up connecting to your project on Creodias cloud.
For another way of installing OpenStack CLI on Windows, see article How to install OpenStackClient on Windows using Windows Subsystem for Linux on Creodias OpenStack Hosting. However:
using Git Bash is simpler than using Windows Subsystem for Linux and is
providing a more straightforward access to your local file system.
What We Are Going To Cover
Installing the required software (Python 3, PIP, Git for Windows and the appropriate compilers)
Creating an isolated Python environment for installing the OpenStack CLI client
Installing the OpenStack CLI client
Authenticating the OpenStack CLI client to the cloud
Executing a simple command to test whether the process was successful
Prerequisites
No. 1 Hosting
You need a Creodias hosting account with Horizon interface https://horizon.cloudferro.com/auth/login/?next=/.
No. 2 Computer running Microsoft Windows
Your computer or virtual machine must be running Microsoft Windows 10 version 1909 or Windows 11. Also, Windows Server 2016, 2019 and 2022 are supported. The reason for that are the requirements of Microsoft Visual Studio.
Obtaining a valid license for Microsoft C++ Build Tools and other software mentioned here, is outside of scope of this text.
Installing Microsoft C++ Build Tools, as described in this article, might require more than 10 GiB of hard drive space. The exact amount is subject to change. During this process, make sure that you do not run out of storage.
No. 3 Basic knowledge of the Linux terminal
You will need basic knowledge of Linux command line.
No. 4 RC file downloaded
You need to download the RC file from your Horizon dashboard. To do that, follow section How to download the RC file of the following article:
How to activate OpenStack CLI access to Creodias cloud using one- or two-factor authentication
This file must be present on the machine on which you intend to use the OpenStack CLI client.
Step 1: Download and Install Python
There are two ways of obtaining Python on Creodias cloud:
It may come preinstalled on virtual machines that were created using one of the default Windows images.
You may download and install the latest version from the Internet.
The latter solution will either install Python anew or update the existing installation, so it is still a recommended step.
If you are going to use your own computer, follow the instructions below if you don’t have Python installed.
Start your Internet browser and open https://www.python.org
Hover your mouse over the Downloads button and choose Windows from the menu that has just appeared.
Pick up the latest version for Python.
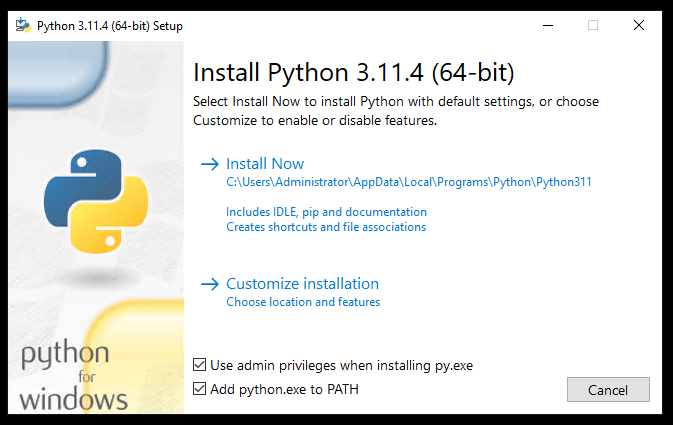
Download it and run that .exe file. Make sure to have options at the bottom of the window selected and click Customize installation.
In the next screen, select all the Optional Features:
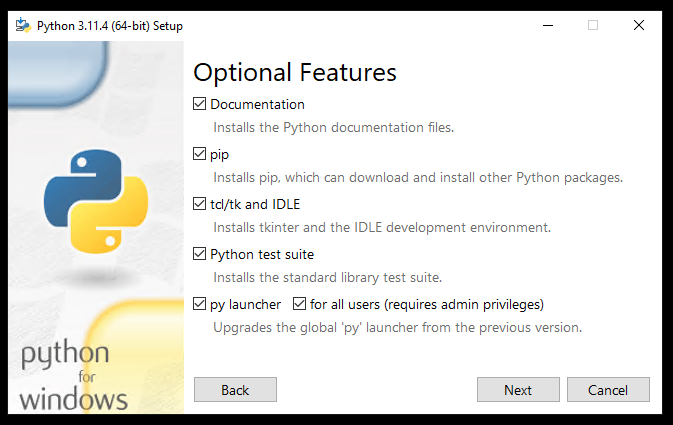
Click Next.
In the screen Advanced Options, select what is selected on the screenshot below and make sure that the installation location is in Program Files directory:
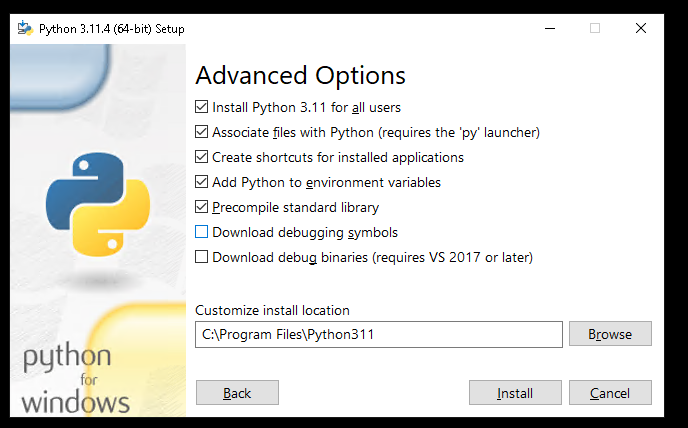
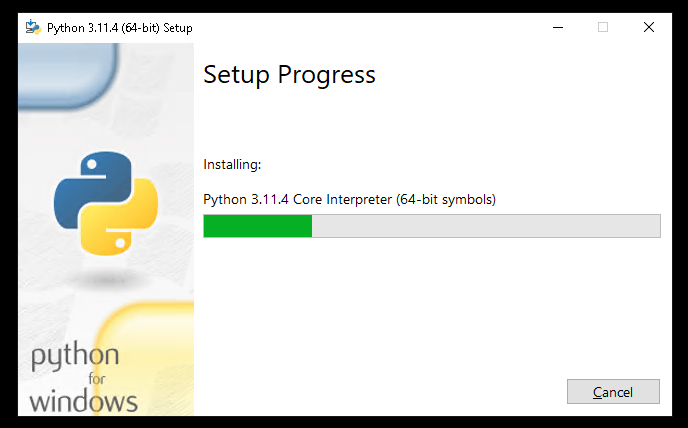
Click Install and wait until the installation is completed:
On the last screen, click option Disable path length limit:
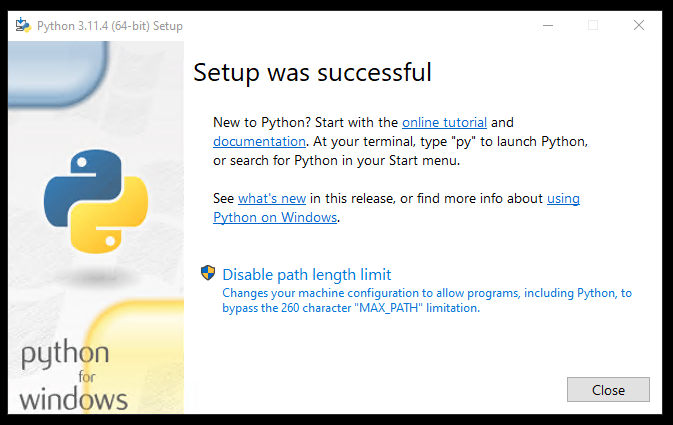
The button Disable path length limit should disappear. Click Close.
Open Windows command prompt and execute python command in it to check whether the installation was successful. You should see output similar to this:
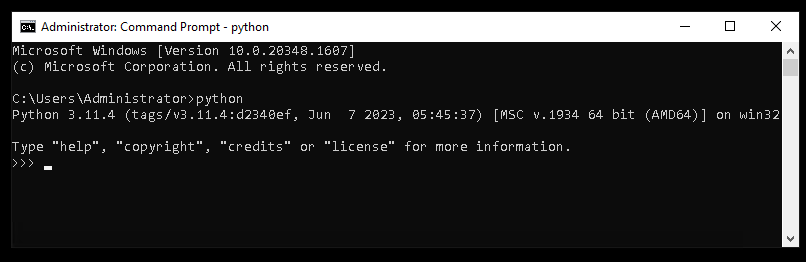
Close the command prompt.
Step 2: Install Git Bash and pip
Git Bash for Windows is a set of programs that emulates Linux terminal, allowing you to use common Linux commands ls, source, mv and others.
It is part of Git for Windows. Download that software from https://gitforwindows.org and execute the installer.
During the installation keep the default options selected.
After installation, a Git Bash entry should appear in Start menu:

Other programs in the suite are Git CMD, Git GUI etc.
The installation of Python and its suite of programs requires you to additionally install pip and update the necessary PythonSSL certificates.
Step 3: Install pip and update the PythonSSL certificates
pip is a tool for managing and installing Python images.
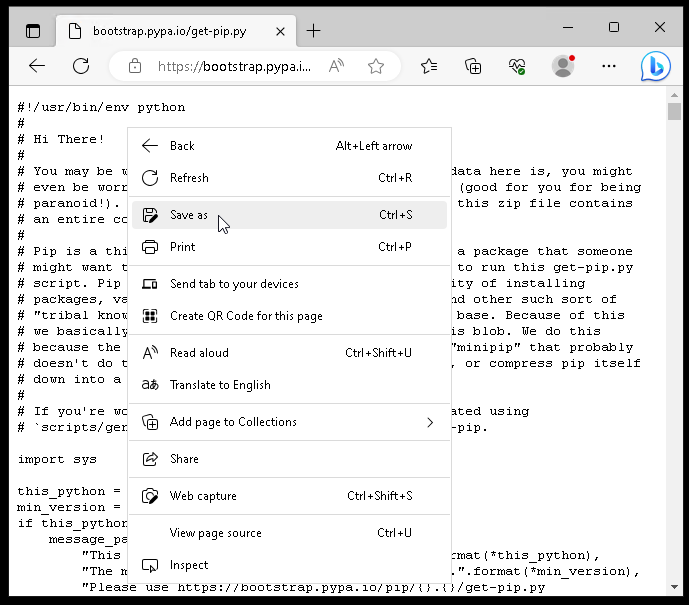
Download get-pip.py from https://bootstrap.pypa.io/get-pip.py. If it opens in your browser as plain text document, right click anywhere on it in the browser and use the Save as… or similar option to save it on your computer.
Run the script by opening it in Python. If Python is not the default piece of software used for opening .py files on your system, right-click the file and use the Open with… or similar option and choose Python there.
It will install pip. The installation process can be monitored in a terminal window.
In order to test whether the installation was successful, use Start menu to start Git Bash and type the following command:
pip -V
Your output should contain the version of pip that you have:

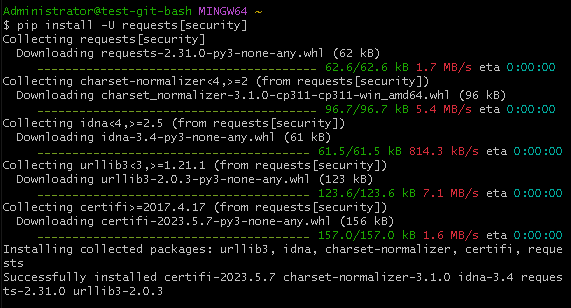
Now update PythonSSL certificates that you have on your computer:
pip install -U requests[security]
Step 4: Install Microsoft C++ Build Tools
Microsoft C++ Build Tools are required to install the OpenStack CLI client using pip on Windows.
Enter the following website: https://visualstudio.microsoft.com/visual-cpp-build-tools/
Click Download Build Tools. Execute the downloaded .exe file.
During installation, choose the Desktop development with C++ (which was a correct option at the time of writing):
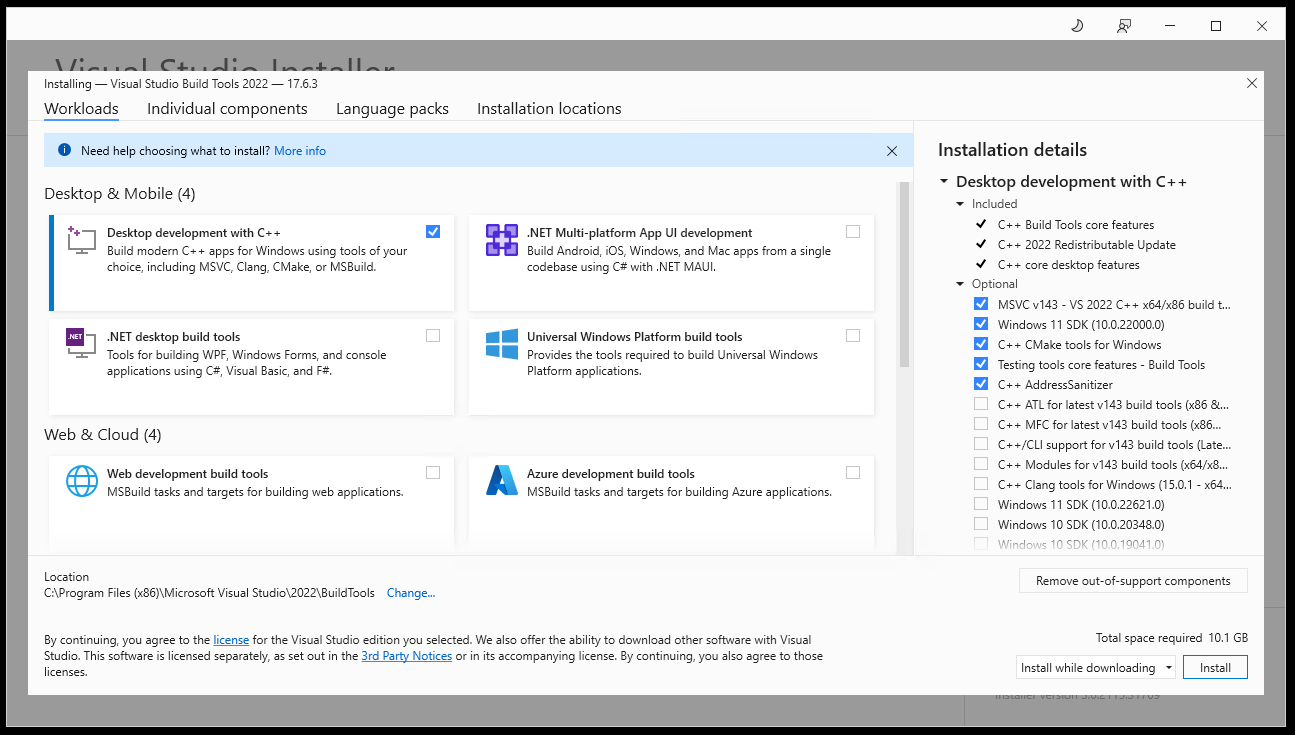
Click Install. Wait until the installation process is completed.
Warning
The installation process might take a long time.
Reboot your computer if the installer prompts you to do so.
Step 5: Install virtualenv and the OpenStack CLI client
virtualenv allows you to perform Python operations in an isolated environment. In order to install it, open Git Bash if you previously closed it or rebooted your computer, and execute the following command:
pip install virtualenv
With cd command enter the directory in which you want to store the environment in which the OpenStack CLI client will be running. You will need it later on, so make it easily accessible, for example:
cd C:/Users/Administrator
Execute the following command to create the virtual environment openstack_cli which will be used for the OpenStack CLI client:
virtualenv openstack_cli
Note
You must supply the name of the environment (here, openstack_cli) but what it will be is completely up to you.
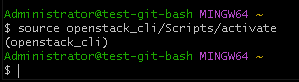
A directory called openstack_cli should appear in the current folder. It will contain files needed for your isolated environment. In order to enter that environment, run source command on the activate file which is in the Scripts folder found in the folder with your virtual environment:
source openstack_cli/Scripts/activate
From now on, the name of your isolated environment - openstack_cli - will be in brackets before each command prompt, indicating that you are inside it.
Closing the terminal and reopening will drop you from that environment.
How Git Bash terminal commands differ from those in Windows
In GitBash, there are two ways of inserting text from clipboard:
key combination Shift+Ins or
right-click the Git Bash window and select Paste from the displayed menu.
The usual Windows commands such as CTRL+V or CTRL+Shift+V, won’t work in Git Bash window.
Git Bash emulates UNIX-based systems so while you are in it, use forward slashes and not the typical Windows backward slashes.
Step 6: Download and prepare jq
To authenticate the OpenStack CLI client in the next step, a program called jq will be needed. It is a JSON preprocessor, running from command line. To install, navigate to https://jqlang.github.io/jq/download/ using your Internet browser.
Download the latest 64-bit executable version of jq for Windows.
A file with .exe extension should be downloaded. Rename it to simply jq (make sure that it still has the .exe extension).
Navigate to its location using the cd command in Git Bash. Do it in a similar way as you would on a Linux command line. Execute the following command:
mv jq.exe /usr/bin
This should allow you to use jq with the RC file easily.
Step 7: Install and configure the OpenStack CLI client
Without leaving Git Bash, while still inside the openstack_cli virtual environment, execute the following command:
pip install python-openstackclient
Wait until the process is completed. As the result, you will be able to run openstack command on terminal prompt. It, however, won’t have access to the Creodias cloud, so the next step is to authenticate to the cloud.
Navigate to the location of the RC file which you downloaded while following Prerequisite No. 4 and execute the source command on it. It could look like this (if the name of your RC file is main-openrc.sh):
source main-openrc.sh
After that, you will receive the prompt for your password. Enter it and press Enter (while typing the password, no characters should appear).
If your account has two-factor authentication enabled, you will get a prompt for the six-digit code. Enter it and press Enter.
Here is what the two step process of authentication looks like for an RC file called main-openrc.sh:
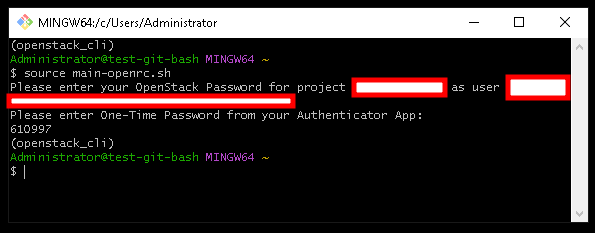
On the screenshot above, the username and project name were hidden for privacy reasons.
In order to test whether the OpenStack CLI client works, list virtual machines you currently operate. The command is:
openstack server list
The output should contain a table containing virtual machines from your project.
Reentering the Isolated Python Environment
To run the OpenStack CLI client again, say, after you might have closed the Git Bash window, or have had shut down or restarted Windows, you would have to repeat the same commands you entered above (replace C:/Users/Administrator with the path containing your openstack_cli folder).
cd C:/Users/Administrator
source openstack_cli/Scripts/activate
After that, execute the source command on your RC file in the same way as previously.
You can also create a batch file to automate reentering the Python environment.
What To Do Next
The article How To Install OpenStack and Magnum Clients for Command Line Interface to Creodias Horizon will give you another procedure to install CLI and connect it to the cloud. It also contains several examples of using the CLI commands.
Other articles of interest:
How to Create and Configure New Openstack Project Through Horizon on Creodias Cloud
How to create a set of VMs using OpenStack Heat Orchestration on Creodias
Using CLI interface for Kubernetes clusters:
How To Use Command Line Interface for Kubernetes Clusters On Creodias OpenStack Magnum
Also see
How to activate OpenStack CLI access to Creodias cloud using one- or two-factor authentication