How to Create and Configure New Openstack Project Through Horizon on Creodias Cloud
Default elements of the account
When you first create your account at Creodias hosting, default values for the account will be applied. Among others, you will
become owner of a tenant manager account and
have a default project created along with
three networks and
two security groups.
In OpenStack terminology, the role of tenant manager is to be an administrator of the account. As a tenant manager, you can
use the account directly but can also
create other users od the account.
Before users can start using the account, you have to create project and attach other elements to it: users, groups, roles and so on. Then you invite a user to the organization and they log in with their own login details. There is a catch, though:
new project that the tenant manager creates will not have automatically generated external network while
the allow_ping_ssh_icmp_rdp security group will not be generated either.
In other words, the users of the account won’t have access to the Internet.
In this article you will see how to overcome these problems.
Prerequisites
No. 1 Hosting
You need a Creodias hosting account with Horizon interface https://horizon.cloudferro.com/auth/login/?next=/.
No. 2 Introduction to OpenStack Projects
The article What is an OpenStack project on Creodias will define basic elements of an OpenStack project – groups, projects, roles and so on.
No. 3 Security groups
The article How to use Security Groups in Horizon on Creodias describes how to create and edit security groups. They enable ports through which the virtual machine communicates with other networks, in particular, with the Internet at large.
No. 4 Create network with router
Here is how to create a network with router:
How to create a network with router in Horizon Dashboard on Creodias
Default values in the tenant manager account
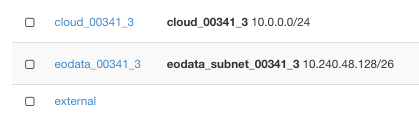
Click on Network -> Networks and verify the presence of the three default networks. Since the cloud contains number 341 in its name, the networks will have it too: cloud_00341_3 and eodata_00341_.
Note
This number, 341, will vary from cloud to cloud and you can see it in the upper left corner of the browser window.
In particular, two networks that come as default have their names starting with:
cloud_00, the network for internal communication of all the objects in the account
eodata_00, the network for accessing the Earth Observation Data (images from satellites for you to use)
The third network is called external and has access to the outside world – the Internet, at large.
Click on option Network -> Security Groups to verify the presence of two default security groups:
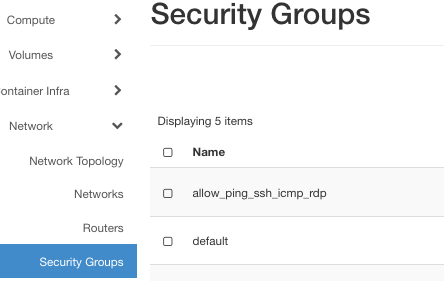
The default security groups are:
default, the default security group
allow_ping_ssh_icmp_rdp, to allow access for the usual types of traffic: for the Internet, from Windows to the cloud and so on.
The former shuts down any communication to the virtual machine for security reasons while the latter opens up only the ports for normal use. In this case, it will be for traffic of types ping, ssh, icmp and rdp. Please see Prerequisite No. 3 for definition of those terms.
Create a New Project
A project can contain users, groups and their roles so the first step is to define a project and later add users, groups and roles.
Step 1 Create Project
Choose Identity → Projects menu on the left side of the screen.
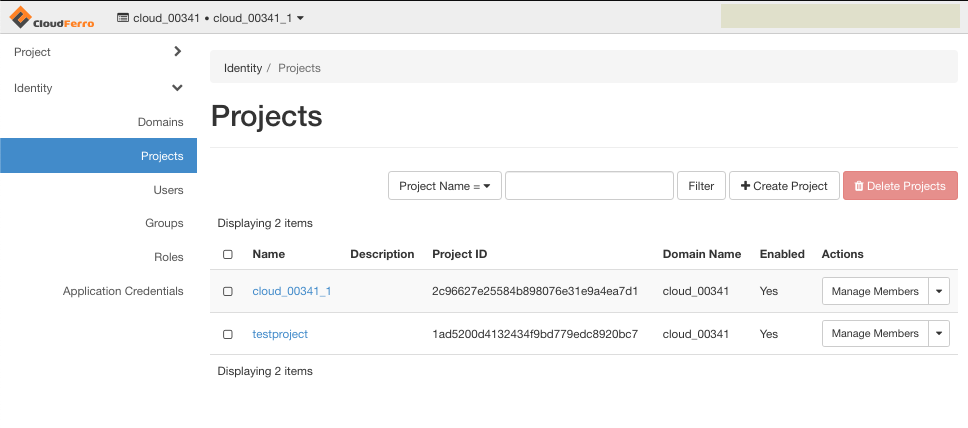
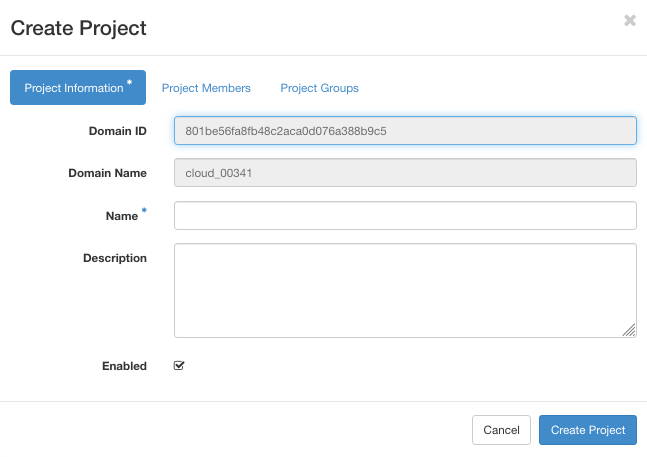
Click on Create Project button.
Complete the project name (this is obligatory) and make sure that checkbox Enable is ticked on so that your project becomes active.
Next switch on the Project Members tab.


You can add users to project by clicking on “+” icon from the user list.
It is possible to grant privileges to all of the members in project by selecting proper role from the drop-down menu.
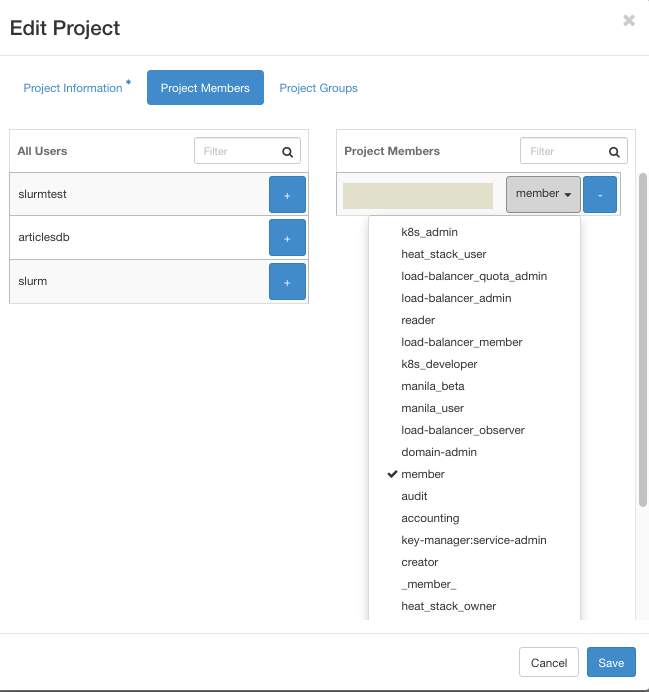
Role member is the most basic role which has access to most parts of the cloud. Roles starting with k8s- are accessing Kubernetes clusters so disregard them if you are not using Kubernetes clusters in your project. For security reasons user types heat_stack_user and admin should not be used unless you know what you are doing.
The last tab, Project Groups, allows you to add groups of users with the same privileges.
To finish setting up a new project, click on the blue Create Project button.
If you have set up the configuration properly, new project should appear in the list. Note the Project ID column as it will be needed in the next step.
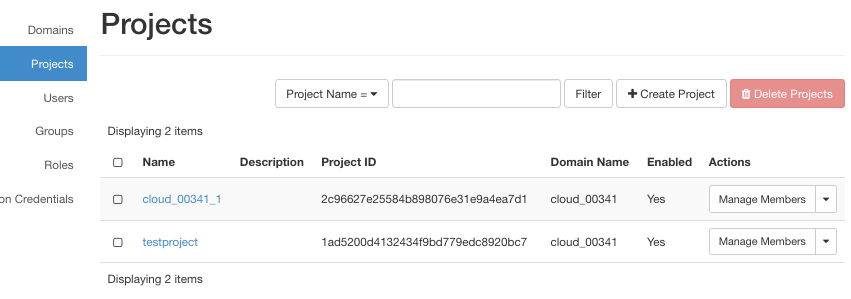
You now have two projects at your disposal:
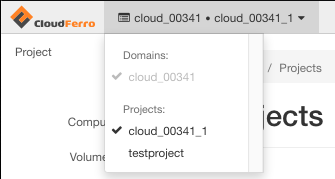
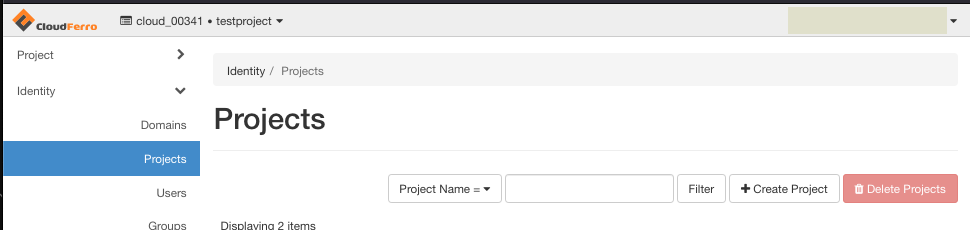
To activate the new project, testproject, click on its name. The name of the active project will be available in the upper left corner:
As mentioned earlier, your new project will not have access to the external network. To verify, choose project, select Network -> Networks and you will see that the new project has no networks defined.

For security groups, the situation is similar: the default one is present, but the allow_ping_ssh_icmp_rdp security group is missing.
Step 2 Add external network to the project
To add external network to such project you must contact Customer Support by creating a ticket. Instructions how to do that are in article Helpdesk and Support. The ticket should include project ID from the Projects list. To get the project ID, click on Project -> API Access
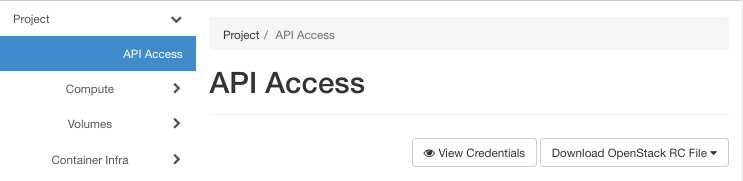
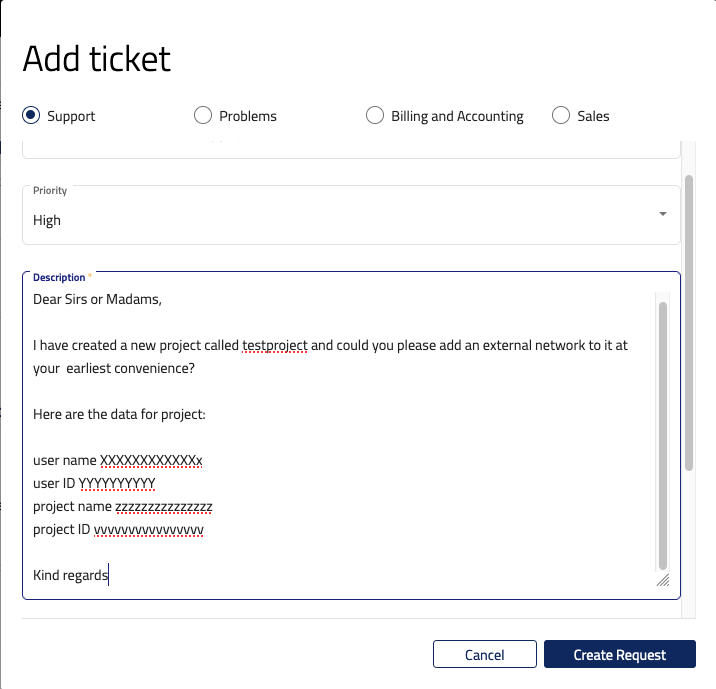
and then on button View Credentials on the right side. A window with user name, user ID, project name, project ID and authentication URL will appear.

Copy those values and put them into the email message in Helpdesk window. Click on button Create Request to send it:
Step 3 Add security group to the project
When the support answers, you will see external network in the network list. Then create security group and enable ports 22 (SSH) and 3389 (RDP) following the instructions in Prerequisite No. 3. Your security group should look like this:
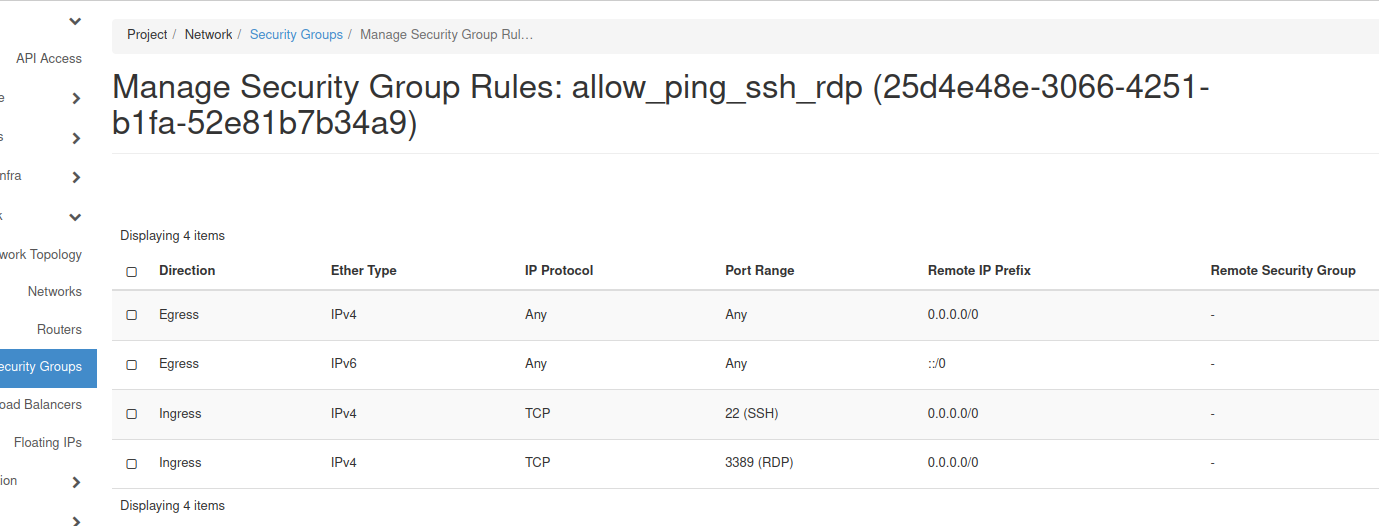
Port 22 will enable SSH access to the instance, while port 3389 will enable access through RDP. SSH and RDP are protocols for accessing a virtual machine from local Linux or Windows machines, respectively.
Step 4 Create network with router
The last step is to create a network with a router. See Prerequisite No. 4.
What To Do Next
Your testproject is ready for creating new instances. For example, see articles:
How to create a Linux VM and access it from Windows desktop on Creodias
How to create a Linux VM and access it from Linux command line on Creodias
If you want a new user to have access to testproject, the following articles will come handy:
Inviting new user to your Organization.