Download EODATA from Creodias onto a local Windows computer
CloudFerro hosts more than 100 petabytes of Earth observation data (EDOATA) in the eodata repository. You can access these data directly from Creodias infrastructure, or from your own local environment. Let us first differentiate between EODATA and eodata:
EODATA denotes Earth Observation DATA in a general, while the word
eodata denotes the S3 bucket from which these data can be downloaded to your Windows computer.
This article explains how to mount eodata as a drive on a local Windows computer. After the repository is mounted, you can browse it in File Explorer and copy selected products to your local computer when needed. Then you will be able to
browse the eodata repository from Windows,
download selected products to a local workstation,
work with data without manually downloading entire directories first,
avoid repeated manual configuration of S3 tools.
Note
Access to Copernicus data is open and free. This optional paid service improves the efficiency of accessing the eodata repository from external infrastructure. If you work directly on Creodias cloud infrastructure, access to EODATA is available without this additional remote-transfer setup.
Overview
You can mount eodata on Windows in two ways:
by using WinFsp and Rclone,
by using AirLiveDrive.
The WinFsp and Rclone method uses open-source software and is suitable if you are comfortable with PowerShell commands.
The AirLiveDrive method uses a graphical interface and is easier to use if you prefer to configure the connection through windows and forms.
Prerequisites
Before starting, make sure that the following requirements are met.
No. 1 Windows computer
You need a computer running Microsoft Windows 10 or later.
No. 2 S3 credentials for eodata remote access
You need an S3 access key and secret key for remote access to eodata.
Use the following article to obtain the credentials: /eodata/How-to-get-credentials-used-for-accessing-eodata-on-a-cloud-VM-on-Creodias
No. 3 Rclone for Windows
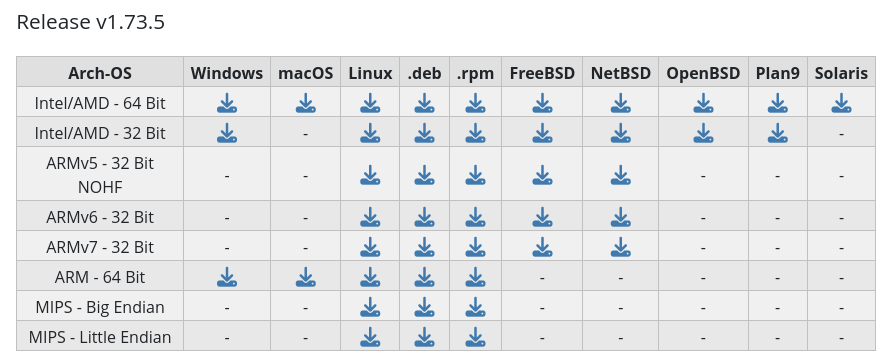
If you want to use the command-line mounting method, download Rclone for Windows from:
https://rclone.org/downloads/
Rclone is used to configure the S3 connection and mount eodata as a Windows drive.
No. 4 WinFsp filesystem driver
The Rclone mount command on Windows requires WinFsp. Download and install WinFsp before you try to mount eodata as a drive:
https://winfsp.dev/rel/
You do not need to configure WinFsp separately. It only has to be installed so that Rclone can create the mounted drive.
No. 5 AirLiveDrive installer
If you want to use the graphical method, download AirLiveDrive from:
https://www.airlivedrive.com/en/
Mount eodata by using WinFsp and Rclone
Use this method if you want to mount eodata with open-source tools. You will configure the S3 connection once, and then use Rclone to mount the repository as a Windows drive.
Install WinFsp
Download WinFsp from the location listed in the prerequisites and run the installer.

Complete the installation with the default options.
Install and prepare Rclone
Download Rclone from the location listed in the prerequisites. Choose the version that matches your Windows installation, usually the 64-bit version.
Create the following folder:
C:\rclone
Copy the downloaded Rclone archive to this folder and extract it there.
Open PowerShell and go to the Rclone folder:
cd C:\rclone
Configure the eodata remote
Start the Rclone configuration wizard:
.\rclone.exe config
Create a new remote:
n
Use the following remote name:
eodata
Choose S3 as the storage type. The option number can change between Rclone versions, so use the option description rather than the number.
For the S3 provider, choose:
Any other S3 compatible provider
The provider option number can also change between Rclone versions, so use the option text as the reference.
For credentials from the environment, press Enter to accept the default.
Enter the S3 access key and secret key obtained in the prerequisites.
For the region, press Enter.
For the endpoint, use the endpoint for your cloud or region.
REST endpoint:        data.cloudferro.com
Access Key ID:        CLOUDFERRO
Secret Access Key:    PUBLIC
Connect to bucket:    enabled
Bucket:               eodata
Use Path style:       enabled
Signature Version:    Signature V4
Override region:      enabled
Region:               RegionOne
REST endpoint:        eodata.cloudferro.com
Access Key ID:        your access key
Secret Access Key:    your secret key
Connect to bucket:    enabled
Bucket:               eodata
Use Path style:       enabled
Signature Version:    Signature V4
Override region:      enabled
Region:               RegionOne
For the remaining questions about location constraint and ACL, press Enter to keep the default values.
For advanced configuration, enter:
n
Keep the eodata remote:
y
When the configuration menu is shown again, exit Rclone configuration:
q
Test access to eodata
Before mounting the repository, verify that Rclone can access eodata:
.\rclone.exe lsd eodata:
If the configuration is correct, Rclone lists the top-level directories or buckets available through the configured remote.

Mount eodata as a Windows drive
To mount eodata as drive Z:, run:
.\rclone.exe mount eodata: Z:
This is the result in terminal window:

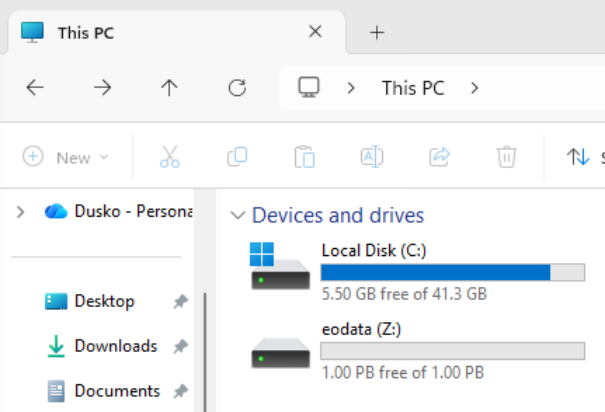
After the command starts successfully, the eodata repository is available as drive Z: in This PC.
To mount eodata again later, open PowerShell and run:
C:\rclone\rclone.exe mount eodata: Z:
You can replace Z: with another available drive letter.
Mount eodata by using AirLiveDrive
Use this method if you prefer a graphical interface.
AirLiveDrive is proprietary software. Its free version is usually sufficient for mounting one eodata drive, but check the current license terms on the AirLiveDrive website before using it in production.
Install and start AirLiveDrive
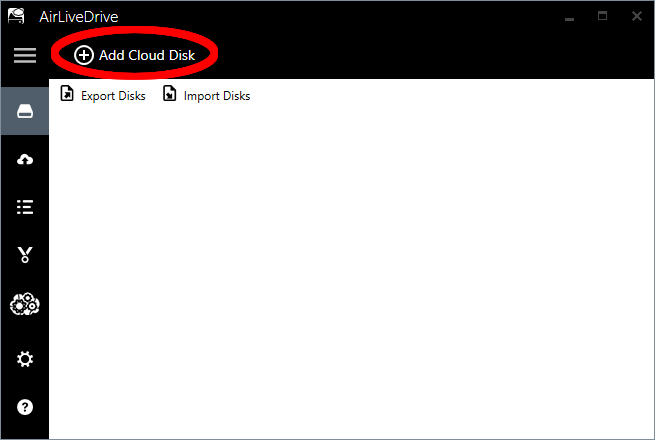
Download AirLiveDrive from the location listed in the prerequisites, install it, and start the application.
Click Add Cloud Disk.
Choose the S3 connection type
In the list of cloud storage types, choose S3.
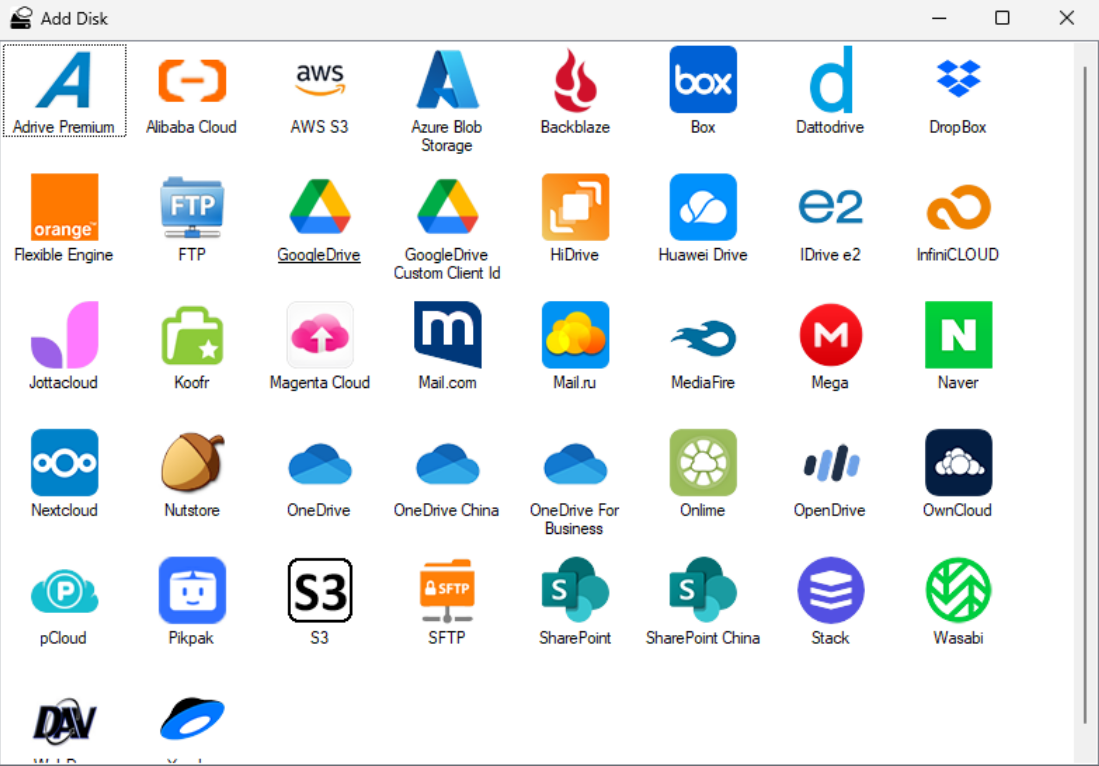
The S3 configuration form appears.
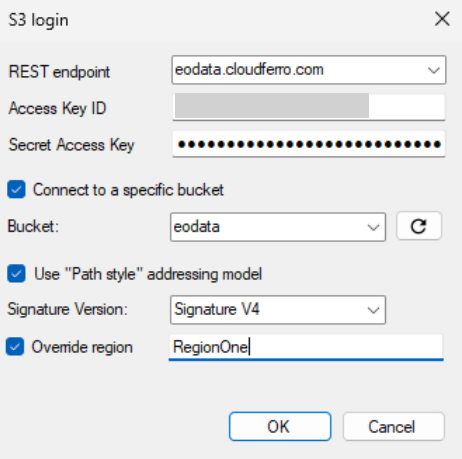
Configure the S3 connection
Select the option for connecting to a specific bucket.
Note
In some AirLiveDrive versions, this option may appear with a typographical error in the interface, for example Connecto to a specific bucket.
Enter the data as follows:
REST endpoint:        data.cloudferro.com
Access Key ID:        CLOUDFERRO
Secret Access Key:    PUBLIC
Connect to bucket:    enabled
Bucket:               eodata
Use Path style:       enabled
Signature Version:    Signature V4
Override region:      enabled
Region:               RegionOne
REST endpoint:        eodata.cloudferro.com
Access Key ID:        your access key
Secret Access Key:    your secret key
Connect to bucket:    enabled
Bucket:               eodata
Use Path style:       enabled
Signature Version:    Signature V4
Override region:      enabled
Region:               RegionOne
Click OK.
Connect the drive
The configured disk is now shown in AirLiveDrive.
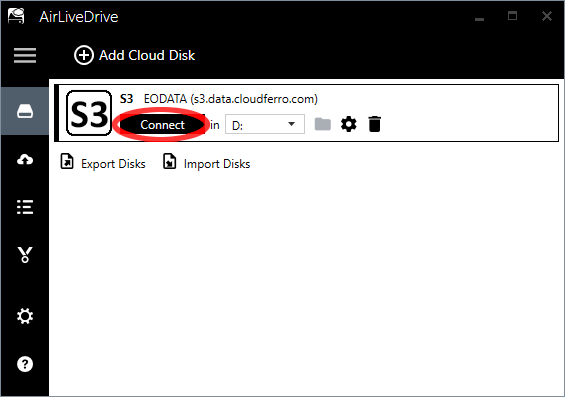
Choose the drive letter that you want to assign to eodata, and click Connect.
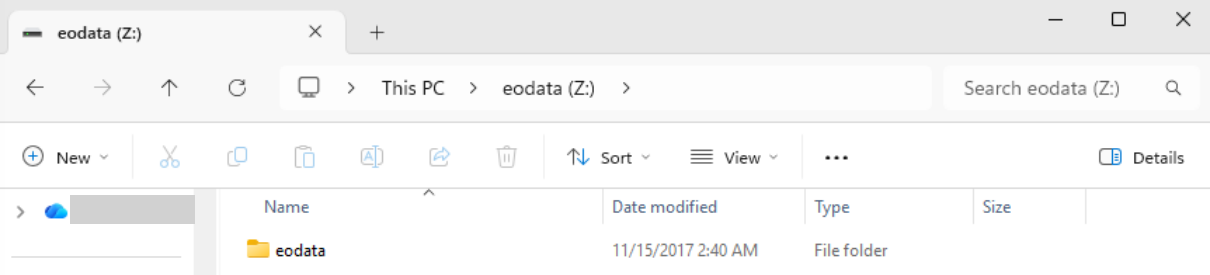
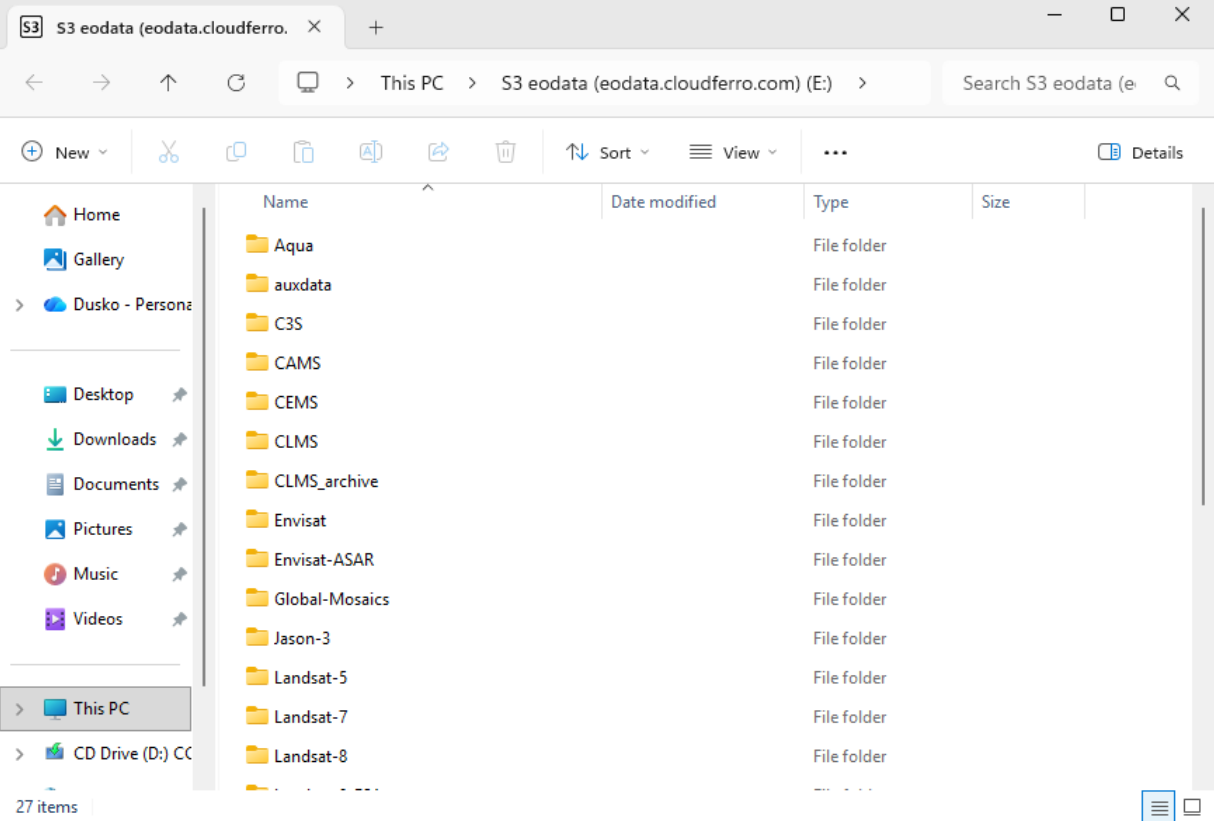
The eodata repository is now mounted and visible in This PC.
What to do next
After eodata is mounted as a Windows drive, you can browse it from File Explorer and copy selected products to your local computer.
For large datasets, avoid copying entire top-level directories. Browse to the specific collection, product type, date, and product folder that you need, and download only the required files.
If you plan to process large volumes of data regularly, consider running your processing workflow directly on Creodias cloud infrastructure. This avoids long external transfers and keeps the computation close to the data.