Obtain Creodias Managed Kubernetes API token
To interact with Creodias Managed Kubernetes programmatically, you need an API token. It grants secure access to the Creodias Managed Kubernetes API and is typically used in conjunction with external tools such as
Terraform https://registry.terraform.io/providers/CloudFerro/cloudferro/latest
Creodias Managed Kubernetes CLI https://github.com/CloudFerro/cf-mkcli
along with tools such as curl, CI/CD etc.
With the API token for Creodias Managed Kubernetes, it will be possible to programmatically initiate cluster lifecycle operations such as nodepools creation and scaling.
What We Are Going to Cover
Prerequisites
No. 1 Hosting account on Creodias
To use Creodias Managed Kubernetes, you need your
general Creodias account as well as the link to
https://managed-kubernetes.creodias.eu to access the dashboard.
No. Programmatics endpoints on Creodias
Select the appropriate programmatic endpoints from article Programmatic Endpoints for Creodias Managed Kubernetes
Generate token from GUI
Show Tokens option on screen
To get to the tokens view in Creodias Managed Kubernetes, find button Tokens in the left side bar:
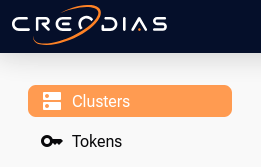
If the browser window or device screen is narrow, first click on the hamburger icon in the upper left corner.
Go to Tokens view
Click on Tokens button to bring tokens view in Creodias Managed Kubernetes. The following screenshot represents the situation in which there are no tokens created yet:
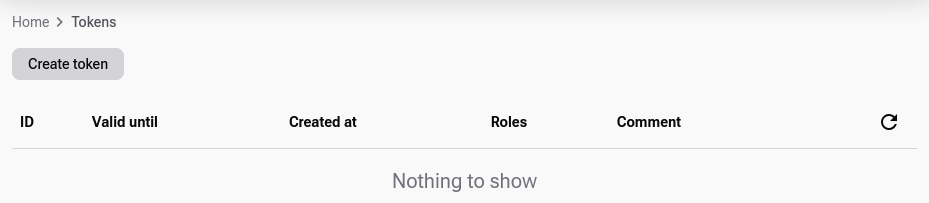
Click Create token, then choose validity, permissions and add optional info.
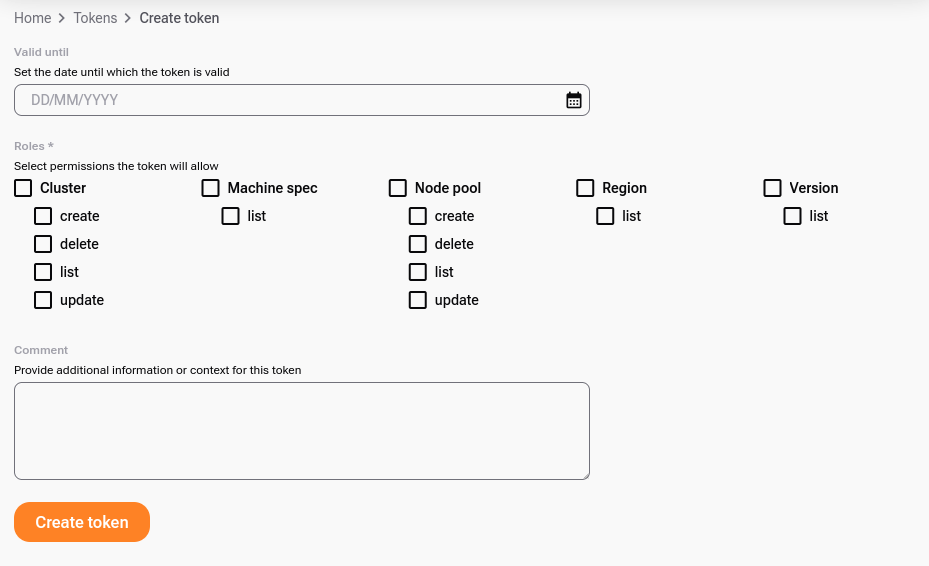
Create the token
Click Create token in that form.
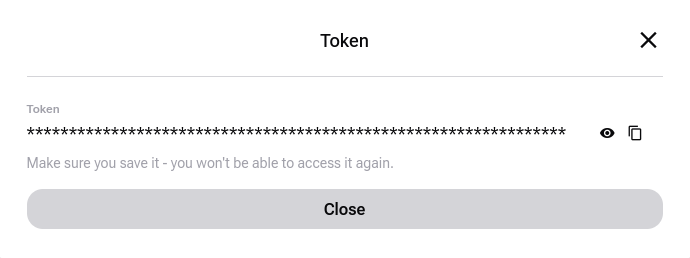
As a result, the token is generated. Make sure to note it down and store it securely, because it will not be shown again.
The list of tokens will now contain an additional entry:
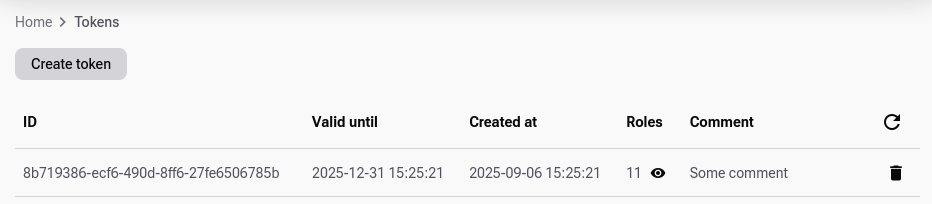
Click on the eye icon in the Roles column to see the activated roles for the specific token:
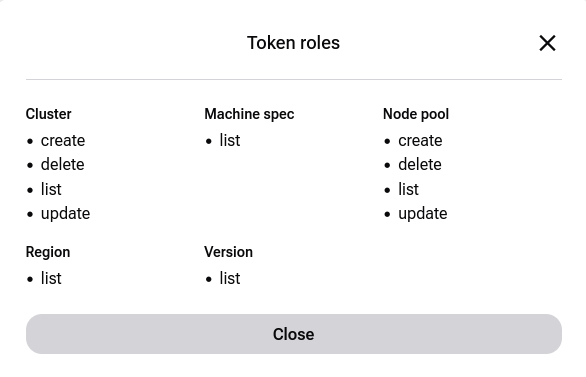
This list will reflect the options you chose while creating the token.
Note
The image above depicts the API operations permitted by the token, while other operations may remain inaccessible.
Access Creodias Managed Kubernetes API using the token
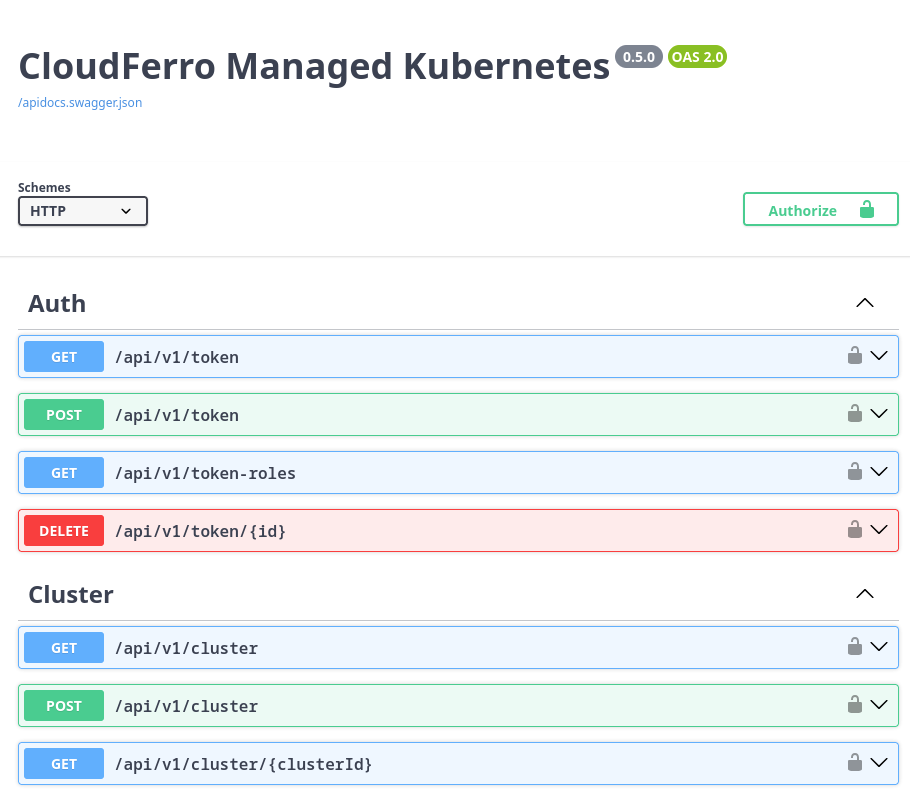
Work with API documentation
The detailed documentation how to use API is presented in the Swagger documentation:
https://managed-kubernetes.creodias.eu/swagger
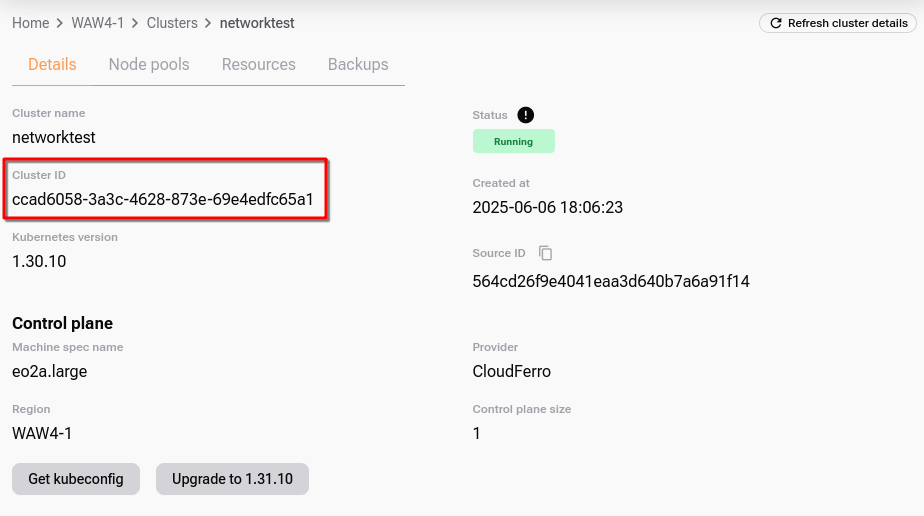
Obtain cluster ID
API access allows for utilizing a series of options for interacting with Creodias Managed Kubernetes, which is described in detail in the API doc from above. From a practical standpoint a large part of such operations will be in the context of a given Kubernetes cluster. We will provide a brief recap of how to access the cluster ID and use it in the API call as demonstrated later.
To obtain the cluster ID, click on Home, select the region and see the list of clusters on screen. Select the one that you want to work with, for instance, let it be cluster called networktest. Clicking on its name will display cluster data, including the Cluster ID.
Example: list cluster parameter
Let us now assume that you
have chosen the programmatic endpoint from Prerequisite No. 2 and that
you have values of CLUSTER_ID and TOKEN at your disposal.
Replace the empty strings with values of CLUSTER_ID and TOKEN and the following example will then list the basic parameters in the specified cluster.
export CLUSTER_ID=""
export TOKEN=""
curl -X GET "https://managed-kubernetes.waw4-1.cloudferro.com/api/v1/cluster/${CLUSTER_ID}" \
-H "Authorization: Token ${TOKEN}" \
-H "Content-Type: application/json"
Sample response:
"id": "ece35b5a-8ffe-4d07-9523-639323abbfbb",
"created_at": "2026-02-12T11:09:05.046651Z",
"updated_at": "2026-02-12T11:19:16.923479Z",
"name": "tf-waw4",
"status": "Running",
"control_plane": {
 "custom": {
  "size": 1,
  "machine_spec": {
   "id": "b003e1cf-fd40-4ad1-827c-cc20c2ddd519",
   "created_at": "2025-02-05T11:14:35Z",
   "updated_at": "2025-11-06T14:00:03.702987Z",
   "name": "eo2a.large",
   "provider": "CloudFerro",
   "cpu": 2,
   "memory": "7632",
   "local_disk_size": "32",
   "is_active": true,
   "tags": [
    "control-plane",
    "worker"
   ],
   "gpu": "NONE"
  },
  "name": "eccentric-salmon"
 }
},
"errors": [],
"version": {
 "id": "d70785b2-4b01-4f59-8103-2c37479fbee2",
 "created_at": "2025-08-11T07:15:57.771816Z",
 "updated_at": "2025-08-11T07:15:57.771816Z",
 "version": "1.32.6",
 "eol": "2025-12-27T23:00:00Z",
 "info": "",
 "is_active": true
},
"metadata": {
 "openstack_project_id": "e04f93656a5748d3b3b493dd4dfec0ea"
},
What To Do Next
With your API token, you can now securely interact with Creodias Managed Kubernetes from the command line or automation tools. Use it to connect CI/CD pipelines, manage workloads, or monitor resources programmatically.
To explore available operations, open the Creodias Managed Kubernetes API documentation for your environment at https://managed-kubernetes.creodias.eu/swagger.