Registering in Creodias Through EGI Check-In Service
This article covers the process of registering in Creodias using an existing EGI account and EGI Check-in Service.
Prerequisites
No. 1 EGI Account
You need an EGI account. If you do not have one yet, go to https://docs.egi.eu/users/aai/check-in/signup/ to sign up.
What We Are Going To Cover
Registering in Creodias using an existing EGI account
Step 1 Logging into Creodias Tenant Manager with your EGI account
Open the Creodias tenant manger: https://new.cloudferro.com/.
Click the LOG IN button.
You should get the following window:
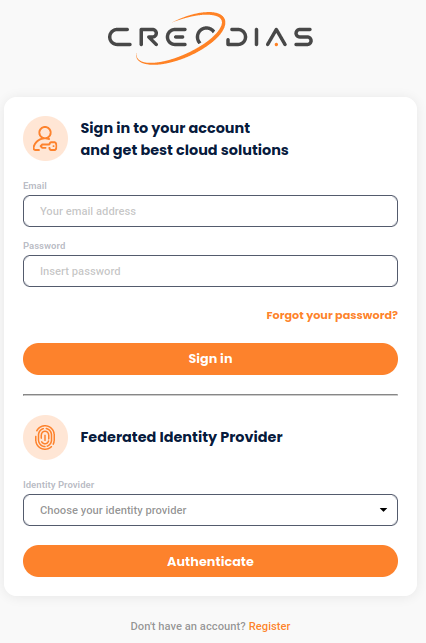
The upper part of the form is to enter your data directly to Creodias, while the lower part hides federated providers, one of which is EGI.
Click on the lower entry field and see the list of federated providers:
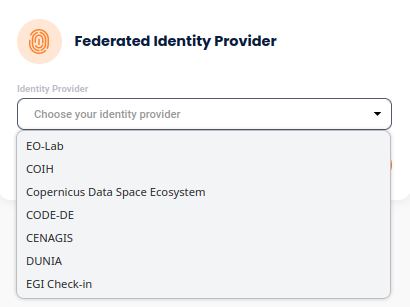
Click the EGI Check-in button:
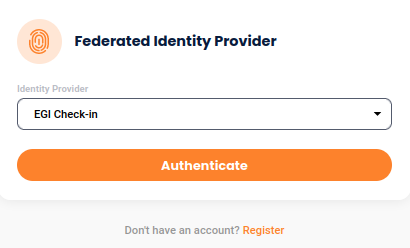
The following window should now appear:
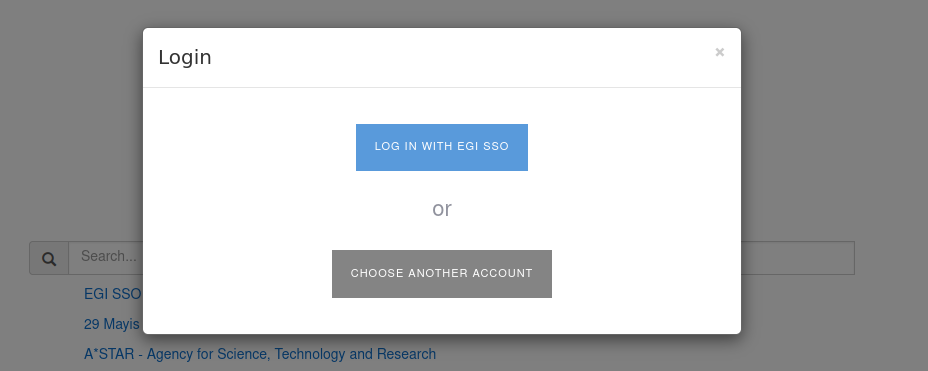
Click LOG IN WITH EGI SSO.
You should now get the EGI login form:
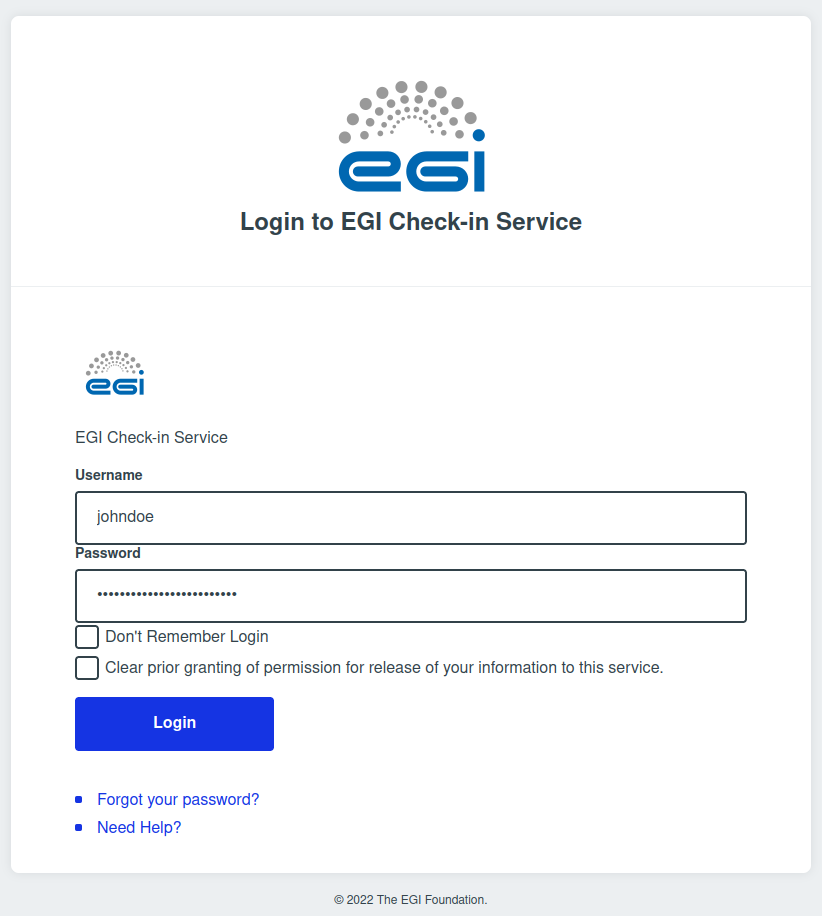
Provide appropriate credentials there and click Login.
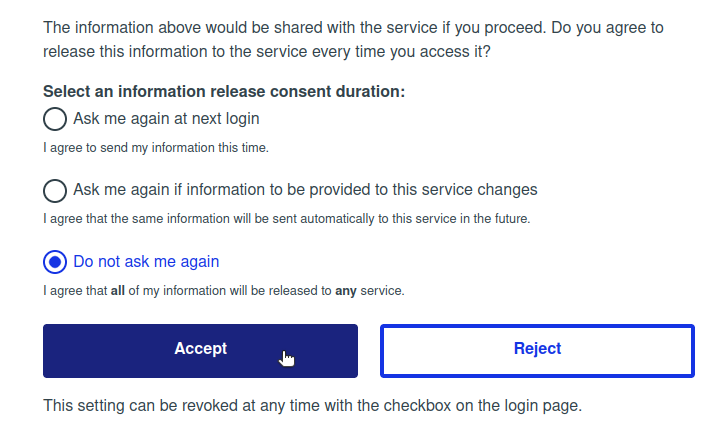
The company called CloudFerro is the operator of Creodias. You will now get the information regarding the EGI Check-in Service and the data that will be transferred to CloudFerro. Choose for how long do you wish to provide your information to CloudFerro and click Accept:
You will now be asked for confirmation:
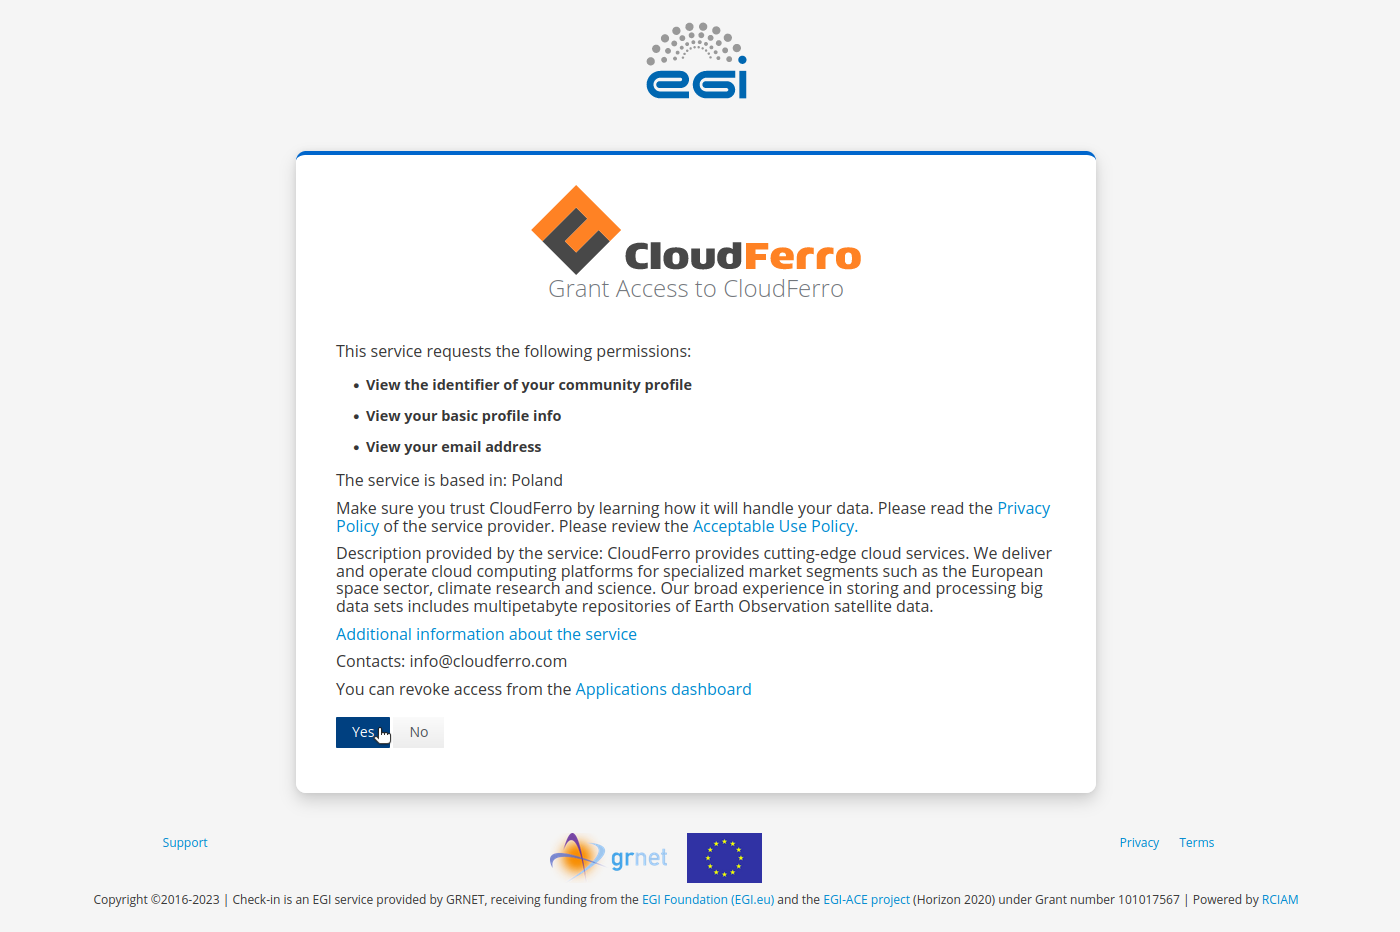
Click Yes.
The next steps vary depending on whether you have a Creodias account or not.
You don’t have an account yet
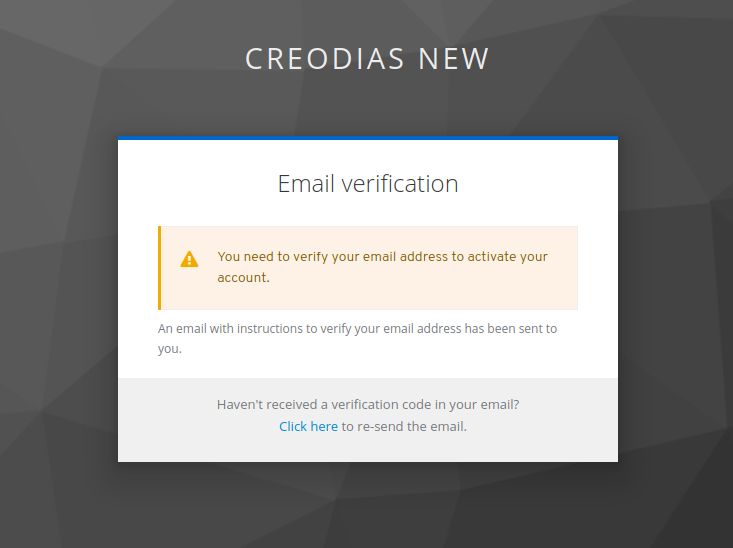
If you don’t have a Creodias account yet, an on-screen message telling you about the need to verify your e-mail address should appear:
Check your e-mail inbox. You should get an e-mail similar to this:
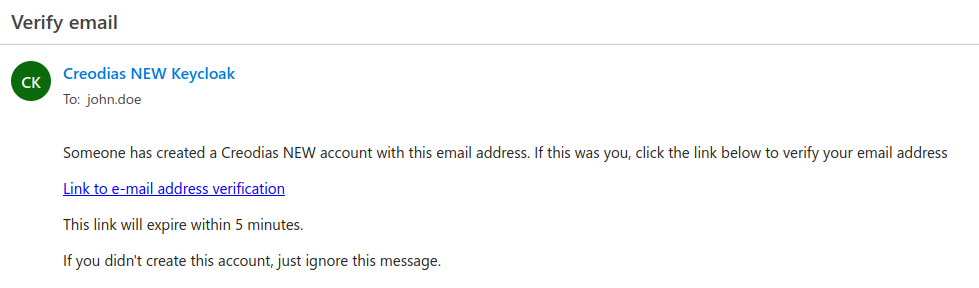
If you can’t find it, please check your SPAM folder. If the e-mail is not there, wait up to a couple of minutes and check your inbox and SPAM folders again. If that is unsuccessful, please try to regenerate the e-mail by clicking the link that says Click here in the confirmation on-screen message. If you still can’t find it, please contact the Creodias support: support@creodias.eu
Activate your account by clicking the verification link in that e-mail.
After that, you will be required to complete account information and accept Privacy Policy, Terms & Conditions, Terms of Access to Data and, optionally, agree for receiving marketing information about CloudFerro services.
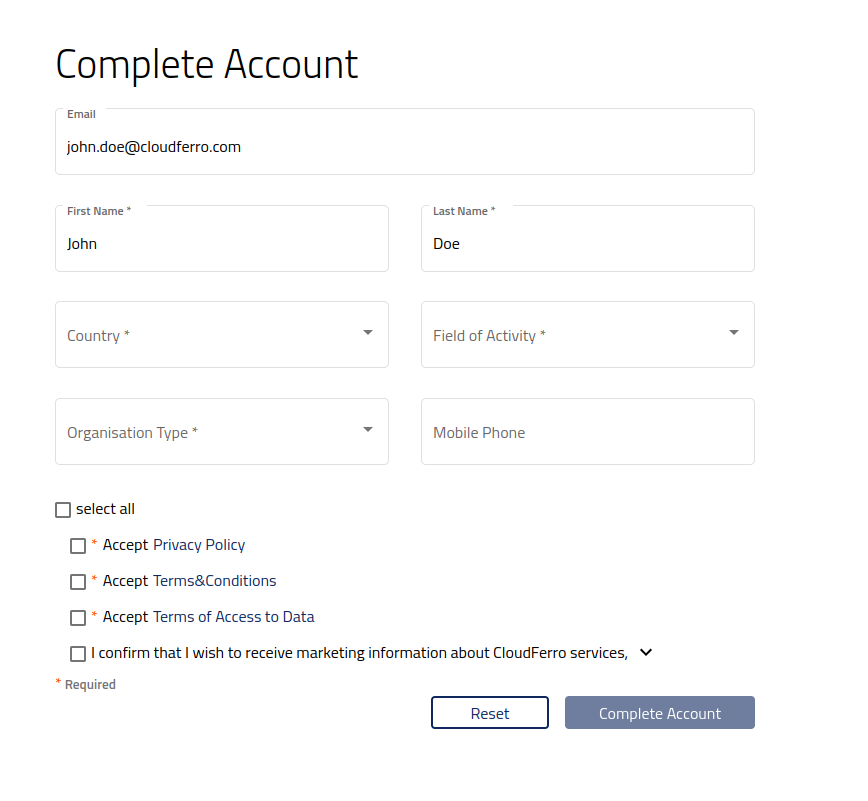
Once you have done that, click Complete Account. Your account should now be registered. Confirmation of your registration will be sent to your e-mail address.
You already have an account
If you already have a Creodias account registered to the e-mail address you previously provided, you will receive an on-screen message similar to this:
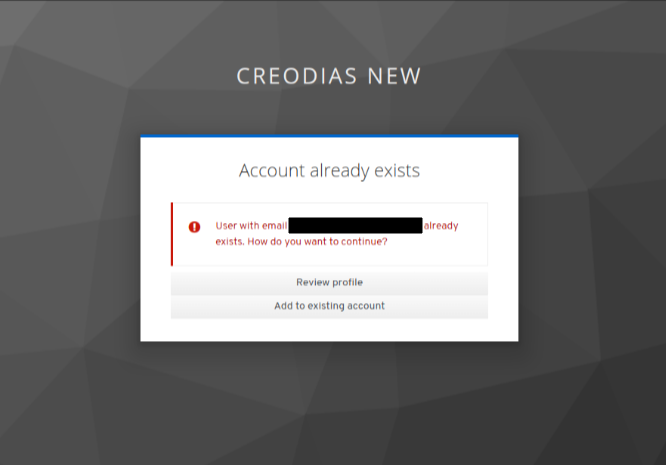
You can use the Review profile button to view your current account.
After that, click Add to existing account to link your EGI and Creodias accounts.
Step 2 Registering a new organization or joining an existing one
Note
Skip this step if you already have an organization associated with your account.
To take advantage of the full potential of your account, you need to register a new Organization or join an existing one. The following article contains information on how to do it: Adding and editing Organization.
What To Do Next
Creodias cloud can be used for general hosting needs, such as
installing LAMP servers,
installing and using WordPress servers,
email servers,
Kubernetes and SLURM clusters and so on.
You can also take advantage of its access to the eodata repository, where “eodata” stands for “Earth Observation Data” from satellites.
Once you have full access to the service, the best way to get started is to create a virtual machine with Linux or Windows.