Authenticating with OpenstackSDK using Keycloak Credentials on Creodias
If you are using OpenStackSDK to write your own script for OpenStack, the code in this tutorial will enable the user to automatically log into your app. When the user normally tries to log into the Creodias account using https://new.cloudferro.com/, they have to log in manually. A screen like this appears:
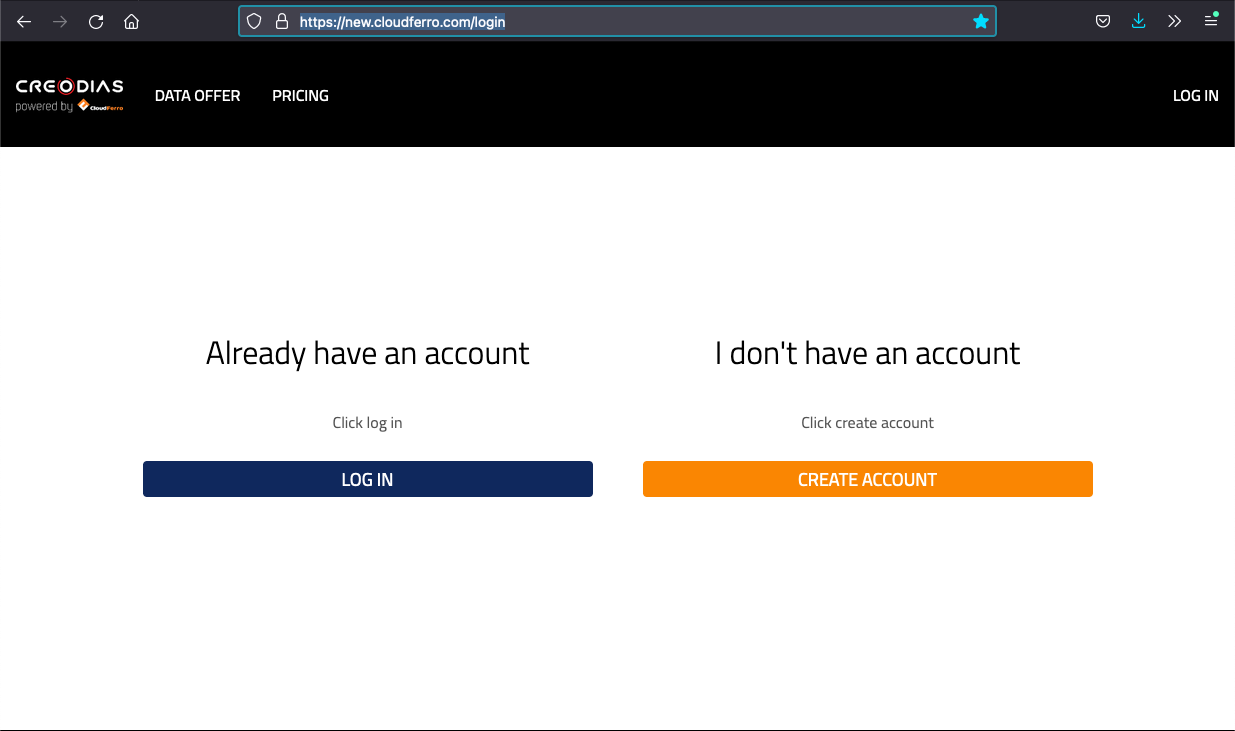
If they already have an account, they will be logged in after clicking on Login button. The code in this article will avoid exposing the user to such a procedure and if they had ever been authenticated to OpenStack, the user will be able to log in with your code without even seeing the login screen.
What Are We Going To Do
Set up Python, pip and Venv environments,
Download RC file from Horizon,
Source that file (execute it and supply the password to authenticate yourself to the system),
Prepare Python code to authenticate to Keycloak by using the values from RC file.
Prerequisites
No. 1 Install Python and its environment
The following article will help you install Python and pip, as well as Venv: How to install Python virtualenv or virtualenvwrapper on Creodias.
No. 2 RC File
RC file is available from the OpenStack Horizon module and serves as a source of authentication for the user. For technical details how to get it and activate, see How To Install OpenStack and Magnum Clients for Command Line Interface to Creodias Horizon.
Step 1 Source Your RC File
Using Prerequisite No. 2, download the corresponding RC file. That file can be executed using a source command in Linux/UNIX environments. Once executed, it will ask you for the password and will authenticate you with it.
Here are the system variables (their names all start with OS_) that the source command will set up as well:
export OS_AUTH_URL=https://keystone.cloudferro.com:5000/v3
export OS_INTERFACE=public
export OS_IDENTITY_API_VERSION=3
export OS_USERNAME="Your E-mail Adress"
export OS_REGION_NAME="WAW3-1"
export OS_PROJECT_ID="Your Project ID"
export OS_PROJECT_NAME="Your Project Name"
export OS_PROJECT_DOMAIN_ID="Your Domain ID"

export OS_AUTH_TYPE=v3oidcpassword
export OS_PROTOCOL=openid
export OS_DISCOVERY_ENDPOINT=https://identity.cloudferro.com/auth/realms/Creodias-new/.well-known/openid-configuration
export OS_IDENTITY_PROVIDER=ident_creodias-new_provider
export OS_CLIENT_ID=openstack
export OS_CLIENT_SECRET=50xx4972-546x-46x9-8x72-x91x401x8x30
Step 2 Create Python Code that Will Perform Keycloak Authentication Within Your App
In this step you will copy the values from RC file to your Python code. For instance, variable
OS_DISCOVERY_ENDPOINT=https://identity.cloudferro.com/auth/realms/Creodias-new/.well-known/openid-configuration
from RC file will become the value of the eponymous variable in your code:
auth['discovery_endpoint'] = "https://identity.cloudferro.com/auth/realms/Creodias-new/.well-known/openid-configuration"
Here is what your code should look like in the end:
from openstack import connection
import sys
import os
from openstack import enable_logging

auth = {}
auth['auth_url'] = "https://keystone.cloudferro.com:5000/v3"
auth['username'] = "Your E-mail Adress"
auth['password'] = os.getenv('OS_PASSWORD')
auth['project_domain_id'] = "Your Domain ID"
auth['project_name'] = "Your Project Name"
auth['project_id'] = "Your Project ID"
auth['discovery_endpoint'] = "https://identity.cloudferro.com/auth/realms/Creodias-new/.well-known/openid-configuration"
auth['client_id'] = "openstack"
auth['identity_provider'] = 'ident_creodias-new_provider'
auth['client_secret'] = os.getenv('OS_CLIENT_SECRET')
auth['protocol'] = 'openid'
Step 3 Use the Code in Your App
Once generated, this code will authenticate user and they will not have to supply their credentials each time they try to use your app.