How to create Windows VM on OpenStack Horizon and access it via web console on Creodias
This article provides a straightforward way of creating a functional Windows VM on Creodias cloud, using the Horizon graphical interface.
The idea is to
start the creation of a Windows virtual machine from the default Horizon dashboard and then
access it via the web console,
all from your Internet browser.
What Are We Going To Cover
Accessing the Launch Instance menu
Choosing the Instance name
Choosing source
Choosing flavor
Choosing networks
Choosing security groups
Launching virtual machine
Setting Administrator password
Prerequisites
No. 1 Account
You need a Creodias hosting account with access to the Horizon interface: https://horizon.cloudferro.com/auth/login/?next=/.
Step 1: Access the Launch Instance menu
In the Horizon dashboard, navigate to Compute -> Instances. Click the Launch Instance at the top of the Instances section:

You should get the following window:
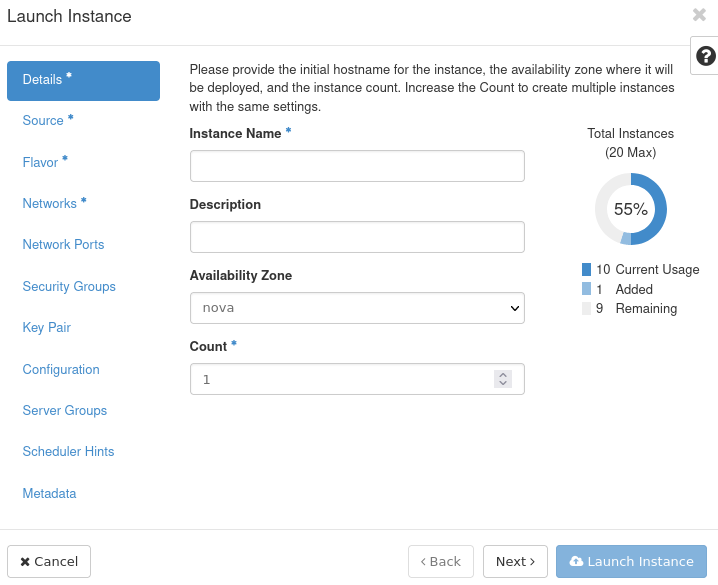
Step 2: Choose the instance name
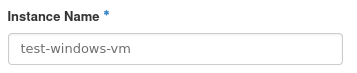
In the window which appeared, enter the name you wish to give to your instance in the Instance Name text field. In this example, we use test-windows-vm as the name:
Click Next >.
Step 3: Choose source
The default value in the drop-down menu Select Boot Source is Image, meaning that you will choose from one of the images that are present in your version of Horizon. If another value is selected, revert to Image instead.

Enter windows in the search field in the Available section to filter Windows images:
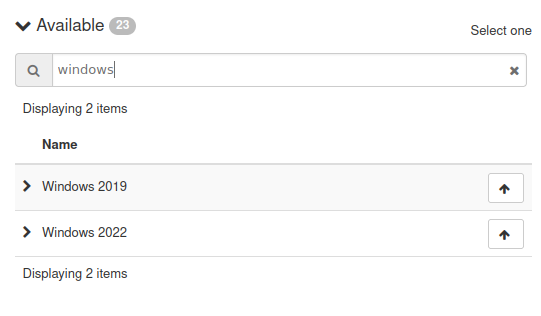
Choose the newest available version by clicking ↑ next to it. As of writing of this article, it is Windows 2022.

Your chosen image should appear in the Allocated section:
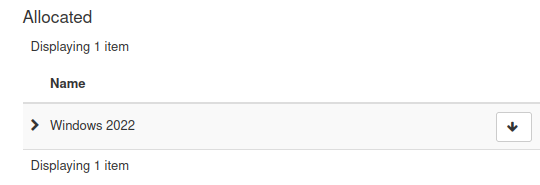
Click Next >.
If you allocate a wrong image by mistake, you can remove it from the Allocated section by clicking ↓ next to its name.
Step 4: Choose flavor
In this step you will choose the flavor of your virtual machine. Flavors manage access to resources such as VCPUS, RAM and storage.
The following screenshot shows what the flavors table looks like in general:
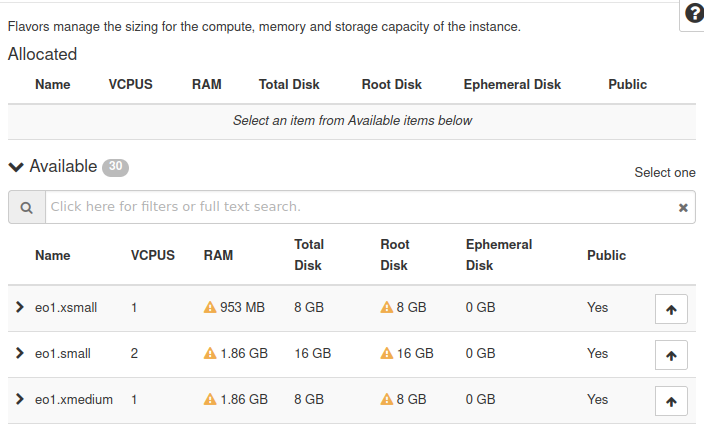
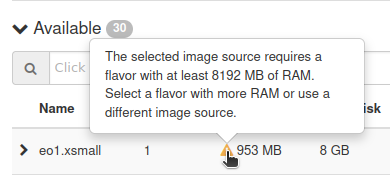
The presence of yellow warning triangles means that the flavor in that row is unavailable to you. To see the exact reason for this unavailability, hover your mouse over that triangle, like so:
Here are the flavors which you can choose when creating a Windows virtual machine in each particular cloud:
On WAW4-1 cloud there are no flavors which have the name containing with w so it cannot be used to run Windows.
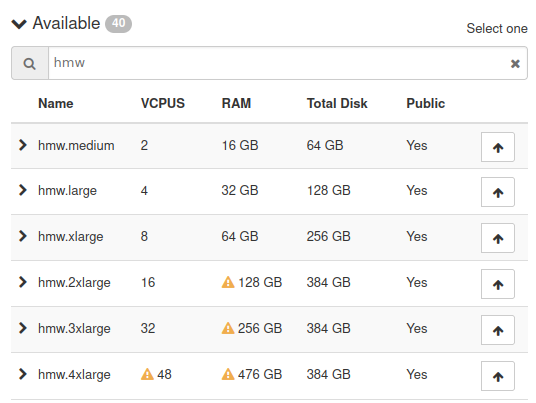
On WAW3-1 cloud, only flavors which have the name starting with hmw can be used to run Windows.
Filter them by entering hmw in the search bar in the Available section:
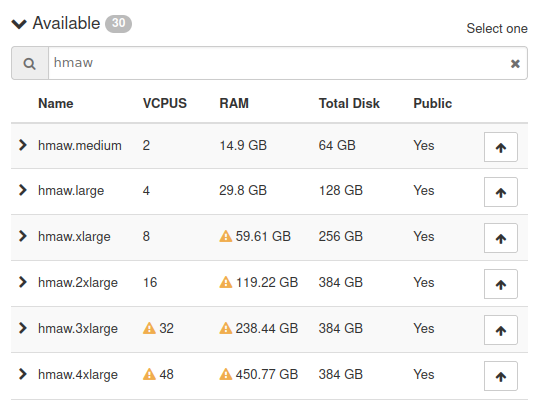
On WAW3-2 cloud, only flavors which have the name starting with hmaw can be used to run Windows.
Filter them by entering hmaw in the search bar in the Available section:
On FRA1-2 cloud, only flavors which have the name starting with hmw can be used to run Windows.
Filter them by entering hmw in the search bar in the Available section:
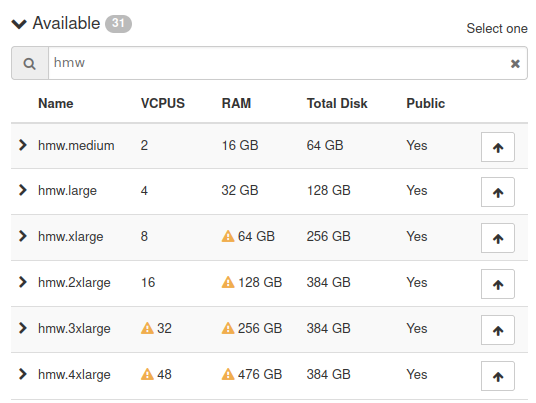
Always be sure to check the actual flavors (that info can be found in the Horizon dashboard).
Choose the flavor which suits you best and click ↑ next to it to allocate it.
Click Next >.
Note
In examples that follow, we use two networks, one with name starting with cloud_ and the name of the other starting with eodata_. The former network should always be present in the account, but the latter may or may not present. If you do not have network which name starts with eodata_, you may create it or use any other network that you already have and want to use.
Step 5: Attach networks to your virtual machine
The next step contains the list of networks available to you:
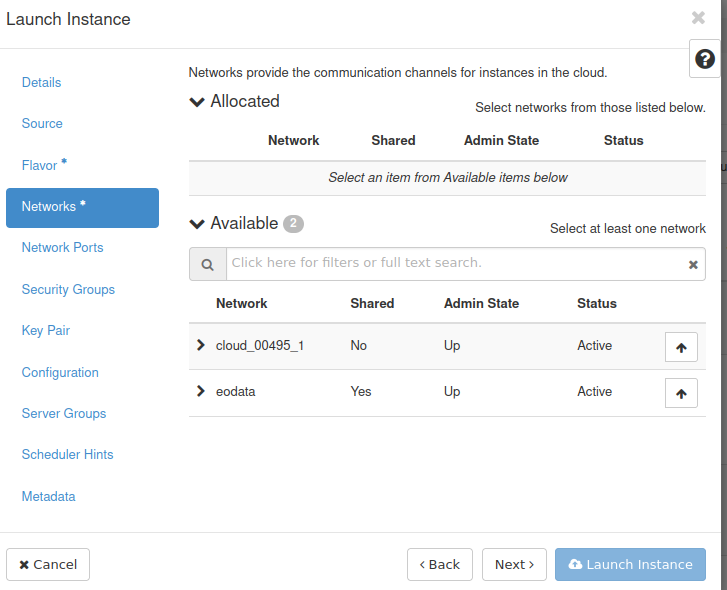
By default, you should have access to the following networks:
A network which has the same name as your project - it can be used to connect your virtual machines together and access the Internet.
The network which has eodata in its name - it can be used to access the EODATA repository containing Earth observation data.
Allocate both of them and click Next >.
The next step is called Network Ports. In it simply quick Next > without doing anything else.
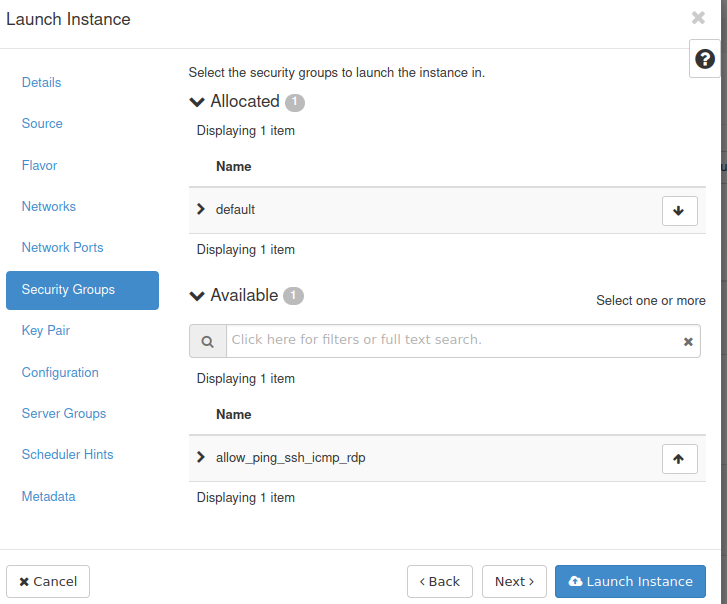
Step 6: Choose security groups
Security groups control Internet traffic for your virtual machine.
In this step, make sure that the default security group is allocated. It blocks incoming network traffic and allows outgoing network traffic.
Group allow_ping_ssh_icmp_rdp exposes your VM to various types of network traffic but here, do not allocate it. It is not needed for the purposes of this article, since you will only access your virtual machine using the web console. You should still be able to perform standard Windows operations such as browsing the Internet or accessing e-mail without this security group.
Step 7: Launch your virtual machine
Other steps from the Launch Instance window are optional. Once you have done the previous steps of this article, click Launch Instance button:

Your virtual machine should appear in the Instances section of the Horizon dashboard. Wait until its Status is Active:

Once the Status is Active, the virtual machine should be running. The next step involves setting access to it.
Step 8: Set the Administrator password
Once your instance has Active status, click on its name:

You should see a page containing information about your instance. Navigate to Console tab:
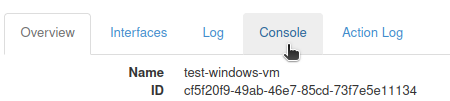
You should see the web console with which you can control your virtual machine. When the system finishes startup, you will see prompt to set the Administrator password:

Click OK. You should now see two text fields:
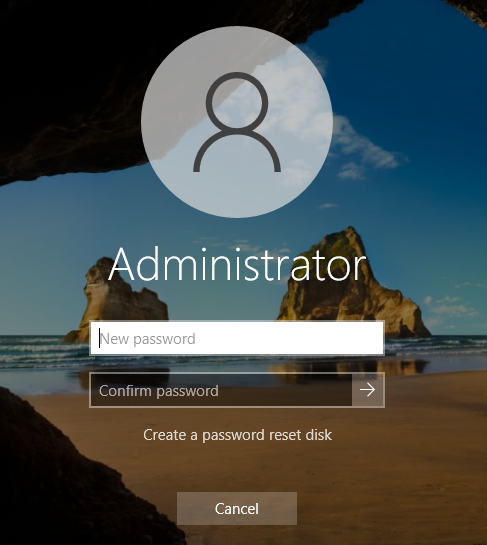
Enter your chosen password in the New password text field.
Enter it again in the Confirm password text field.
Click right arrow next to the Confirm password text field:

You should get the following confirmation:
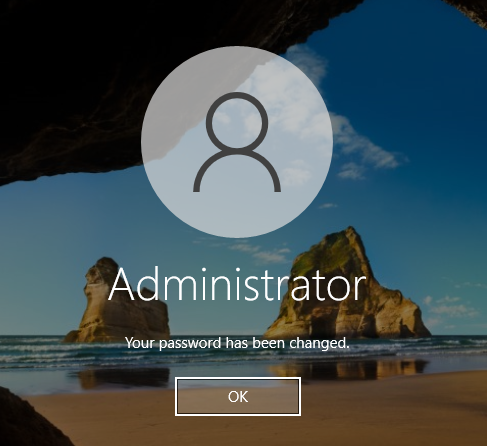
Click OK.
Wait until you see the standard Windows desktop.
Step 9: Update Windows
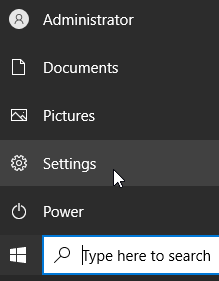
Once the Windows virtual machine is up and running, you should update its operating system to have the latest security fixes. Click Start, and then Settings:
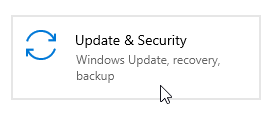
After that, click Update & Security:
You should now see Windows Update screen, which can look like this:
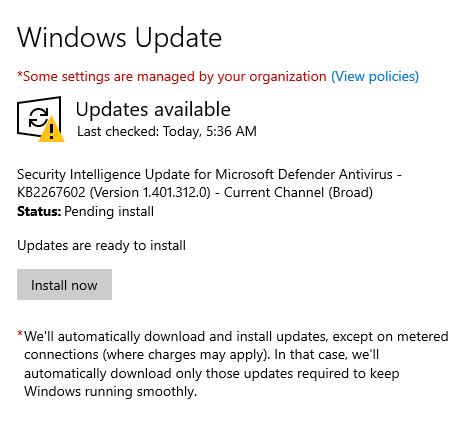
Follow the appropriate prompts to update your operating system.
What To Do Next
To learn how to access EODATA repository on your new Windows virtual machine, check this article: How to mount EODATA on Windows virtual machine on Creodias hosting
If you want to access your virtual machine remotely using RDP (Remote Desktop Protocol), you should consider increasing its security by using a bastion host. The following article contains more information: Connecting to a Windows VM via RDP through a Linux bastion host port forwarding on Creodias
To learn more about security groups, you can check this article: How to use Security Groups in Horizon on Creodias